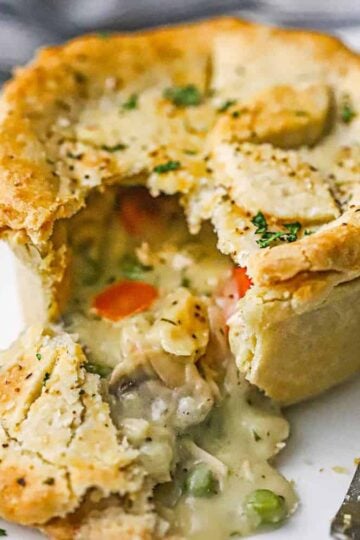
If we were forced to pick our favorite comfort dish of all time, this would certainly be in the running.
We grew up on frozen pot pies. There was something special about mixing the creamy filling loaded with chicken and veggies with the buttery crust. Making your own easy pie crust puts this iconic dish in a league of its own. Of course, perfectly roasted chicken and homemade chicken stock don’t hurt either. Let’s do this!
VIDEO ALERT: Be sure to check out the video for this recipe in the recipe card. If you like the video, subscribe to our YouTube Channel!

How To Make Chicken Pot Pie
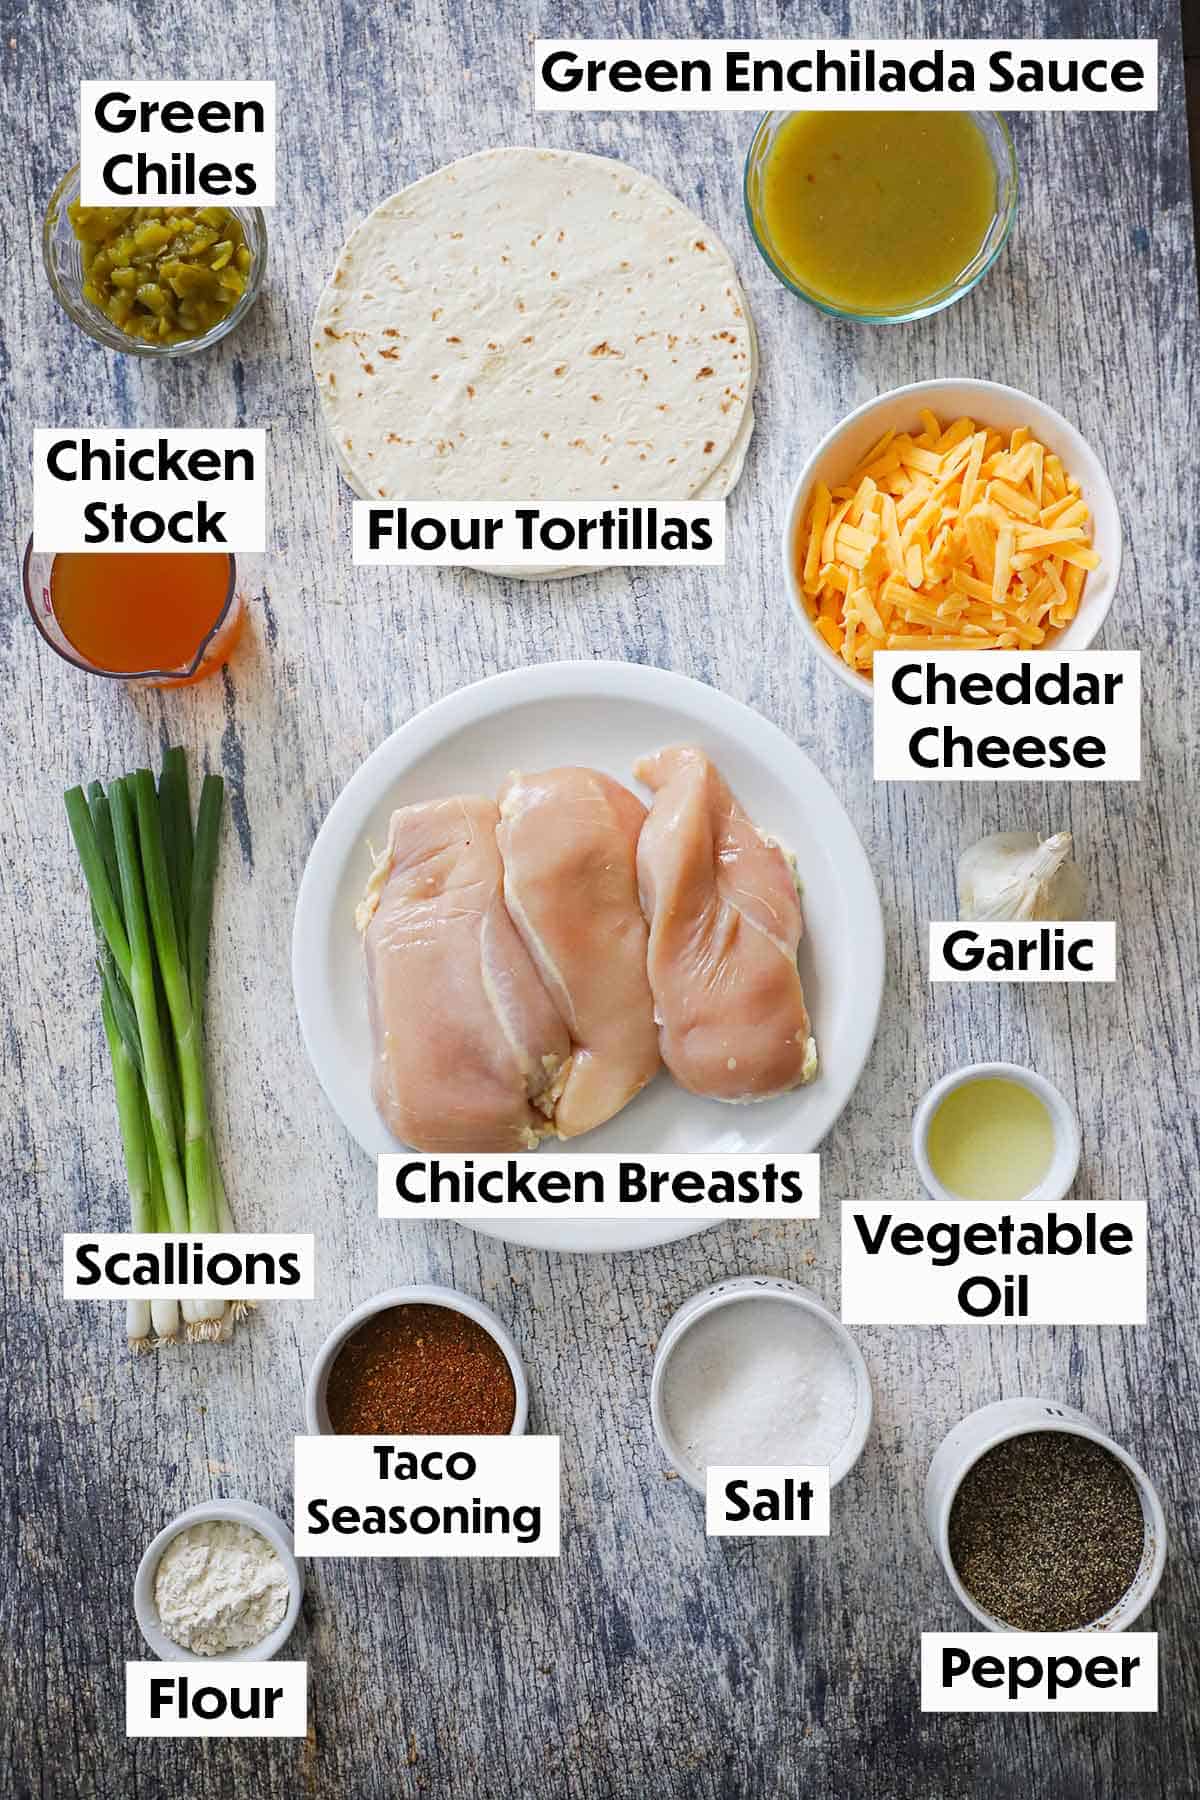
The Ingredients You Will Need
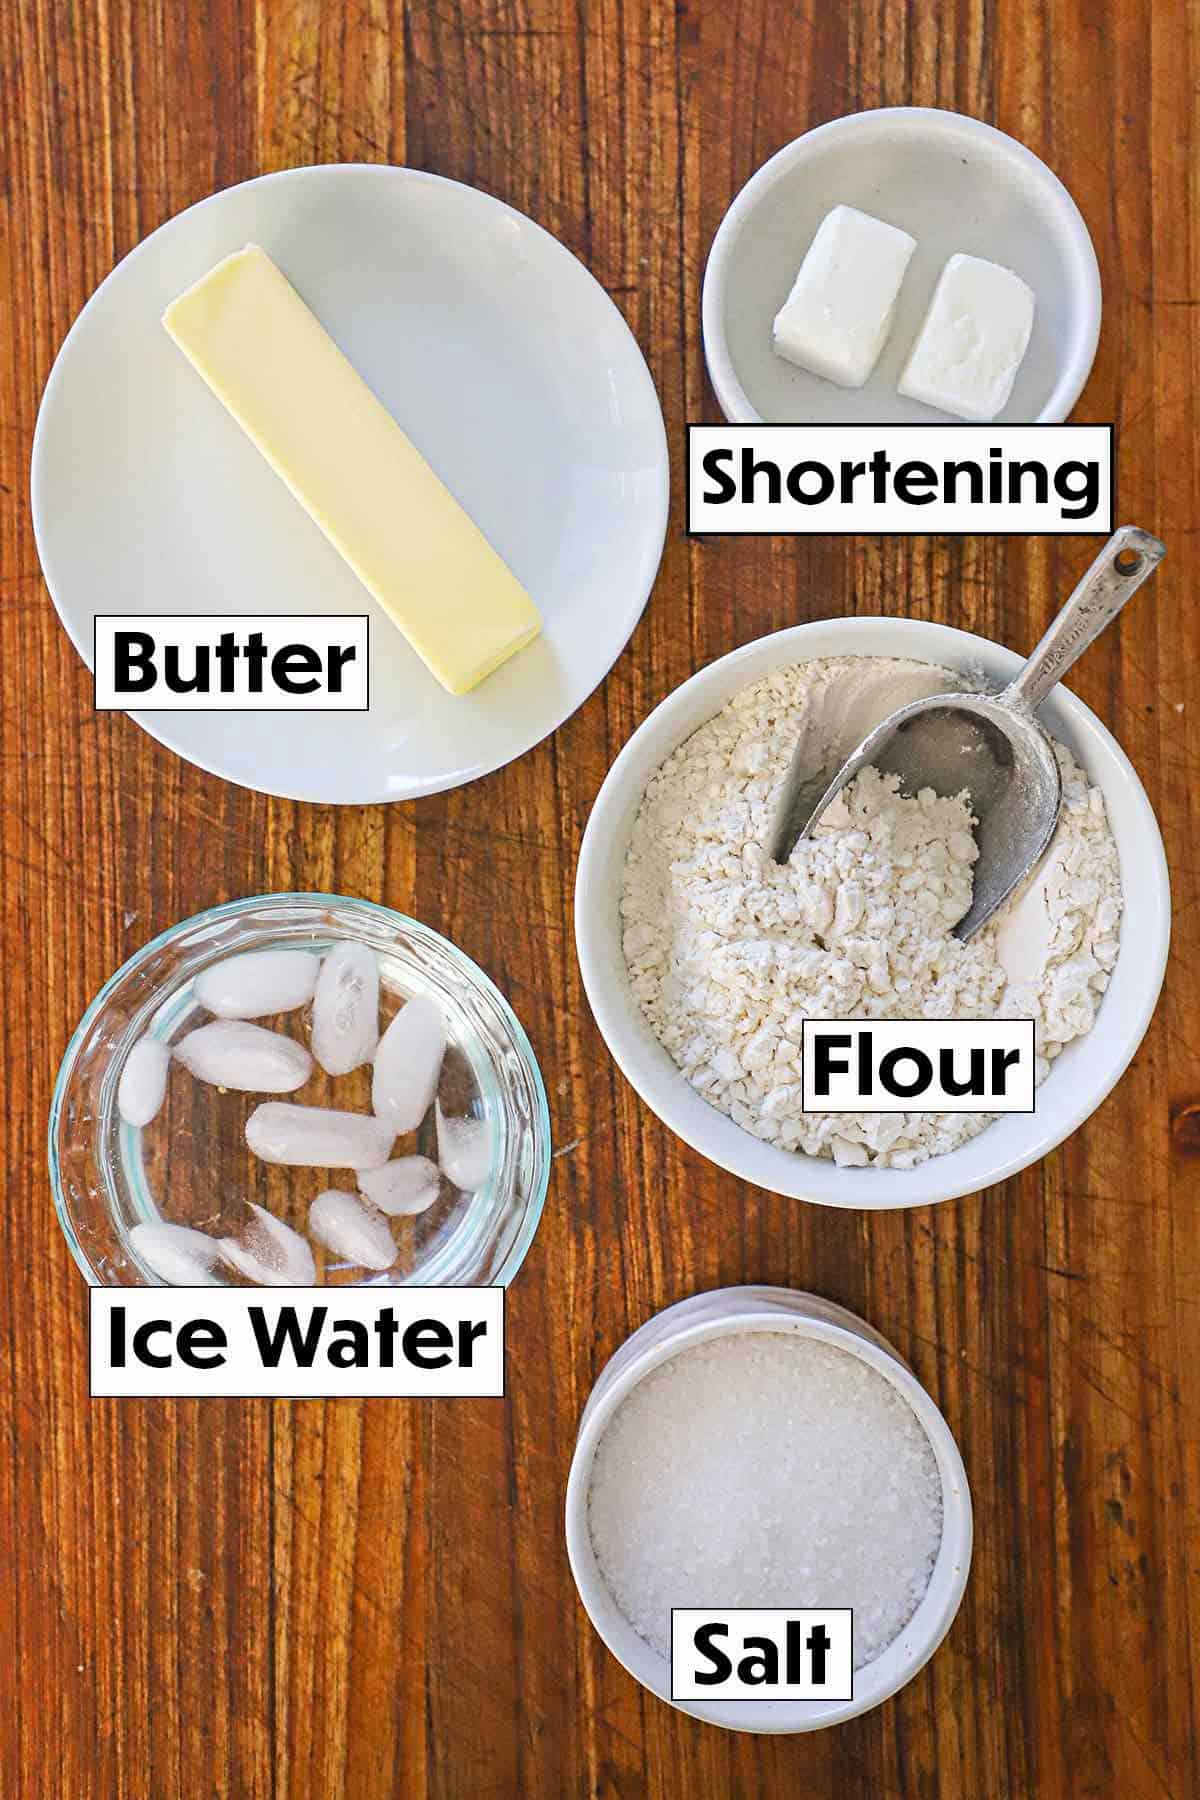
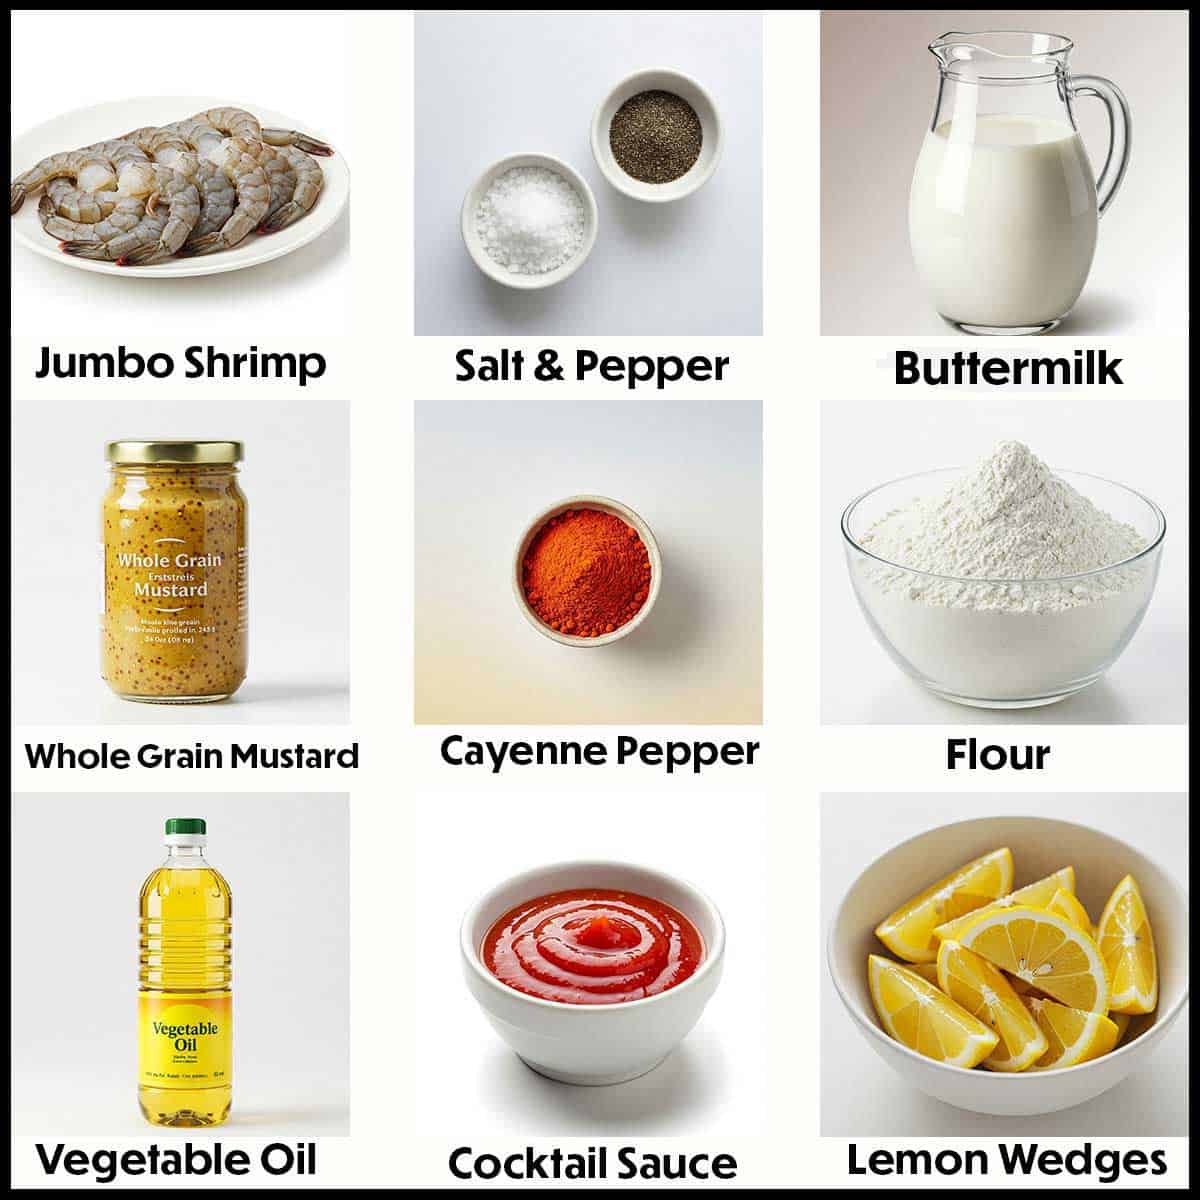
The components for this classic dish are humble and best when made from scratch. None of them are difficult and can be made in advance. Here’s what you’ll need to have on hand:
The Tools
Ramekins – We use 10-ounce ramekins, but really almost any size will work. If you go any larger, you’ll have a hefty pot pie that will typically feed more than 1 person.
Pie weights – You can also use dried beans, uncooked rice, or even coins (don’t forget to place parchment paper on the dough first, though!).
Pastry brush – For applying the egg wash.
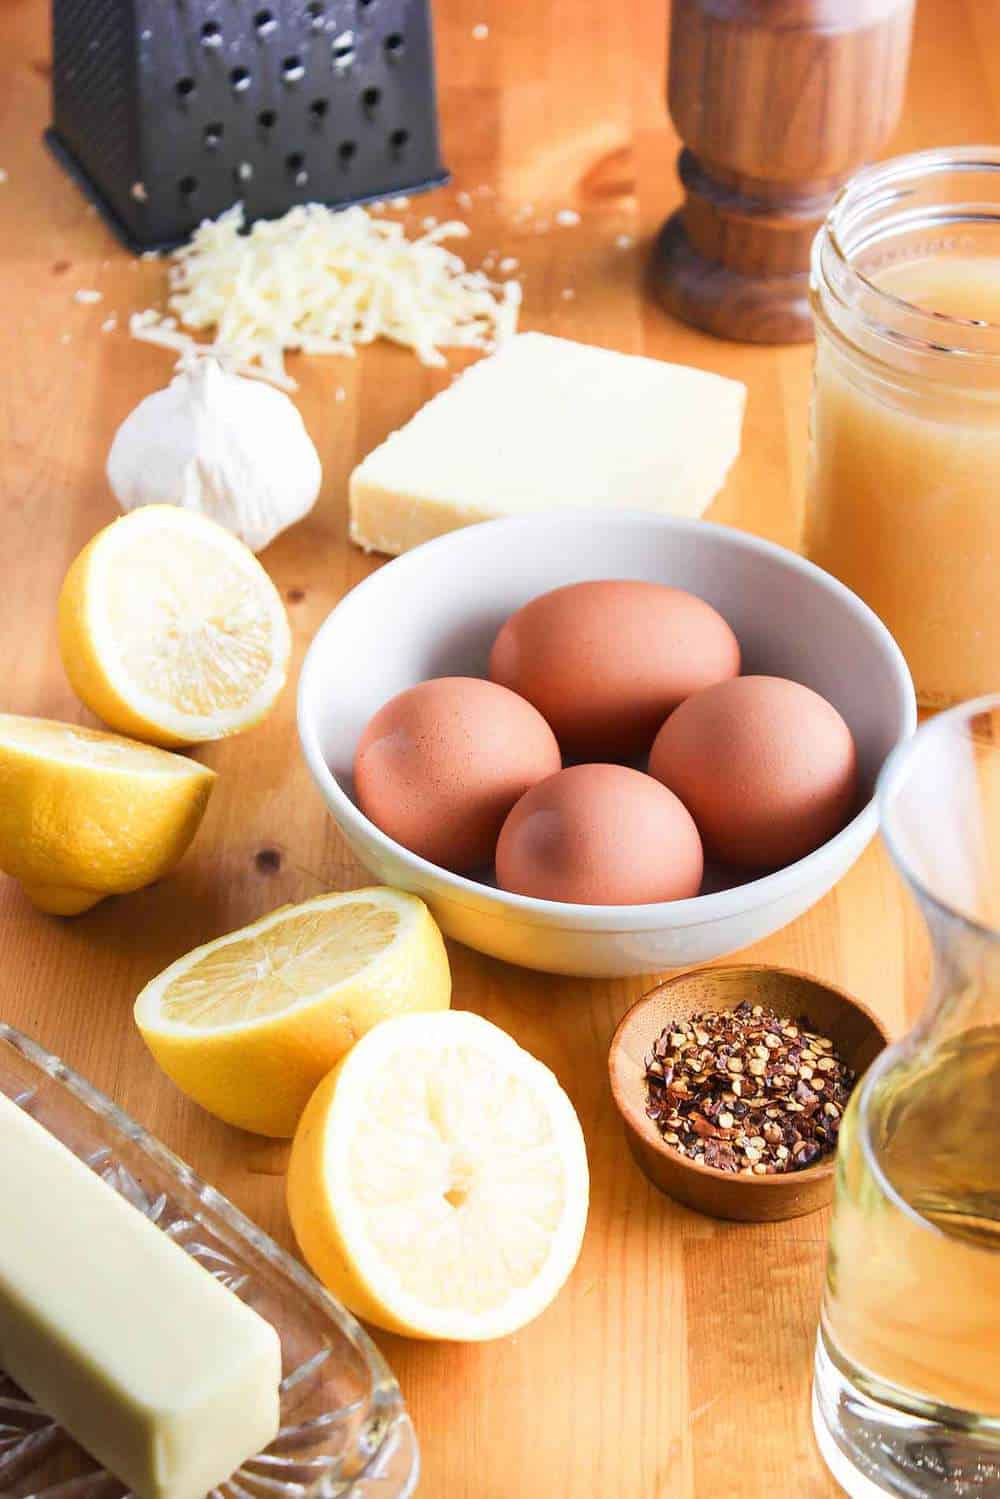
The Ingredients
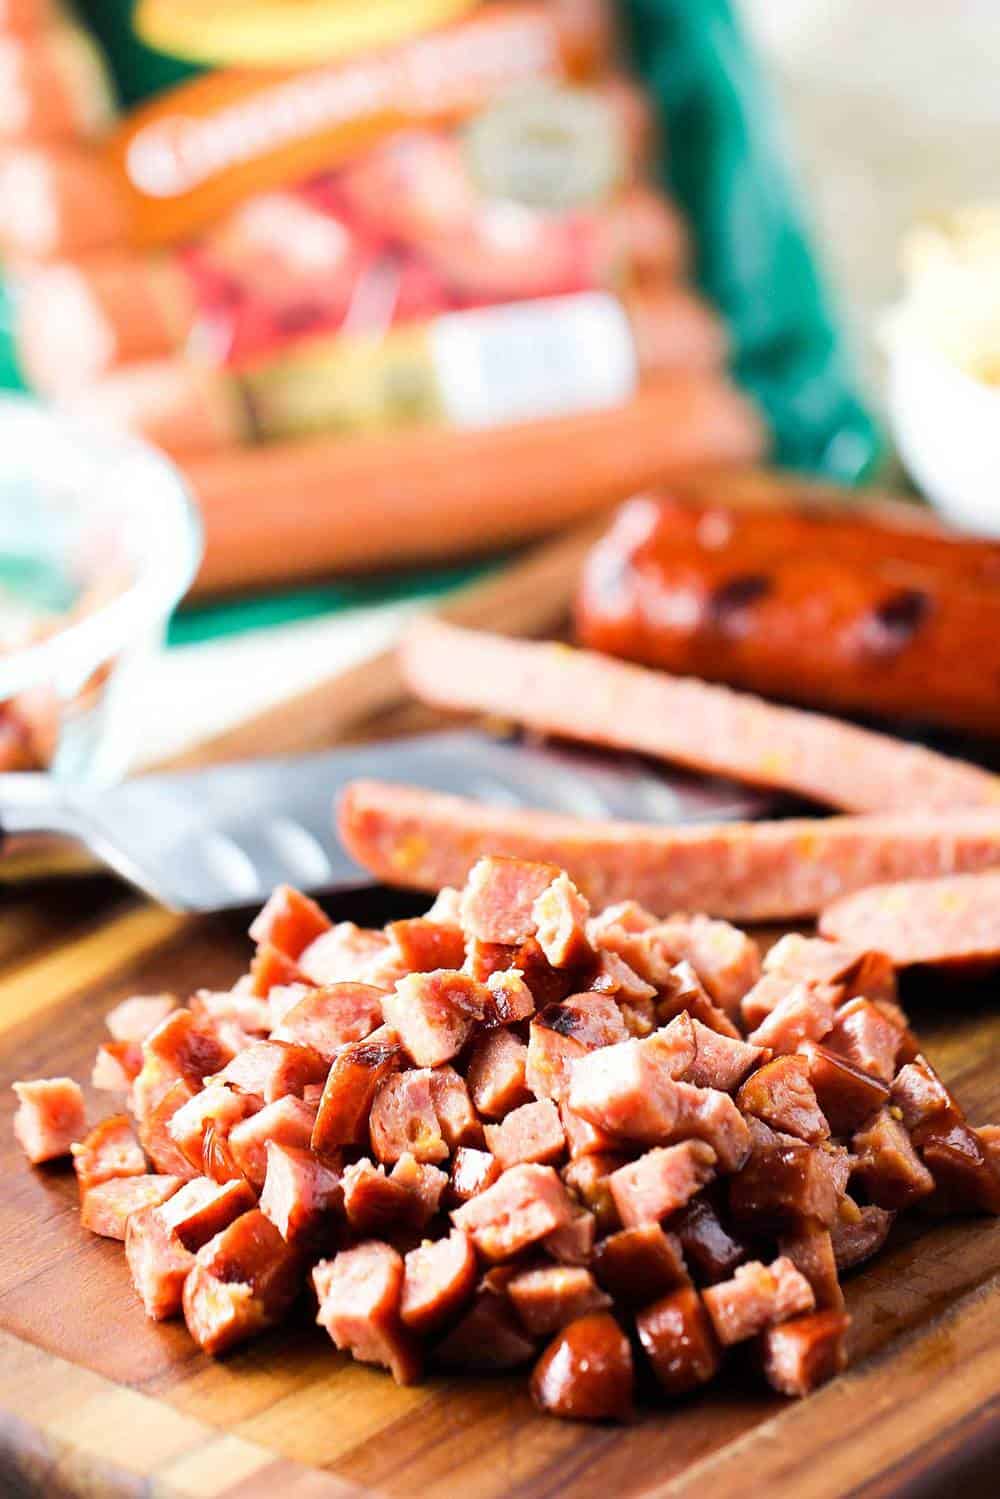
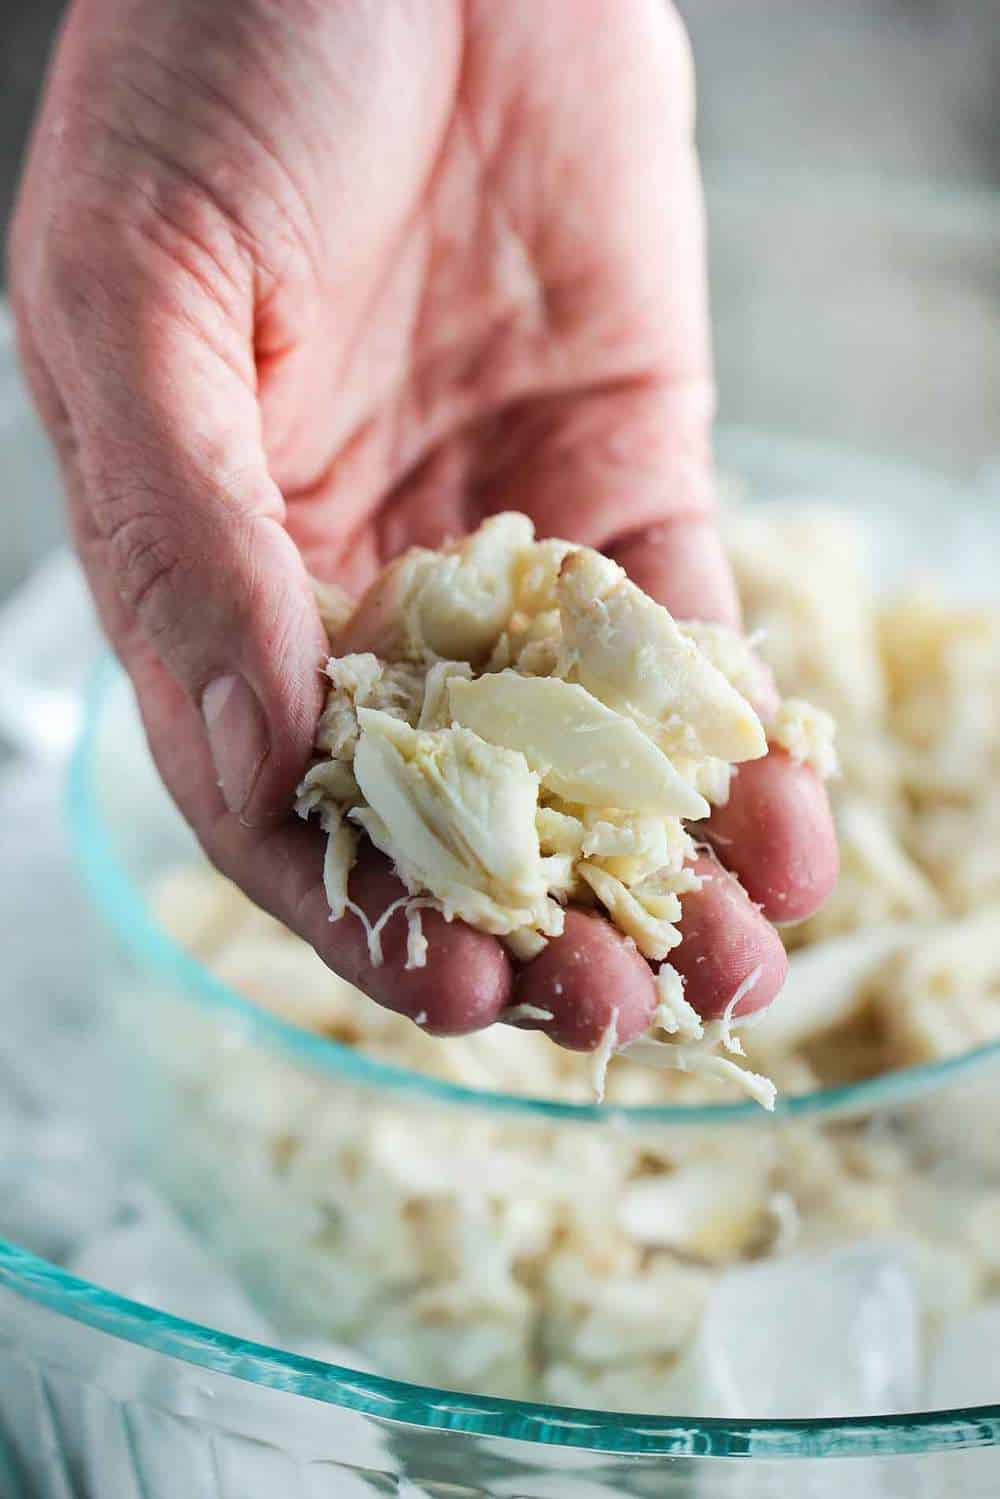
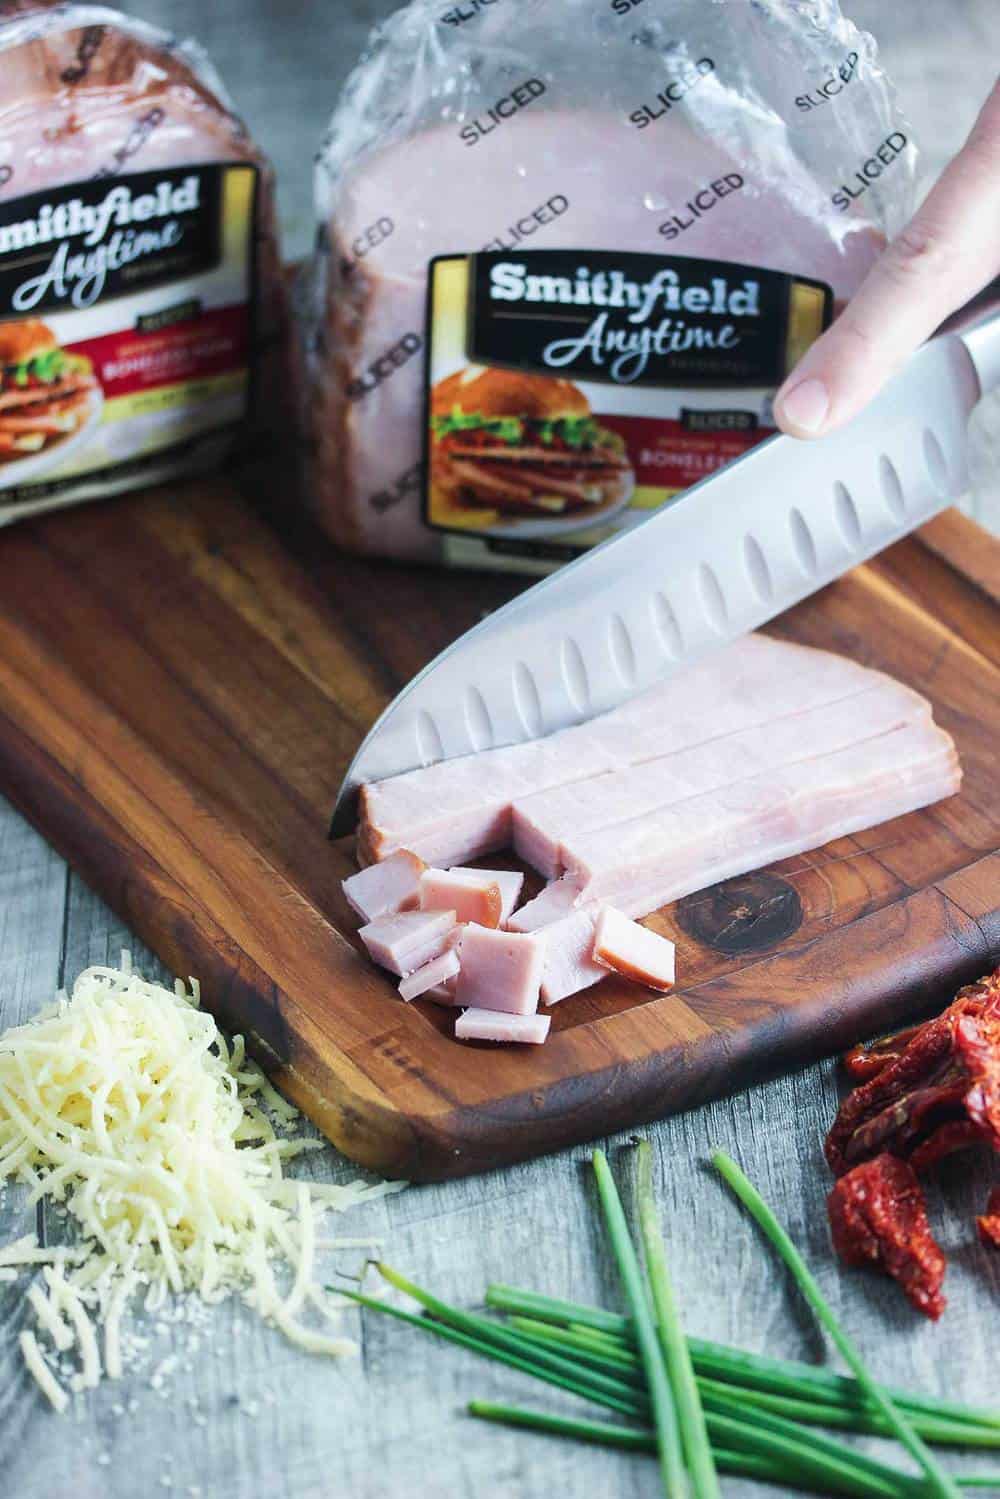
Cooked Chicken – We roast two chicken breasts and then remove the meat and cube it. You could also go with a rotisserie chicken from the supermarket. Or, poach chicken breasts and cube. We don’t recommend canned chicken.
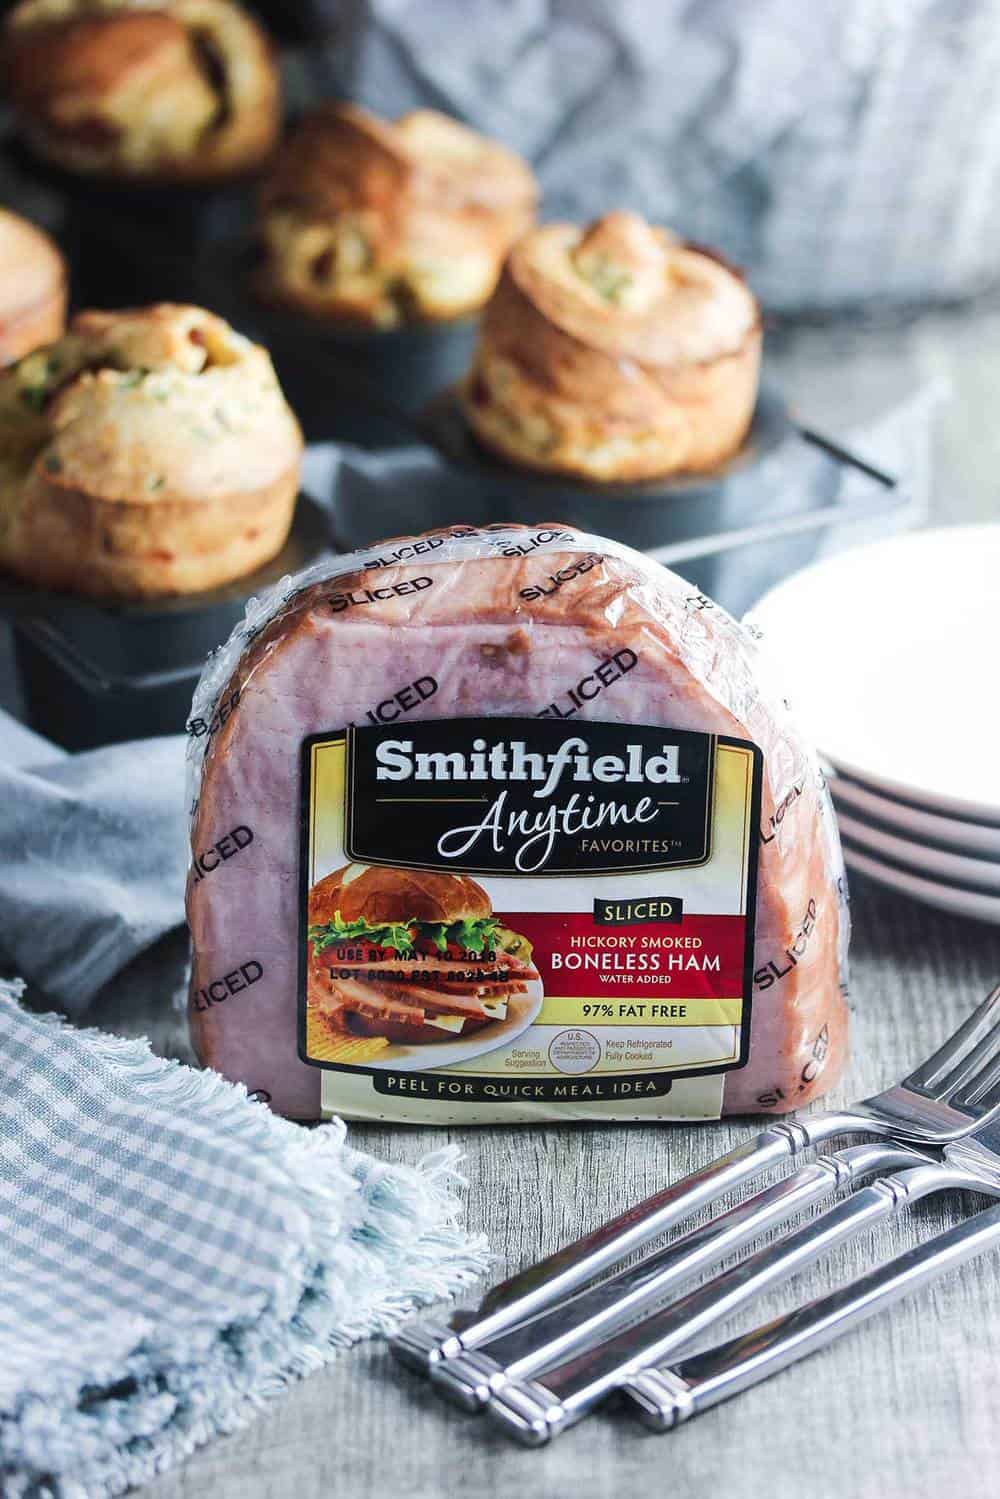
Chicken stock – Homemade chicken broth or stock takes this pot pie to the next level. However, store-bought will still be delicious.
Chicken bouillon cube – This bumps up the flavor even more. If using store-bought broth, you’ll need to check the sodium levels. There will be some salt in the bouillon cube.
Butter – Unsalted.
Onions – Chopped.
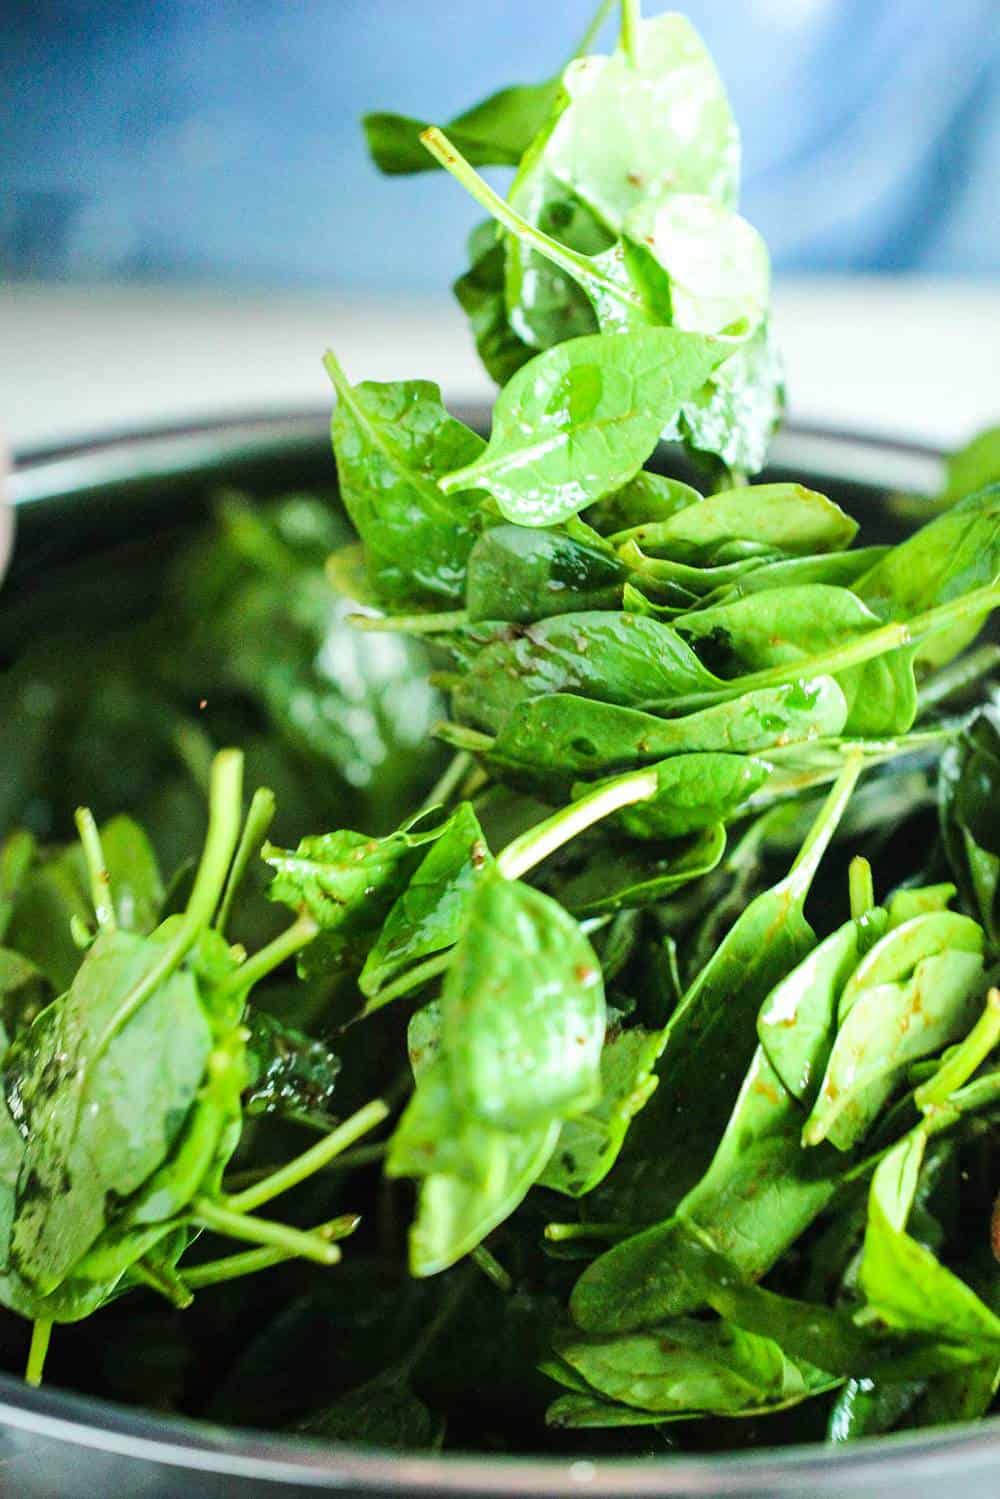
Mushrooms – Go with your favorite variety. We use sliced button mushrooms, but portobello, shiitake, or cremini are all excellent choices, too. If you don’t like mushrooms, then omit them.
Flour – All-purpose.
Seasonings – Salt and black pepper.
Cream – Heavy, whipping, or double cream. Half and half is a fine substitution.
Carrots – Fresh is best, peeled and cut into ¼-inch slices. Blanch them in boiling water for two to three minutes to soften them somewhat before baking them.
Peas – Frozen is perfect. You can substitute fresh snap peas if desired.
Parsley – Fresh, chopped.
Pie dough – Homemade is by far the best. However, store-bought will work just fine, too. See NOTES for quantities needed.
Egg – Beaten together with 1 tablespoon of water.
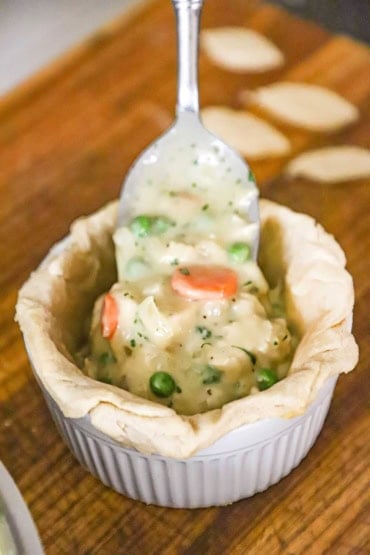
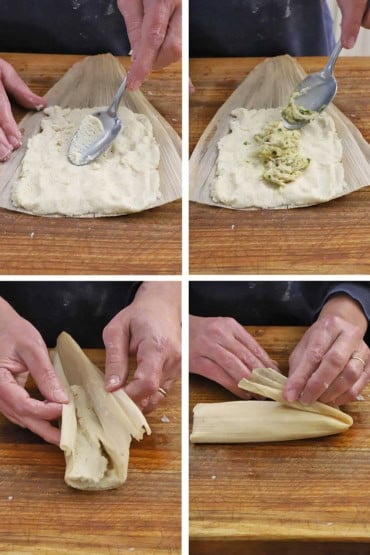
EXPERT TIP: Add enough filling to reach just nearly the top of the dough on the inside of the ramekin. If you fill it too high, you will get spillage (overflow) as the filling bubbles during the baking time.
Tips for Making the Perfect Homemade Chicken Pot Pie
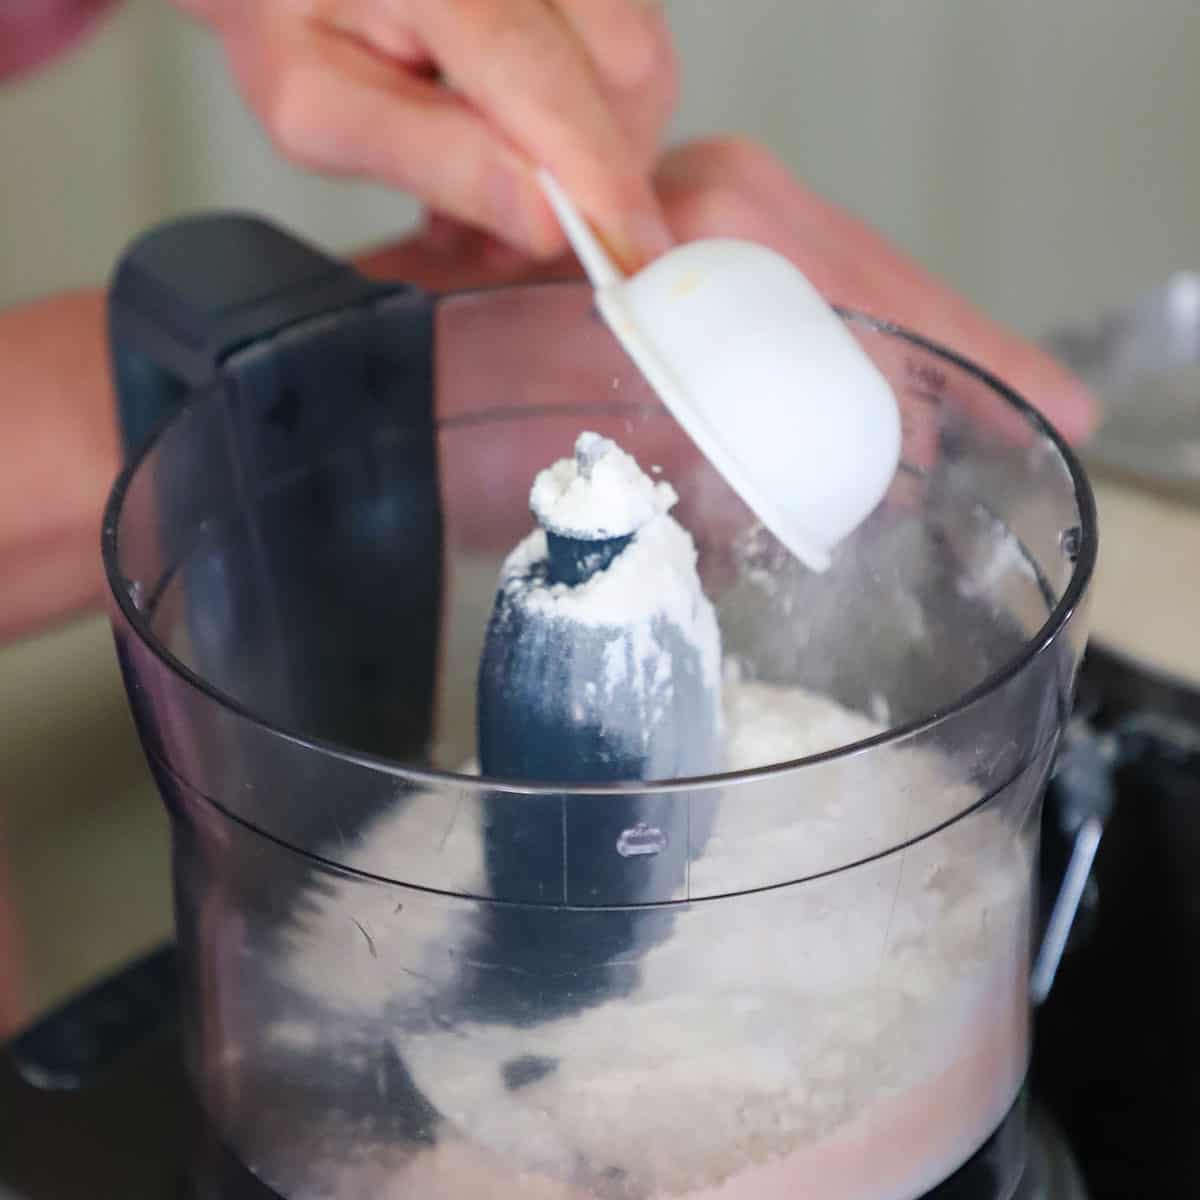
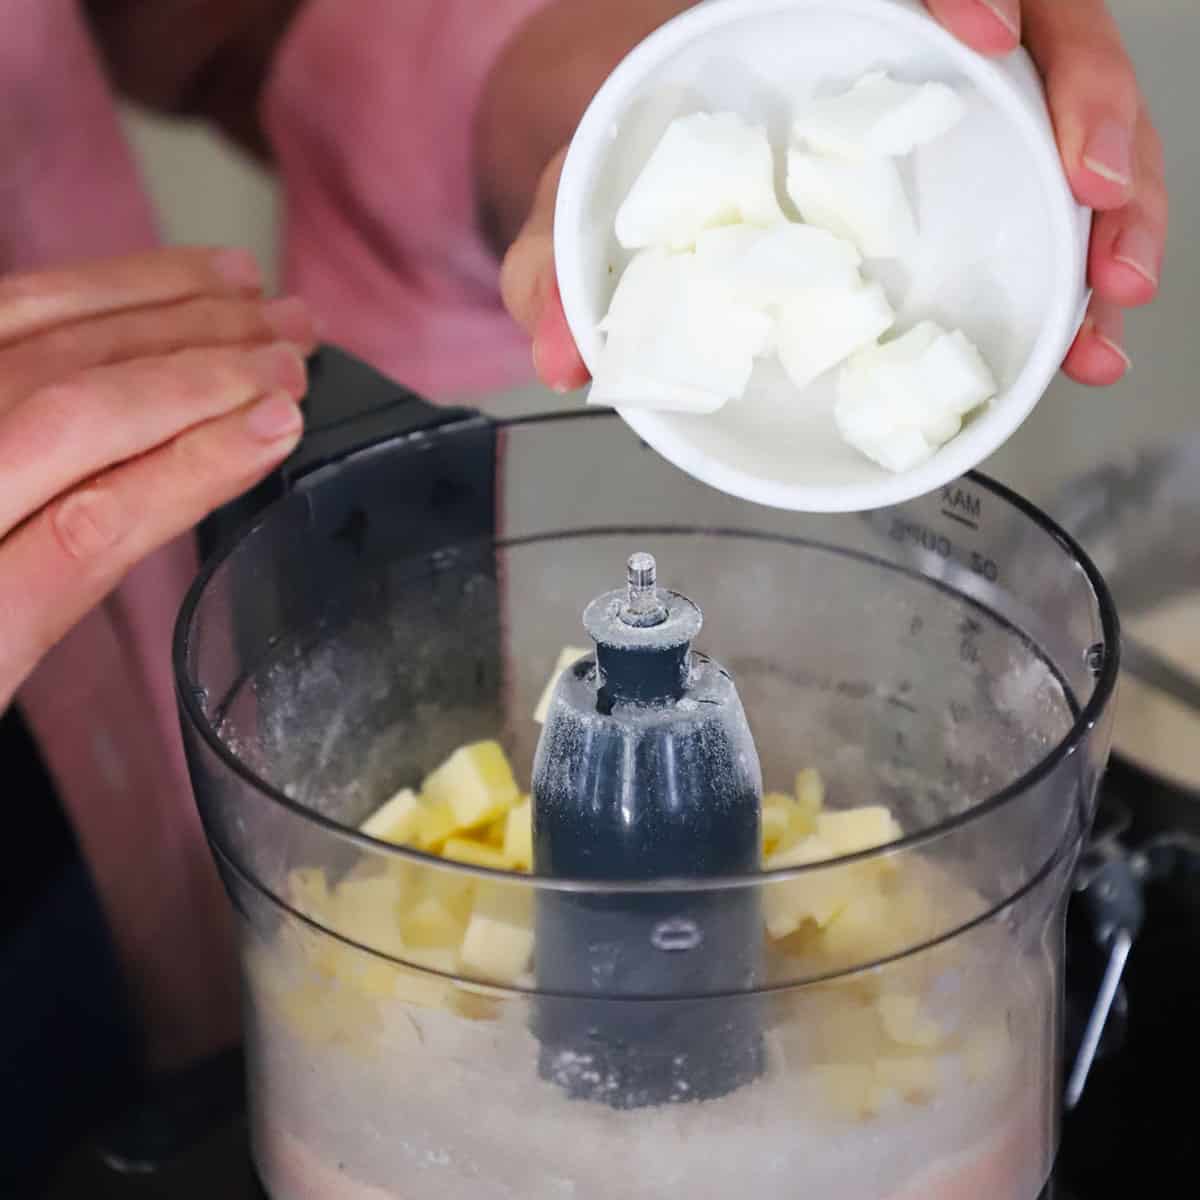
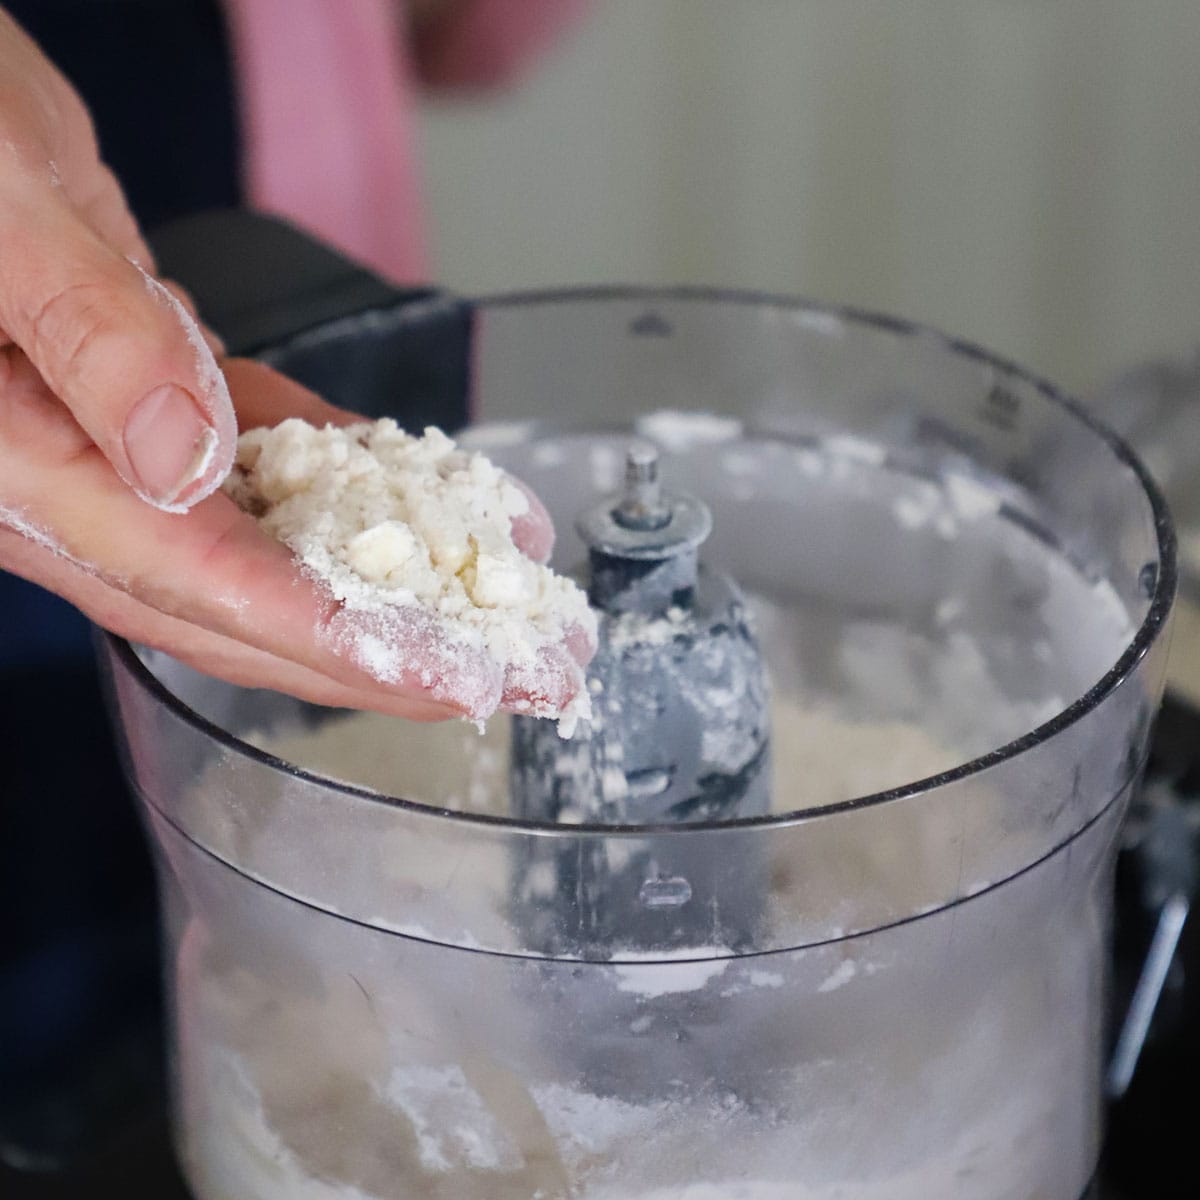
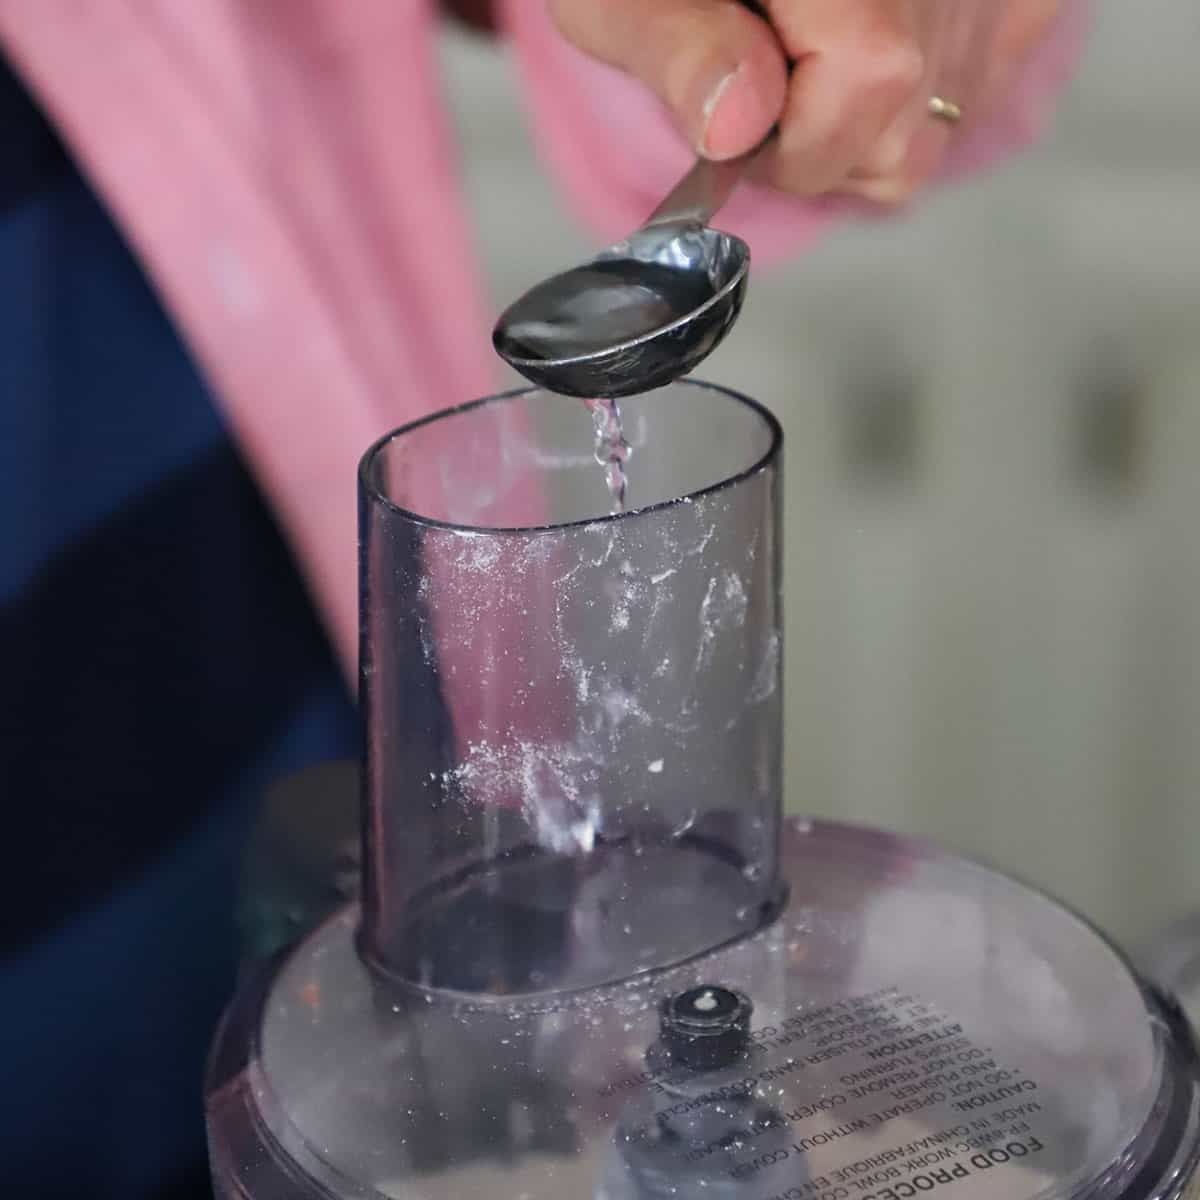
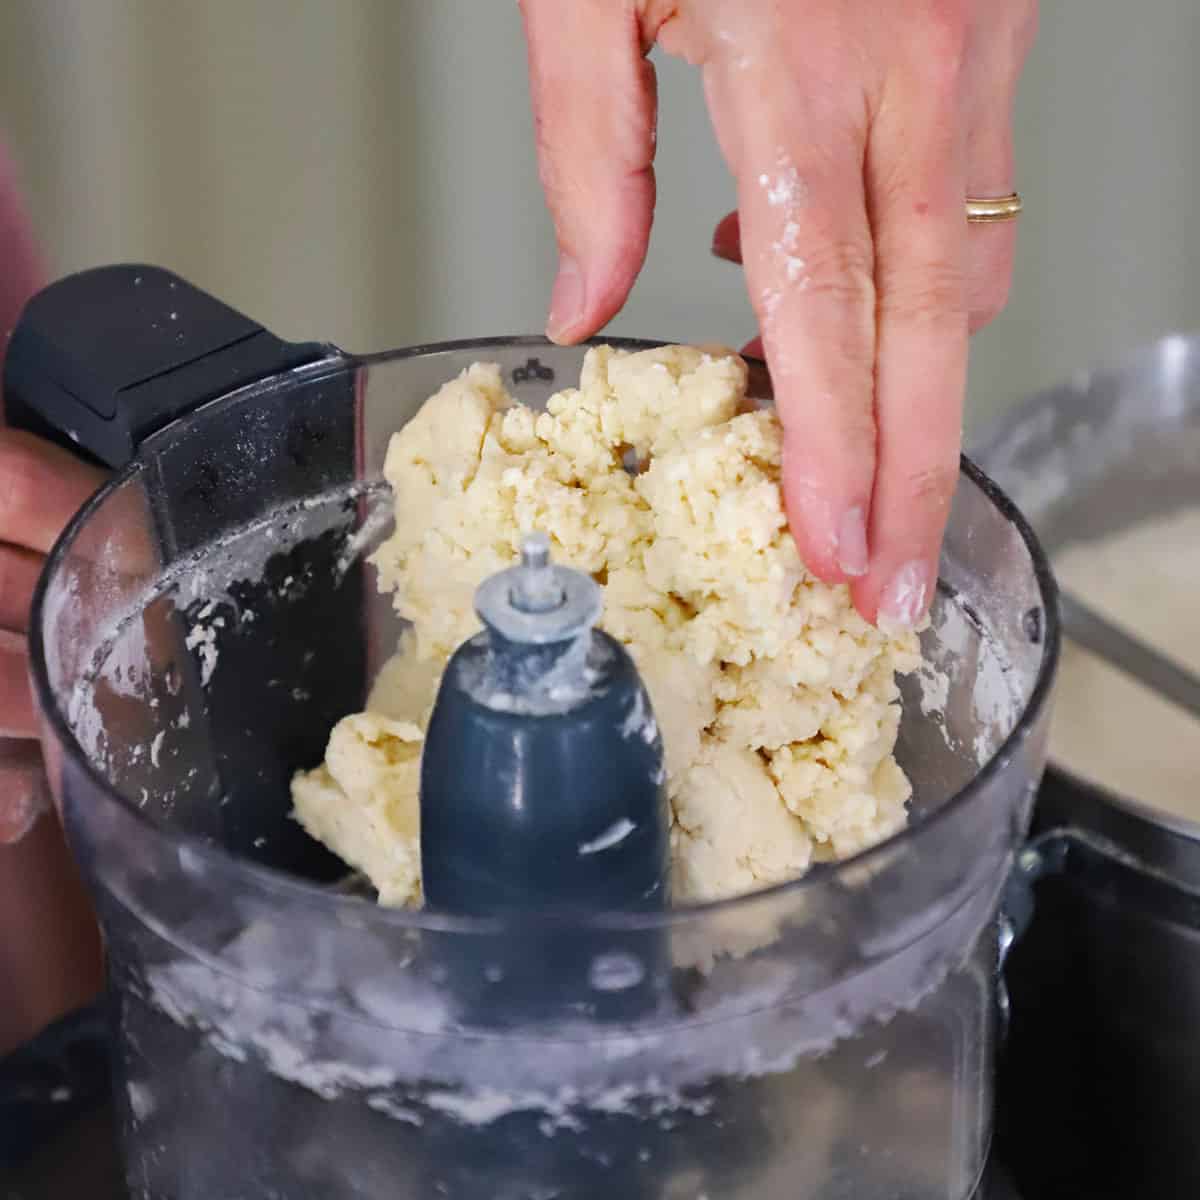
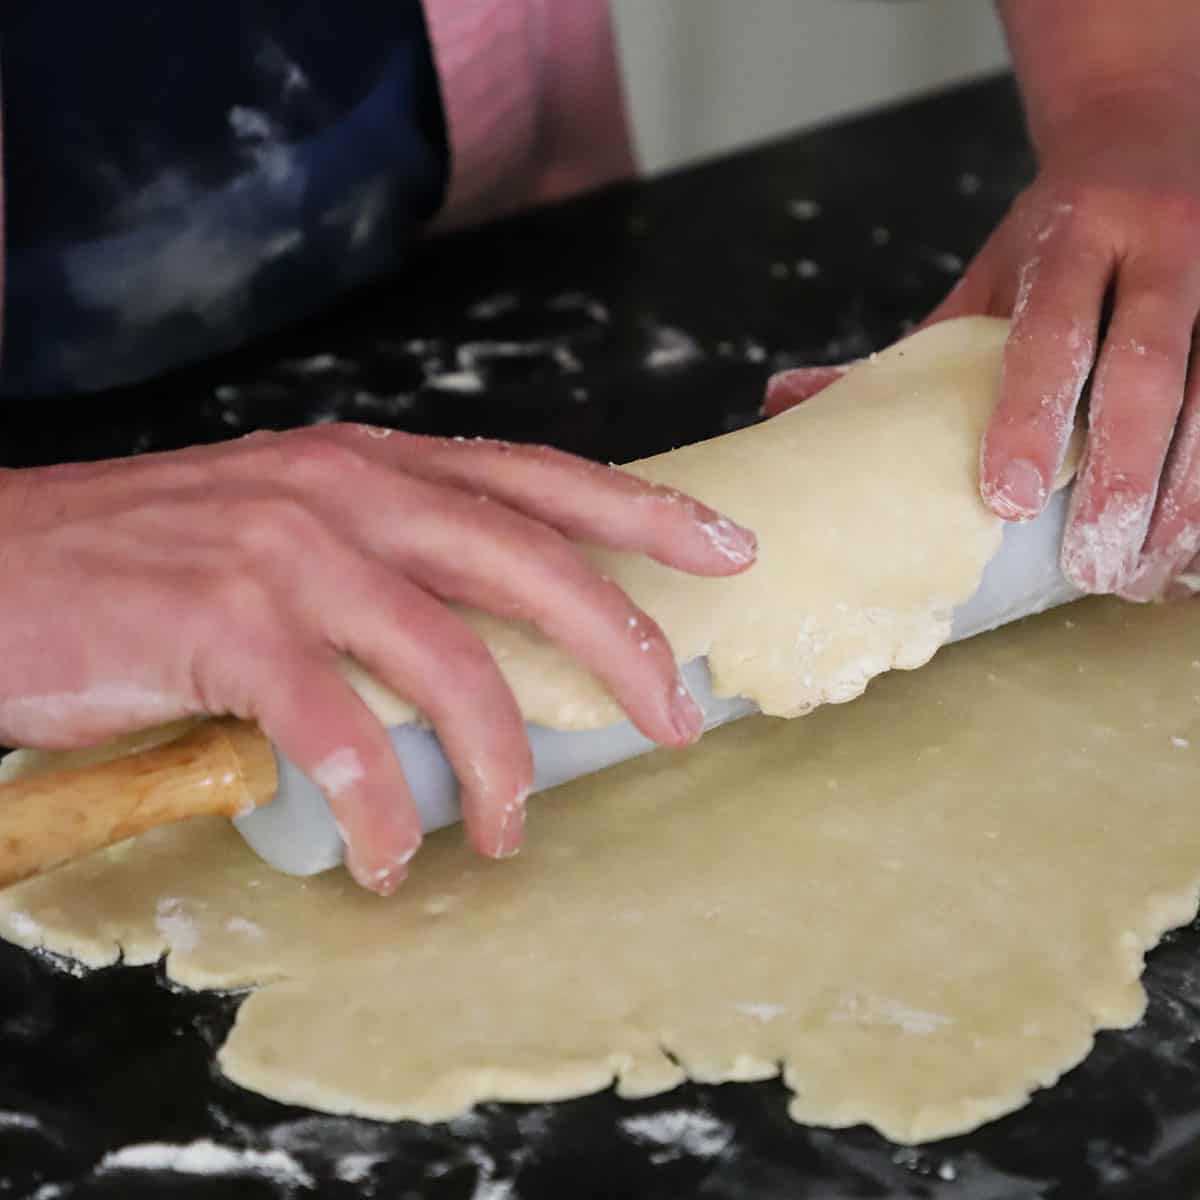
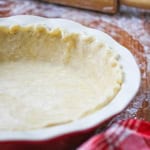
Make the Dough from Scratch – This really does make a huge difference. Use our food-processor dough recipe. It’s easy and the dough can be made a day or two in advance, or, frozen for weeks for future use. It takes the dish to the next level.
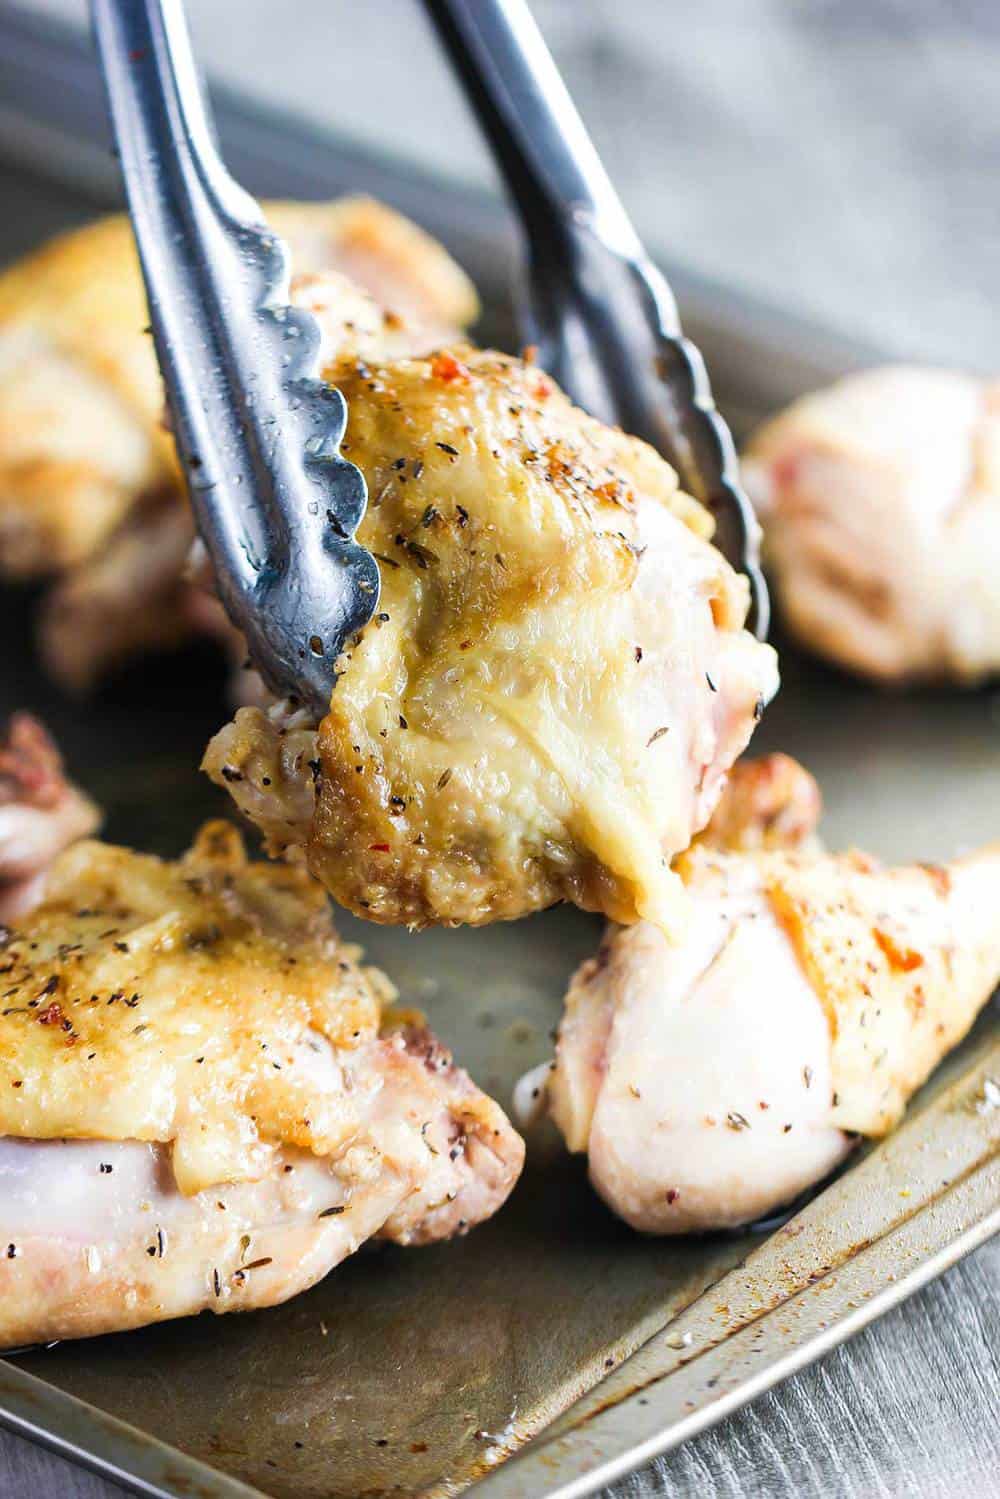
Roast the Chicken – Rotisserie chicken is just fine. Even poached chicken breasts, too. But, roasting bone-in, skin-on chicken breasts that have been brushed with olive oil and seasoned with salt and pepper delivers superior taste and texture.
Use Homemade Chicken Broth – This can be done in advance. Use our homemade chicken broth or roasted chicken stock recipe. It enhances the flavor of the filling big time.
Go With a Double Crust – The magic of a pot pie is when the creamy filling mixes with the flakey crust. Having a crust on the bottom of the pie as well as the top is not only classic, it’s the perfect ratio of crust to filling.
EXPERT TIP: Be sure to apply an egg wash along the top of the par-baked crust when adhering to the top layer of crust. Lightly pinch the two crusts together. Don’t press the bottom crust too firmly over the edge of the ramekin. This will help the pot pie to easily come out of the ramekin.

How To Serve
This recipe makes enough filling for 4 to 6 pot pies. If making less, you can half the filling recipe, or make it all and save extra for future use. It freezes wonderfully.
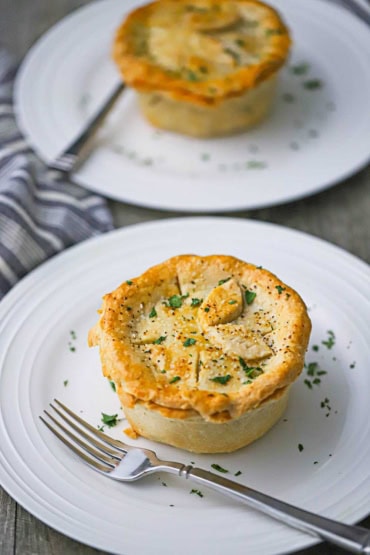
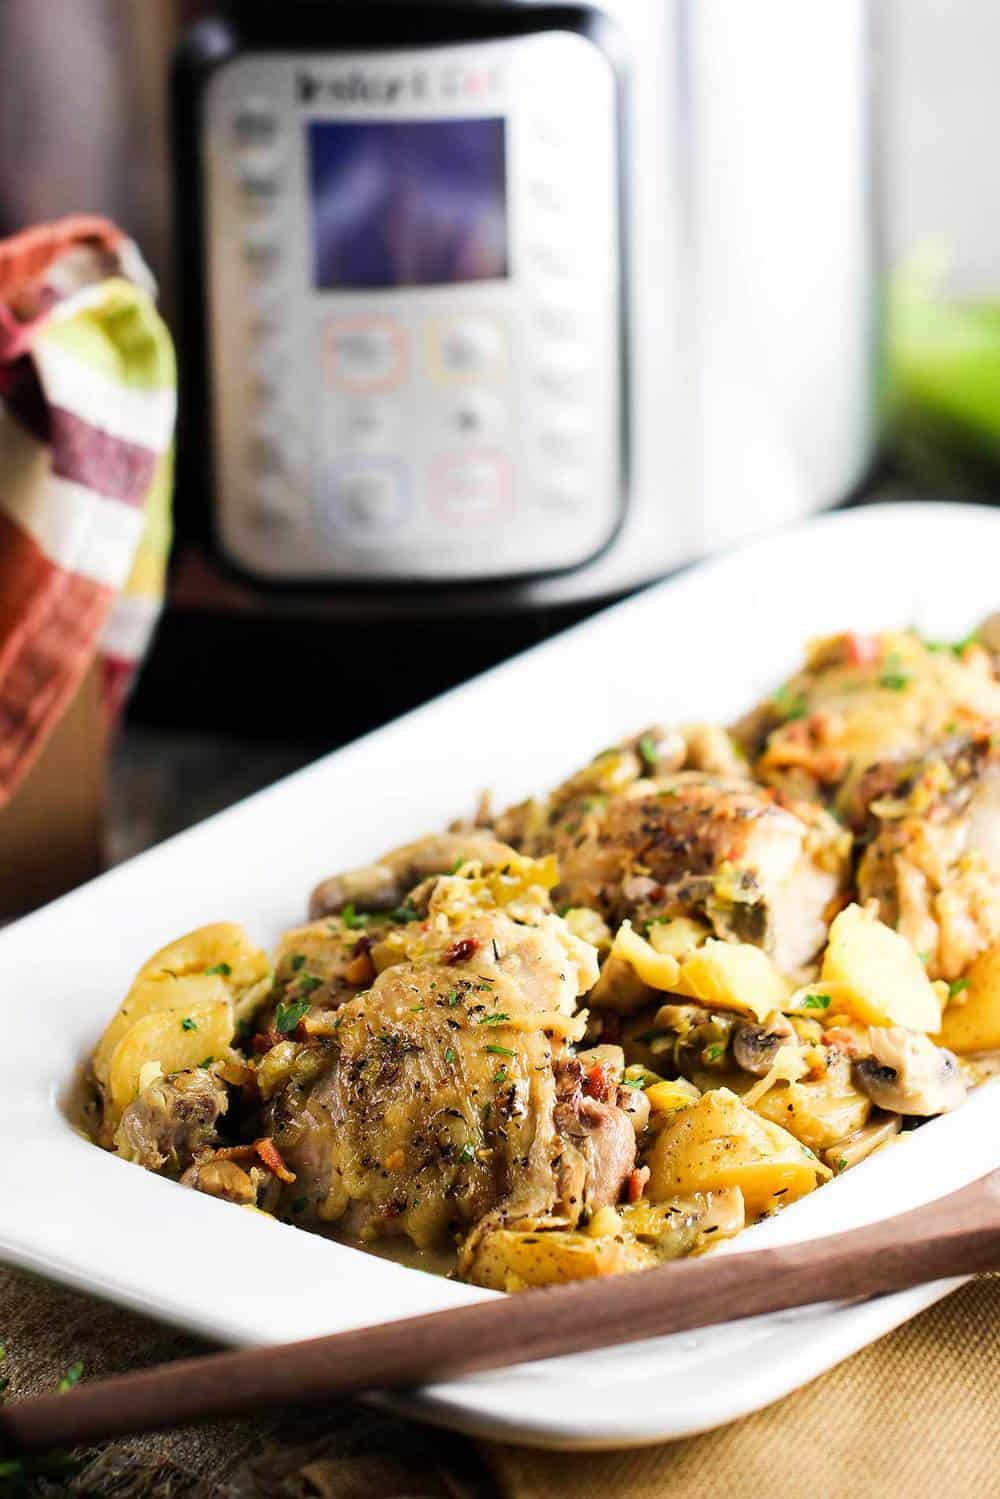
You can serve the pot pies still in the ramekins, or, for a stunning presentation, wait until the sides are cool enough to handle (or use heat-proof gloves), and gently turn the pot pie in the ramekin so it’s loose, and then pull it out and place on a plate, fully intact. Sprinkle with finely chopped parsley for a bit of color.
You can also gently place a dinner plate on top of the pot pie and then quickly (but carefully) invert and allow the pot pie to slide out of the ramekin. It will be upside down, but still beautiful. It will remind you of how most of us removed the frozen pot pies when we were younger (or not so young!).
EXPERT TIP: When the pot pies come out of the oven, they will be extremely hot. We recommend allowing them to cool for at least 15 minutes on a rack. They will stay hot for nearly an hour after removing them from the oven. This also makes it easier to remove them from the hot ramekin.
Other Classic Homemade Comfort Food Recipes To Try
There is nothing much better than making an iconic comfort food dish from scratch. We believe that’s what makes them so comforting. Made with love with simple ingredients. From the heart. Here is a collection of some of our favorites:
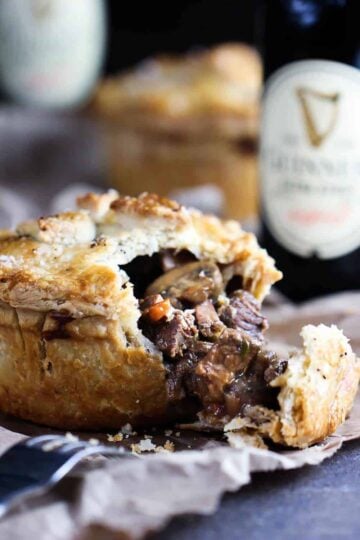
- Pub-Style Beef Pie
- Guinness Beef Pot Pie
- Classic Shepherd’s Pie
- Best-Ever Meat Pies
- Homemade Chicken Noodle Soup
- Southern Fried Chicken
- Grandma’s Swiss Steak
- Stuffed Cabbage Rolls
- All-American Pot Roast
- Classic Fish and Chips
These are all classic and wonderful in their own way. But, in the meantime, isn’t this classic dish calling your name?

If pot pie brings back wonderful delicious childhood memories as it does for us, you will fall in love with this homemade version.
You can easily cut corners and go with store-bought pie dough and chicken broth, but, if you have a little extra time, it’s worth the small amount of effort to make it all from scratch.
When you serve these to loved ones, they will without a doubt fill the joy of homemade comfort with every single bite.
Ready to make one of the most comforting dishes of all time? Go for it!
And when you do, be sure to take a photo of it, post it on Instagram, and tag @HowToFeedaLoon and hashtag #HowToFeedaLoon!

Chicken Pot Pie (Double Crust)
Equipment
- 4 10-ounce ramekins or similar-sized vessels
Ingredients
Do Ahead
- 4 pie doughs four a 9-inch pie dish, see NOTES
- 5 cups chicken stock or homemade turkey stock
- 1 cup carrots peeled and sliced, blanched in boiling water for 2 minutes, and then drained.
For the Pot Pie
- 2 chicken breasts bone-in, skin-on
- 2 tablespoon olive oil
- Kosher salt
- Ground black pepper
- 2 chicken bouillon cubes
- 6 tablespoon unsalted butter plus extra for greasing the ramekins
- 1 medium onion chopped
- 8 oz. mushrooms sliced
- ¾ cup all-purpose flour
- ½ cup heavy cream
- ½ cup frozen peas
- ¼ cup Italian parsley chopped, plus extra for garnish
- 1 egg beaten with 1 tablespoon of water (for egg wash)
Instructions
Do Ahead
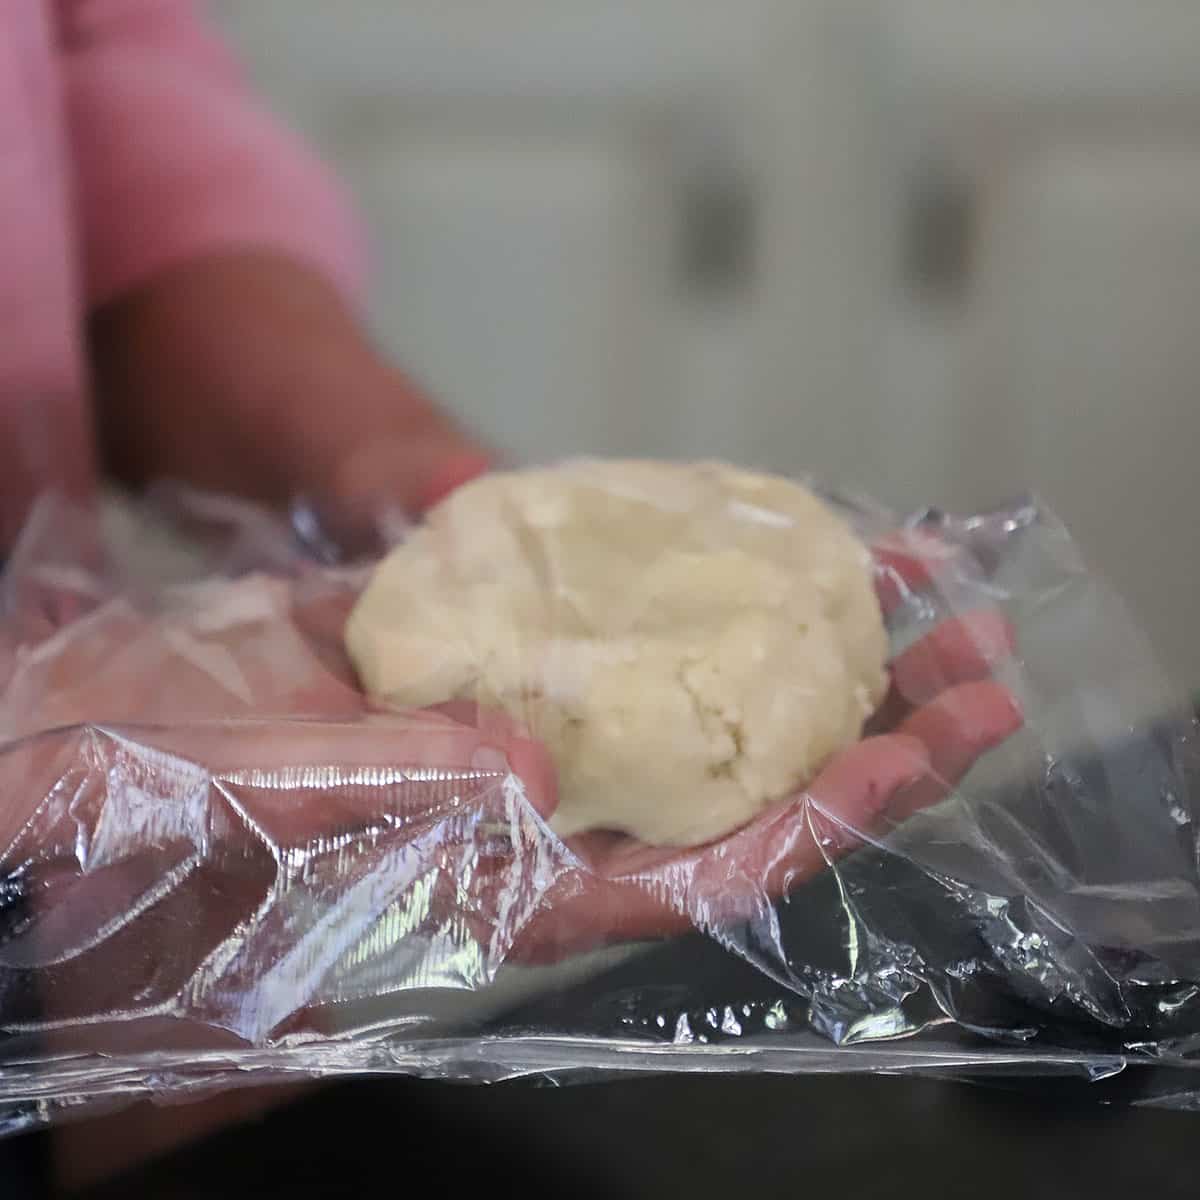
- Make the pie dough (4 times) and form each into a disc. Cover with plastic wrap and refrigerate (for up to 3 days), or freeze (up to a month, then thaw).4 pie doughs
- Prepare the chicken broth (or stock). Store in the refrigerator (up to 1 week) until ready to use. This can be done up to 5 days in advance. Or freeze for up to several months. (Thaw before using).5 cups chicken stock
- Blanch the carrots in boiling water for 2 minutes, drain, and set aside.1 cup carrots
Make the Pot Pies
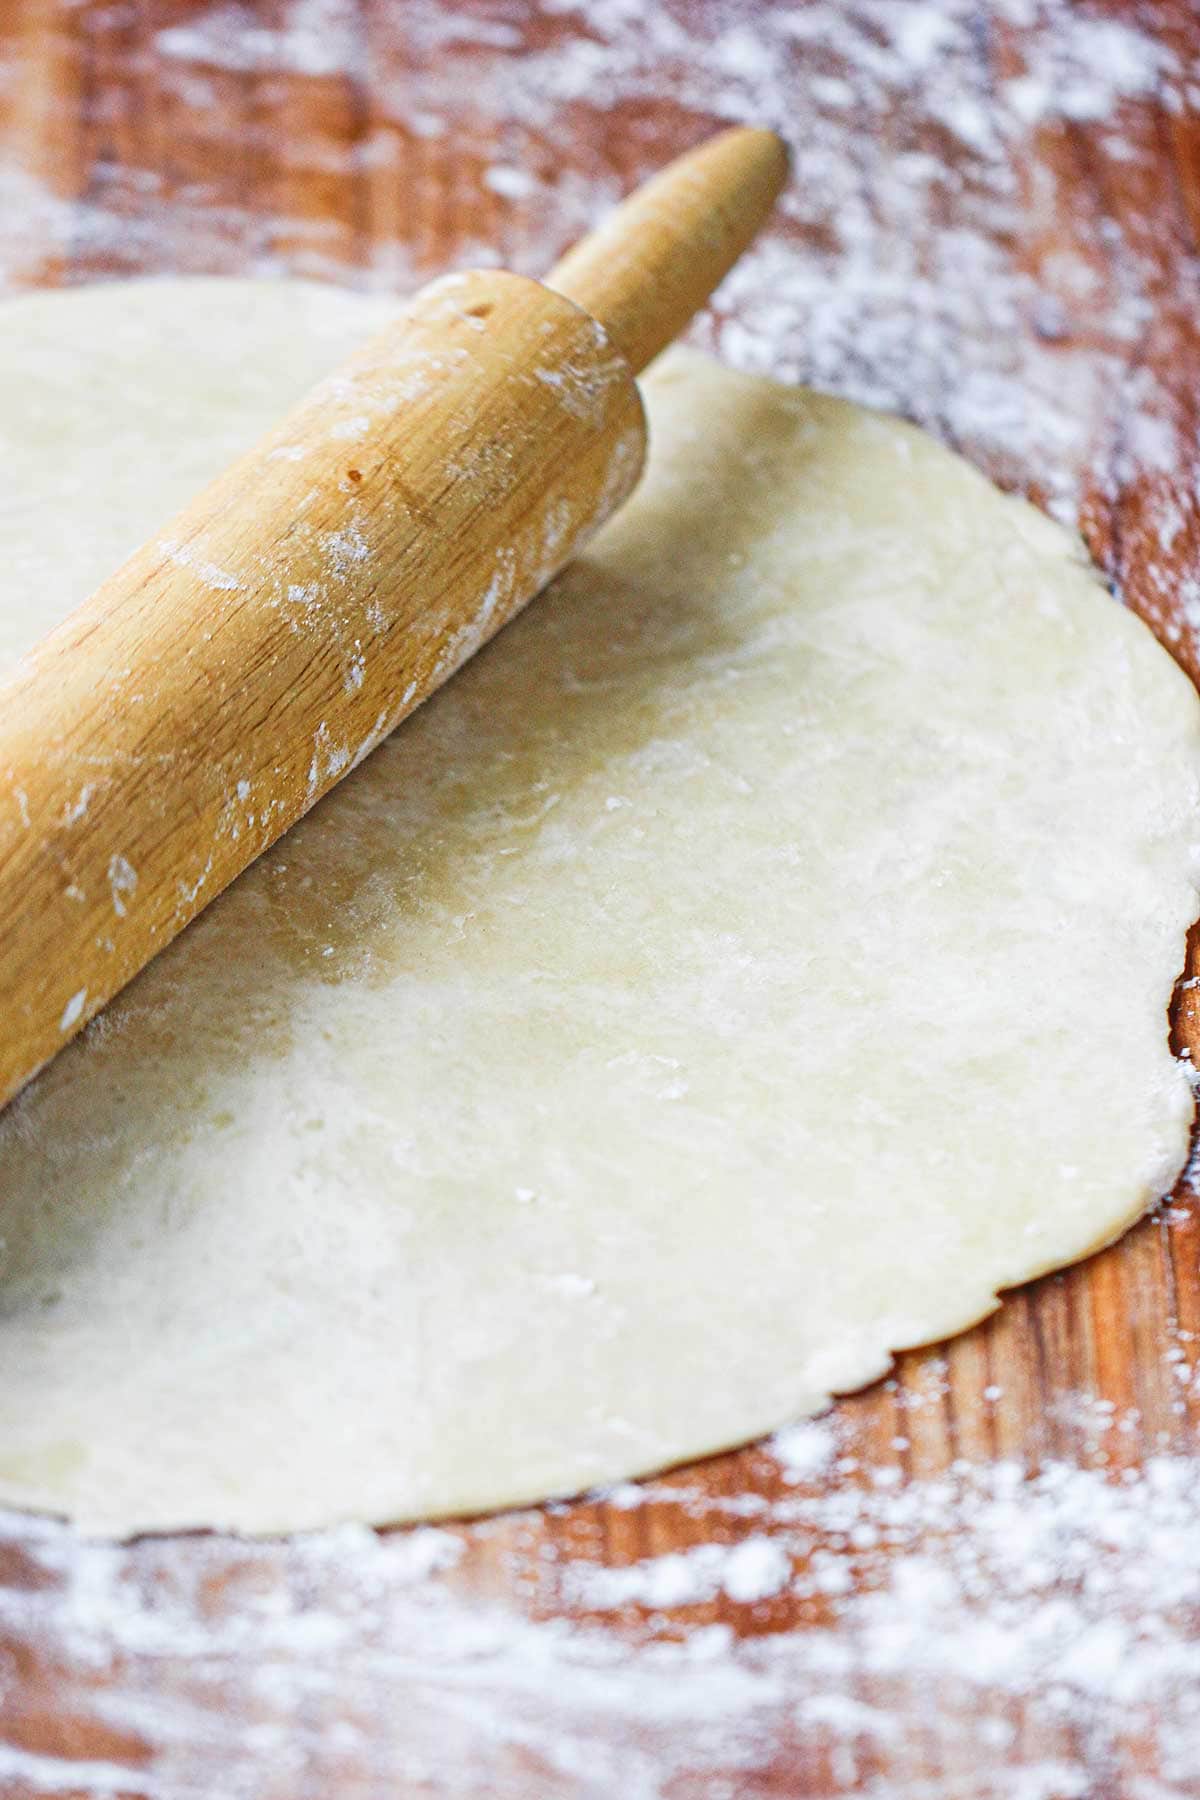
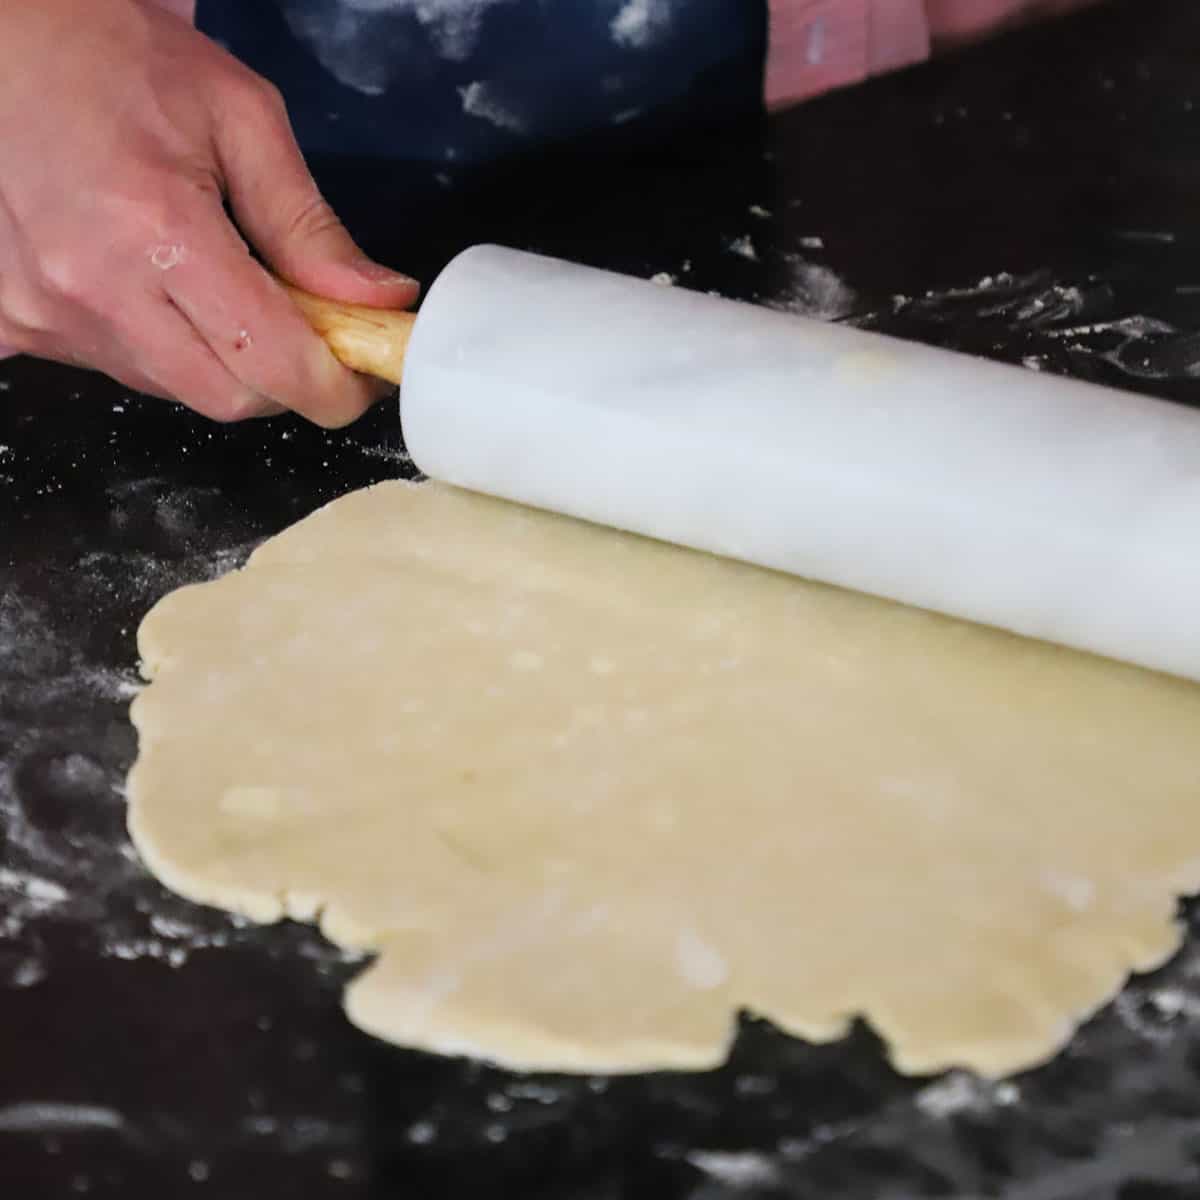
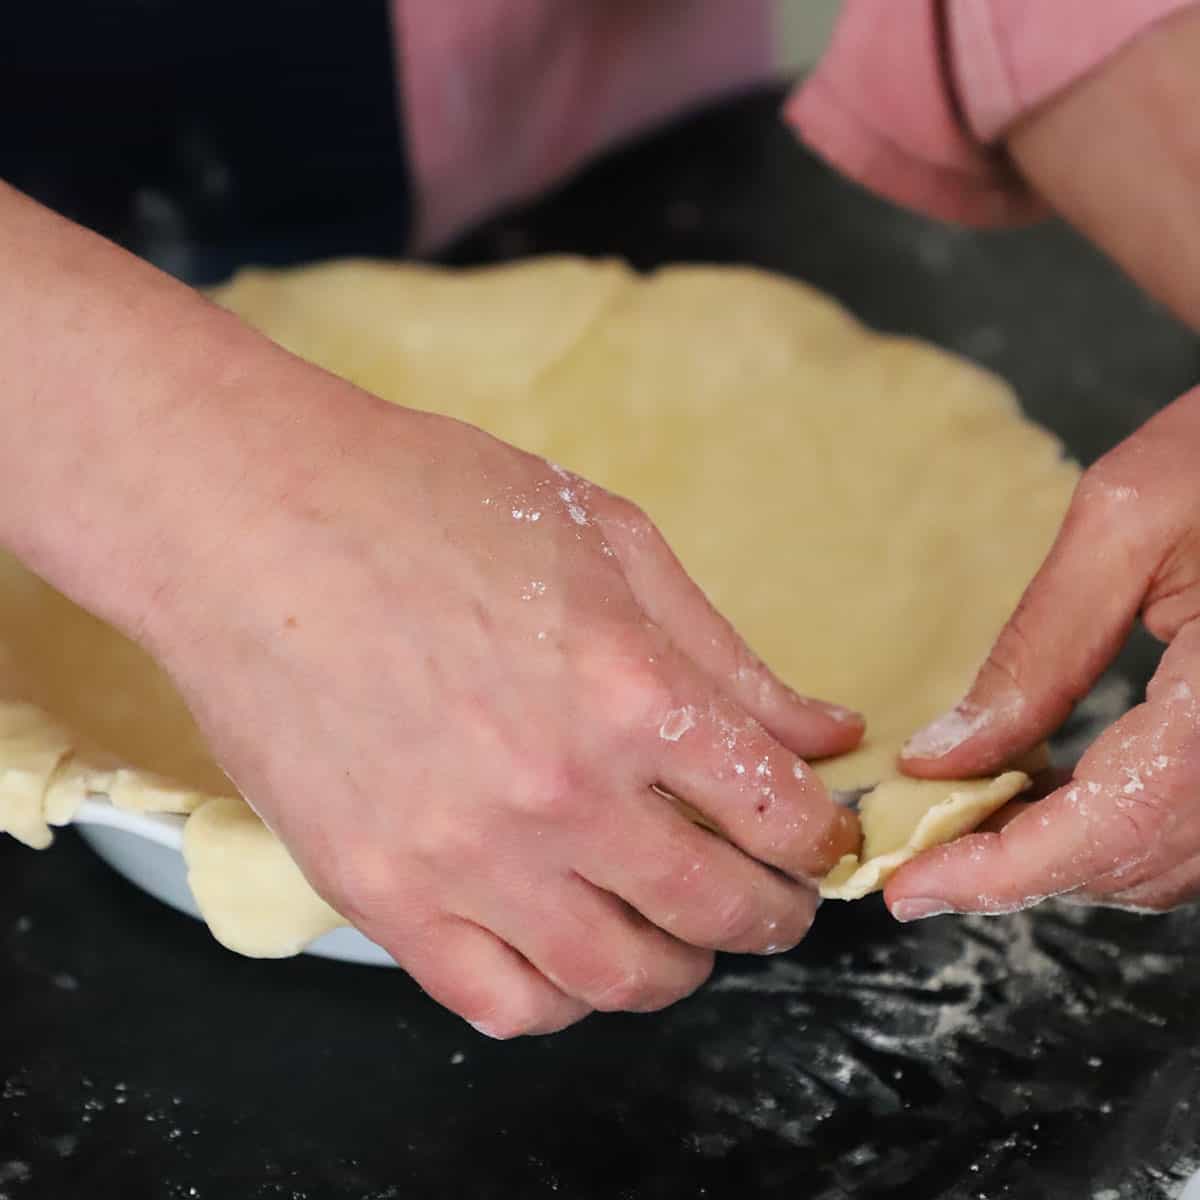
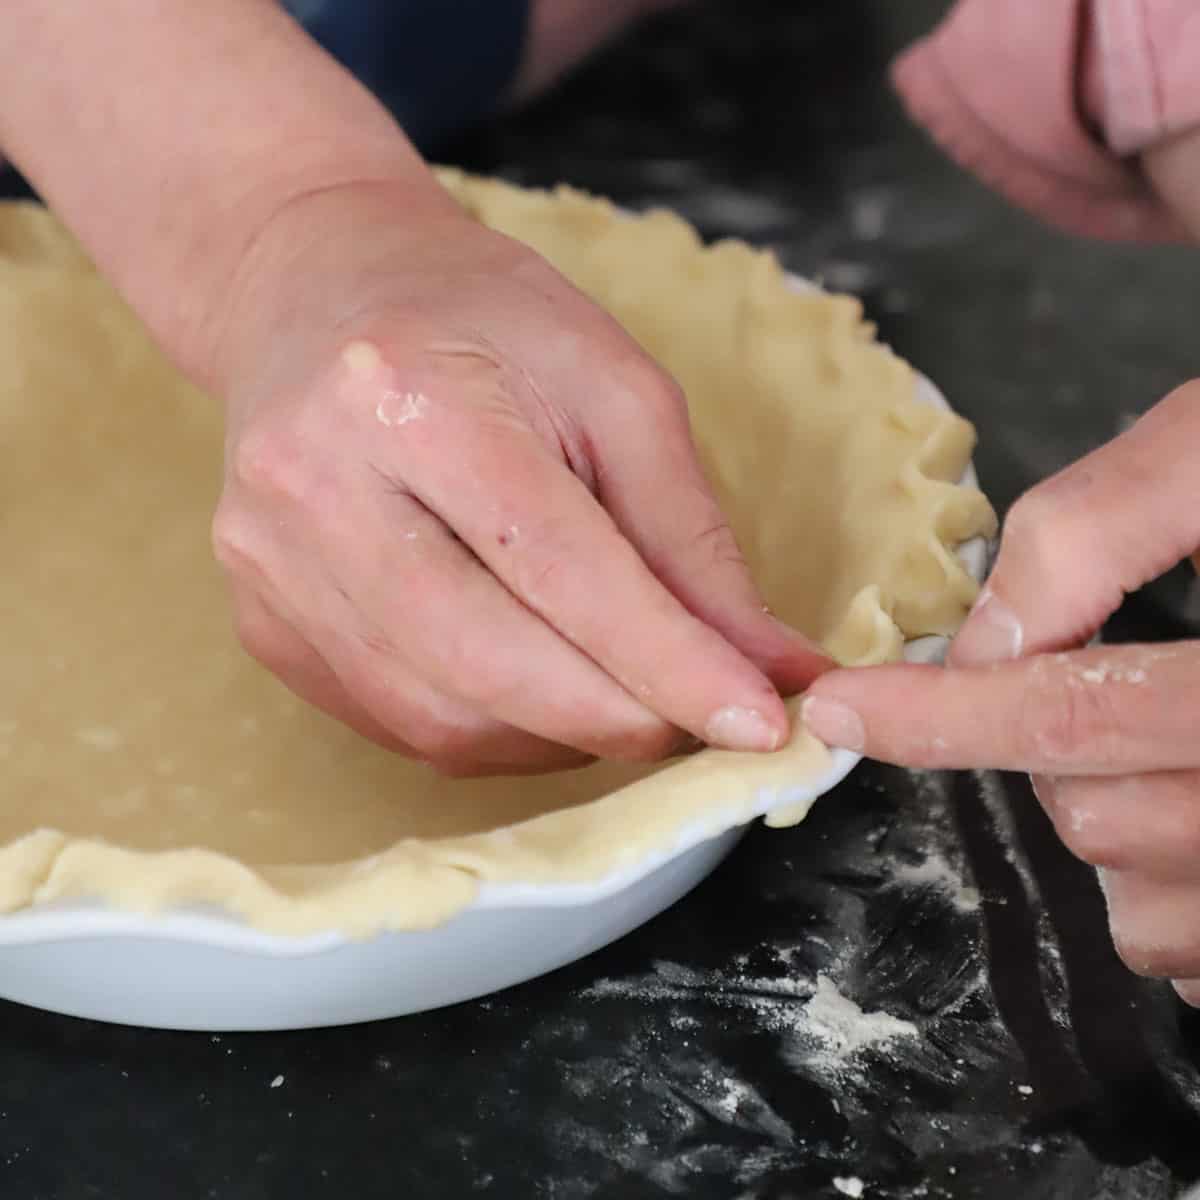
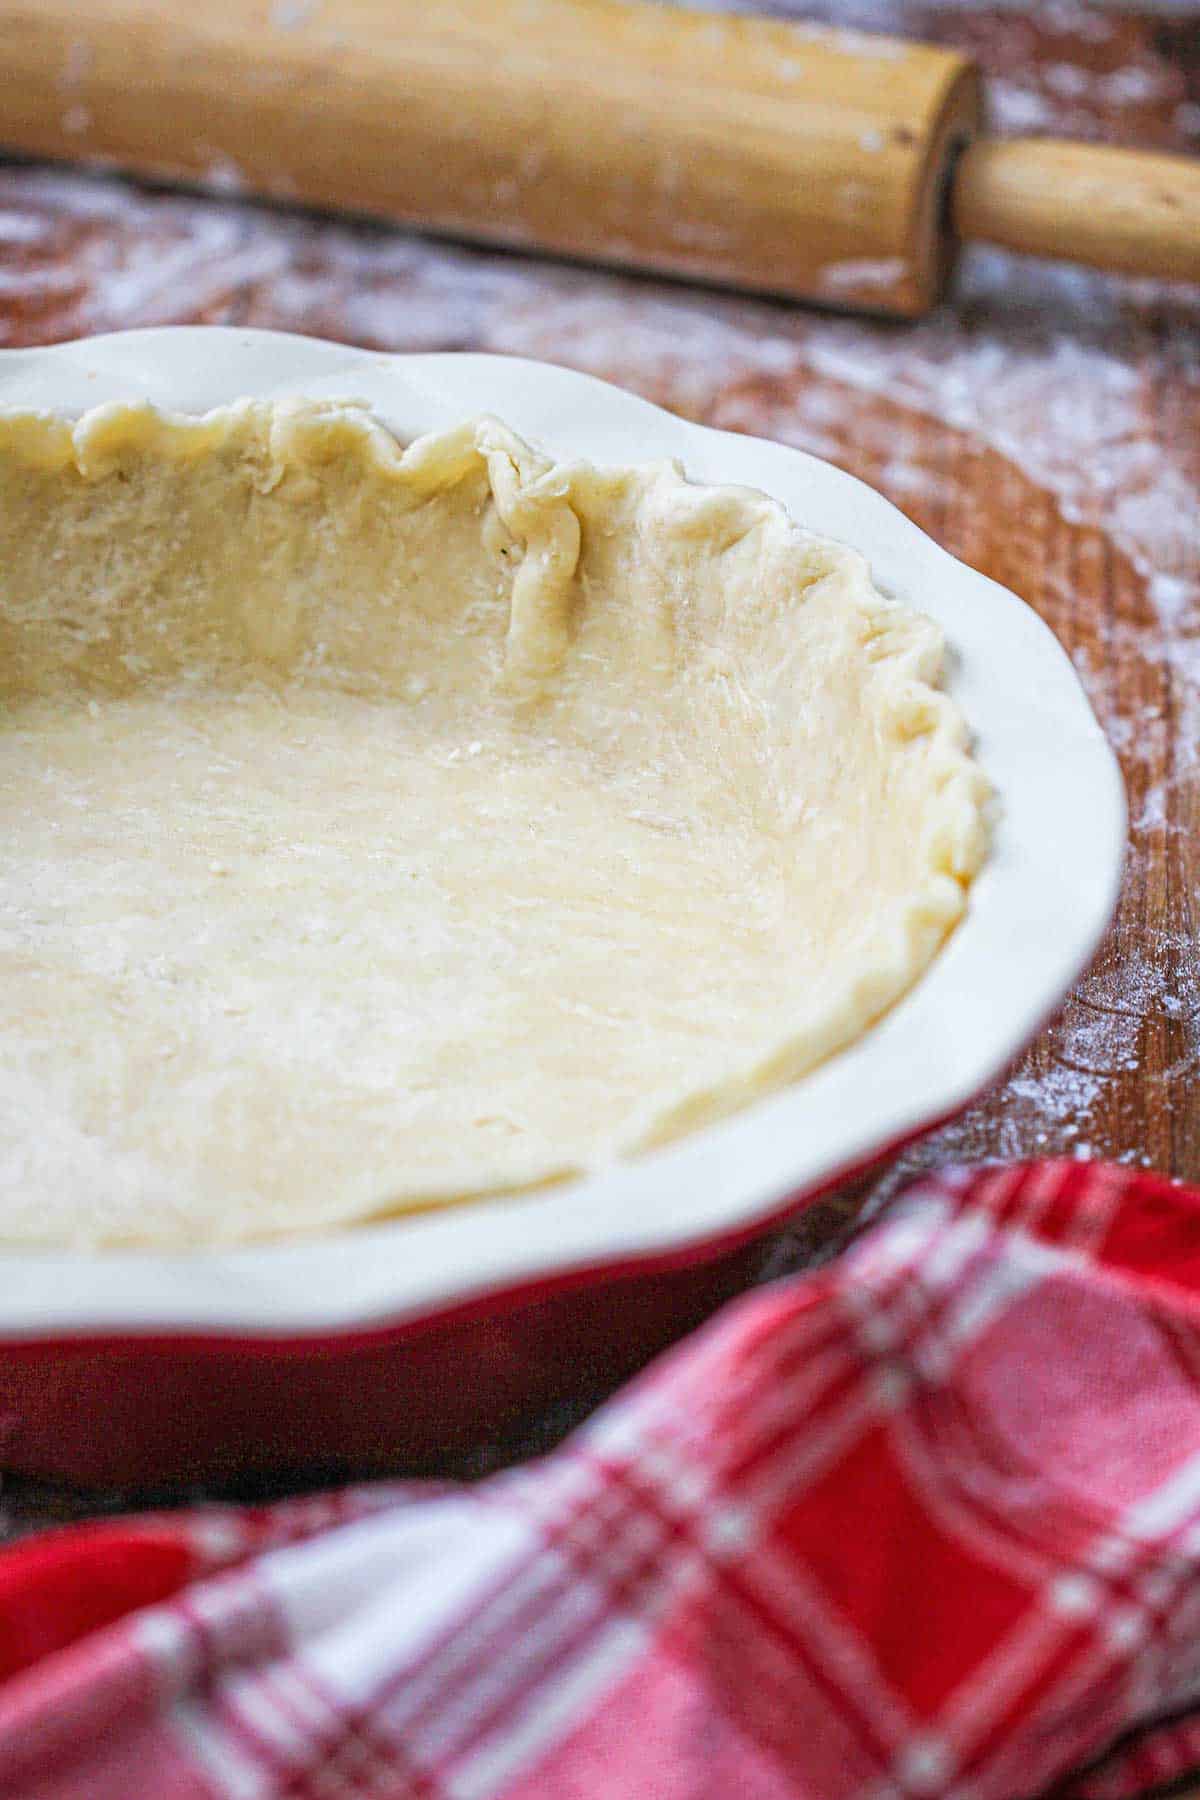
- Preheat oven to 425°F. Divide two of the dough discs in half, so you have four balls of dough. Roll each one out on a floured surface to approximately 10 inches. Grease the ramekins with softened butter (or cooking spray). Form each rolled-out dough into the prepared ramekins and press the edges to smooth them out. Trim away excess dough around the top of the ramekin. There should be just enough dough at the top to seal the top layer (after the par-baking). Place parchment paper over the dough in each ramekin and then fill with pie weights, dried beans, or uncooked rice. Place on a baking sheet and bake for 12 minutes. Remove the pie weights and parchment paper and set the prepared ramekins aside. (see video for visual guidance).
- Lower the oven temperature to 350°F.
- Place chicken breasts on a baking sheet and brush with oil. Sprinkle generously with salt and pepper.2 chicken breasts, 2 tablespoon olive oil, Kosher salt, Ground black pepper
- Roast for 50 minutes (or internal temp reaches 165°F) - set aside until cool enough to handle. Remove meat from bones and discard the skin - cut the chicken into bite-sized pieces. Set aside.
- Heat the stock in a medium pan. Dissolve the bouillon cubes in the stock.2 chicken bouillon cubes
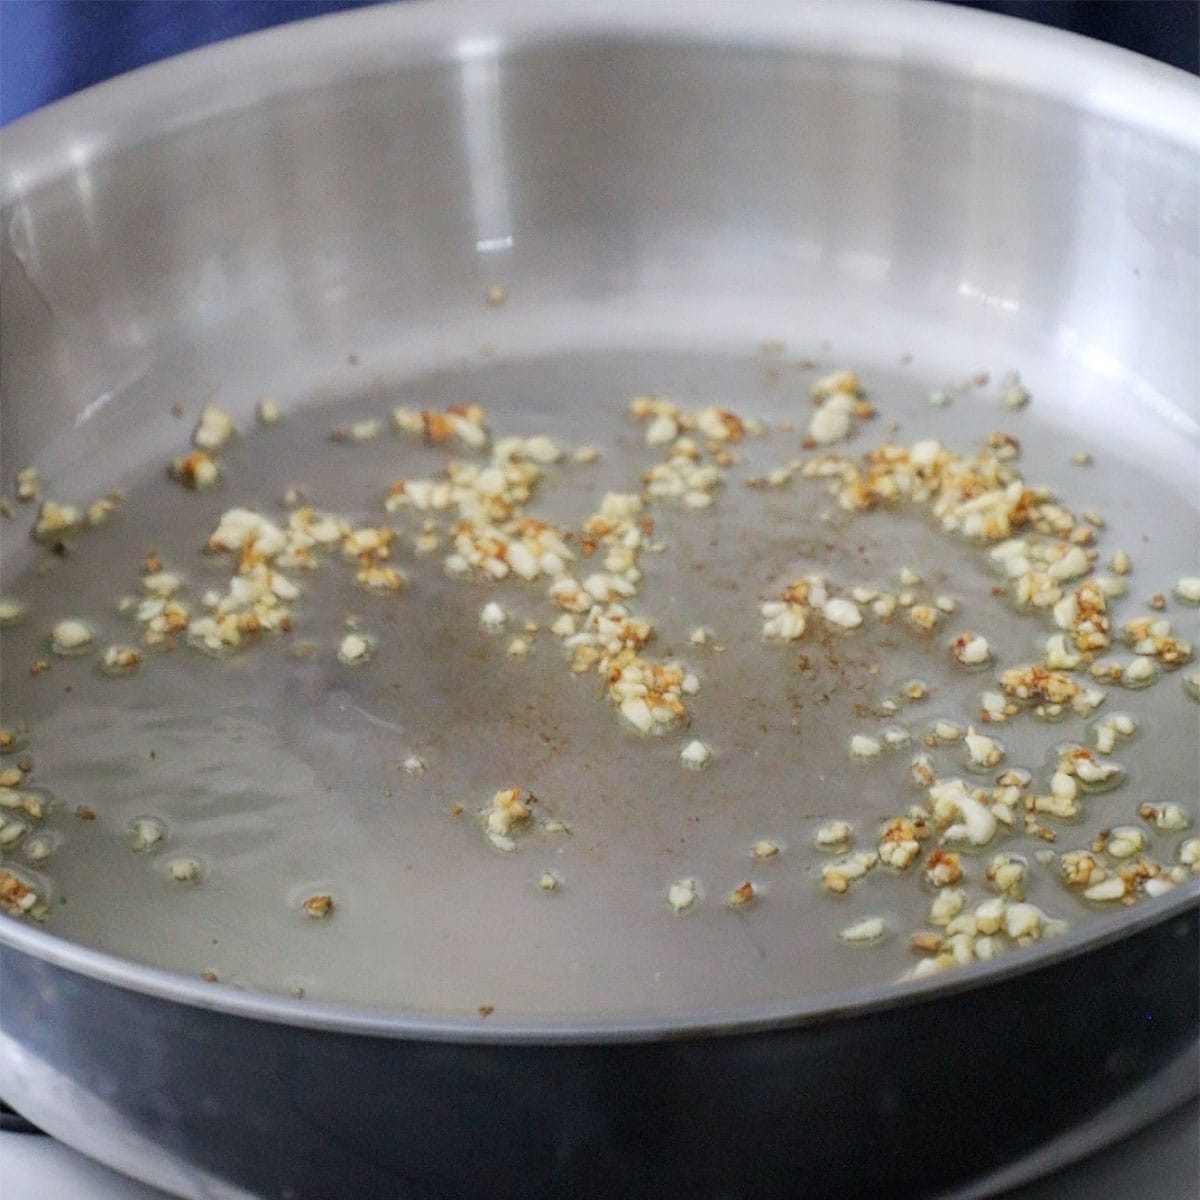
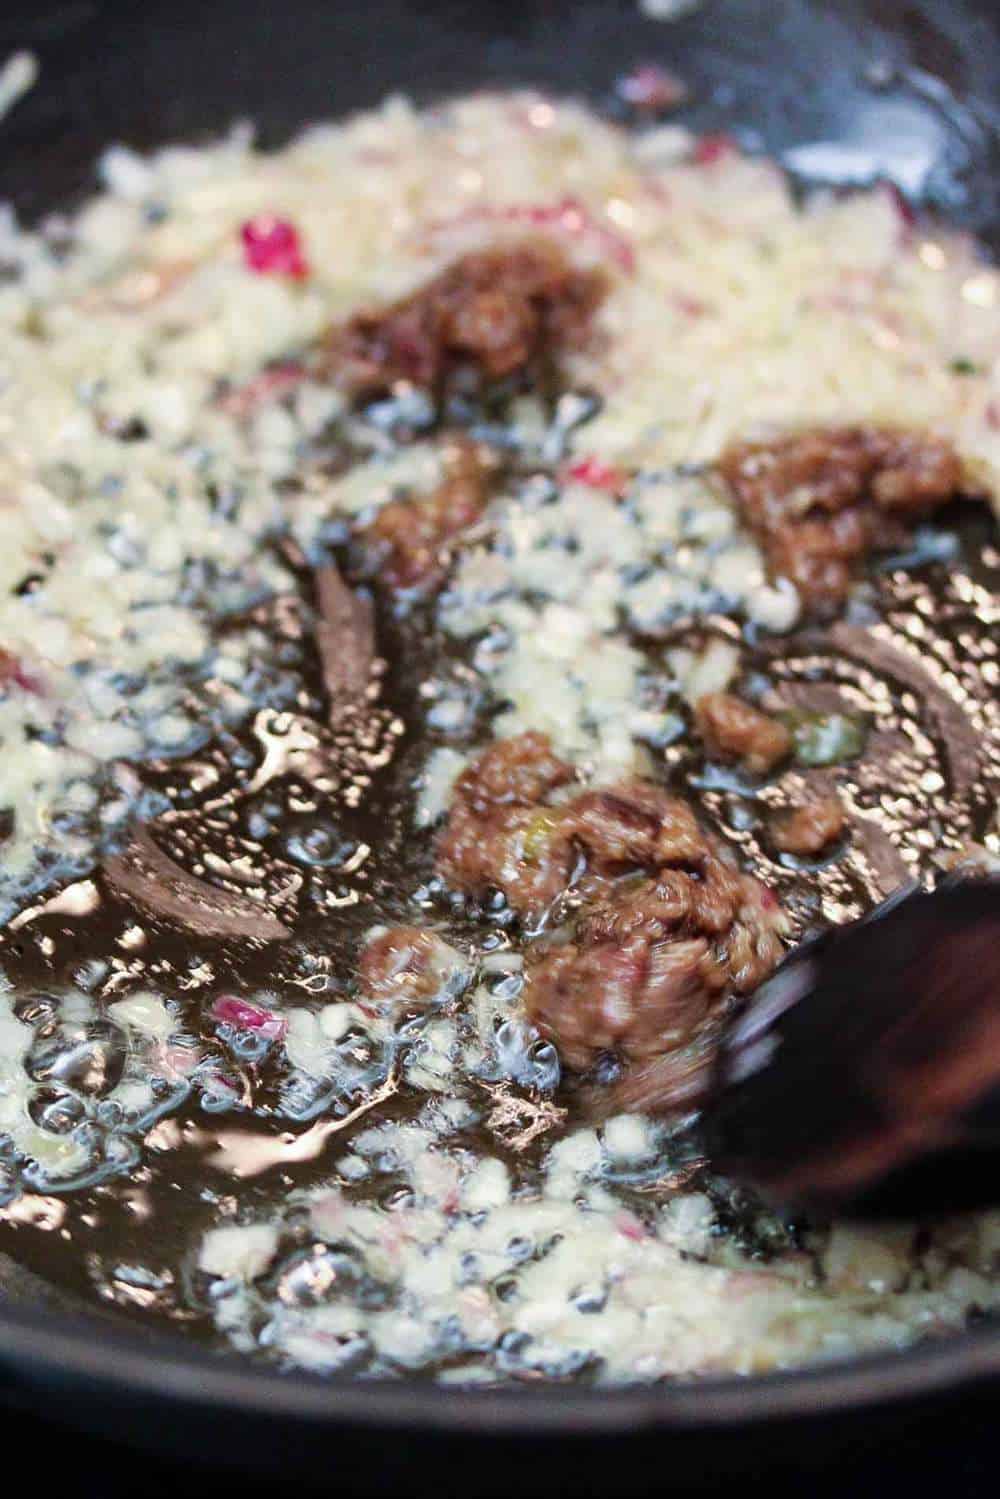
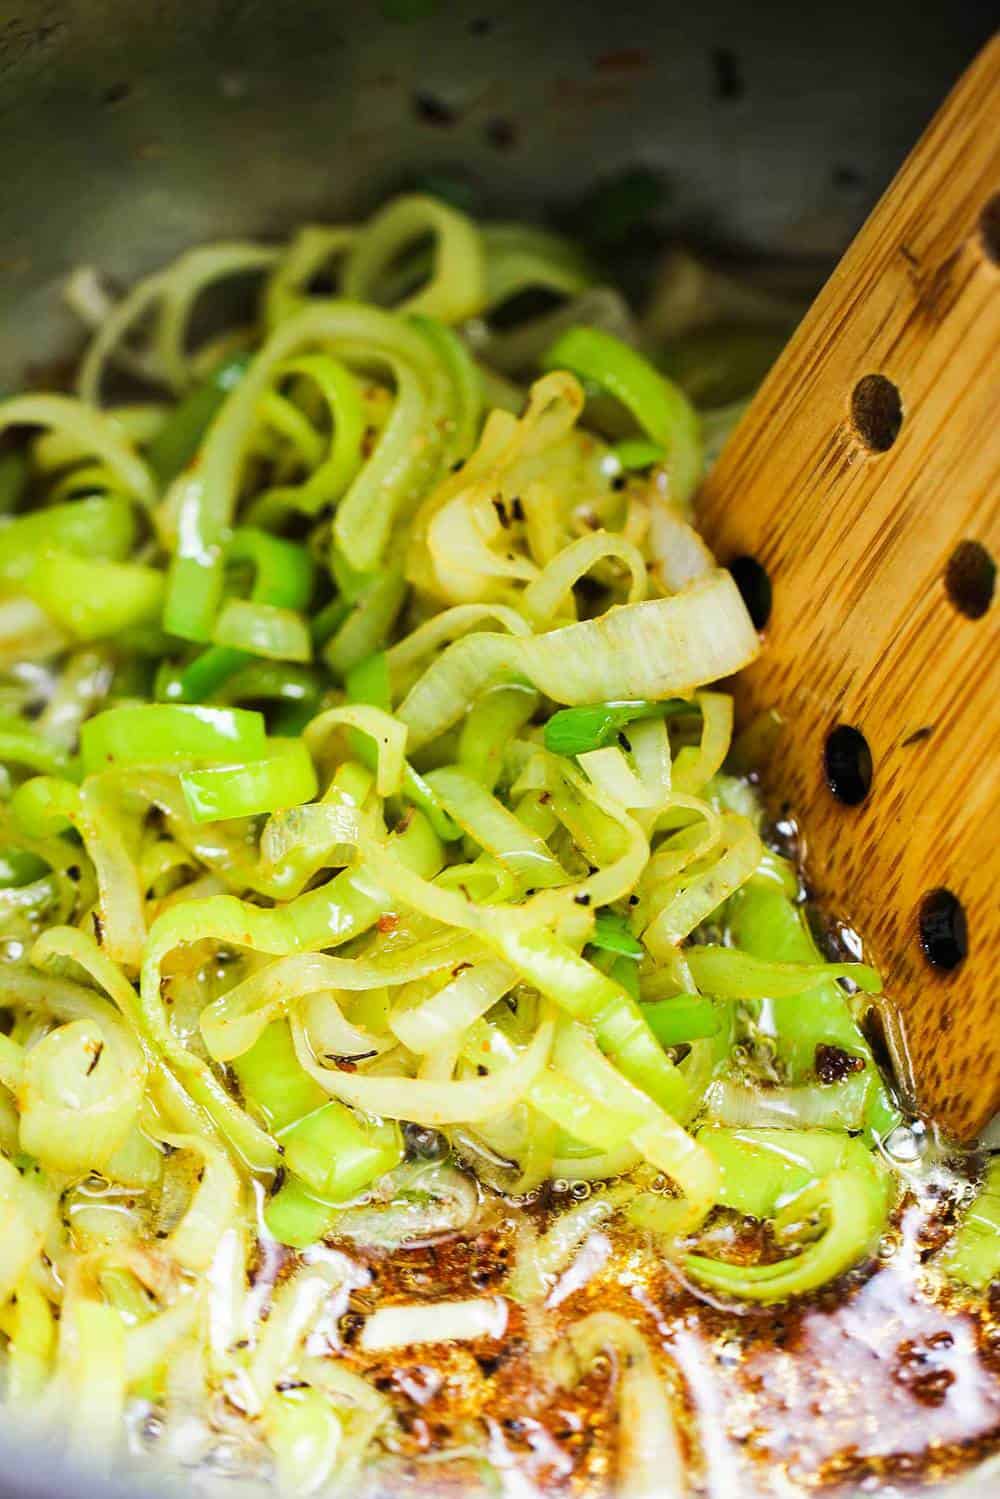
- Meanwhile, melt the butter over medium heat in a large skillet. Add the onions and mushrooms and cook, stirring often, until soft and the mushrooms are tender and starting to release some liquid.6 tablespoon unsalted butter, 1 medium onion, 8 oz. mushrooms
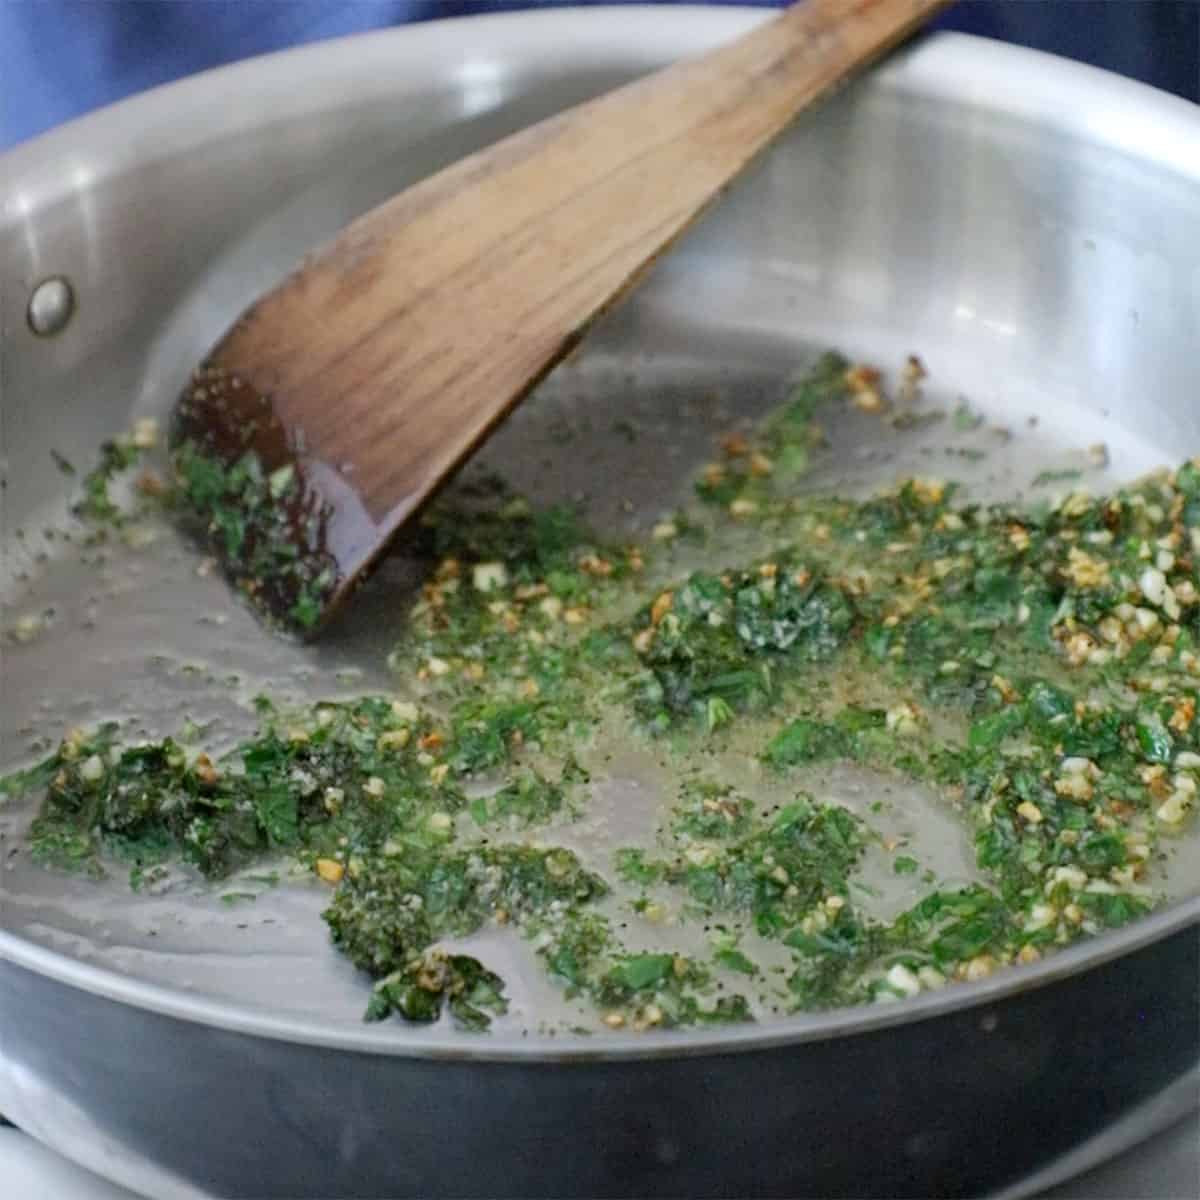
- Add the flour and cook over low heat, for about 1 minute, stirring often.¾ cup all-purpose flour
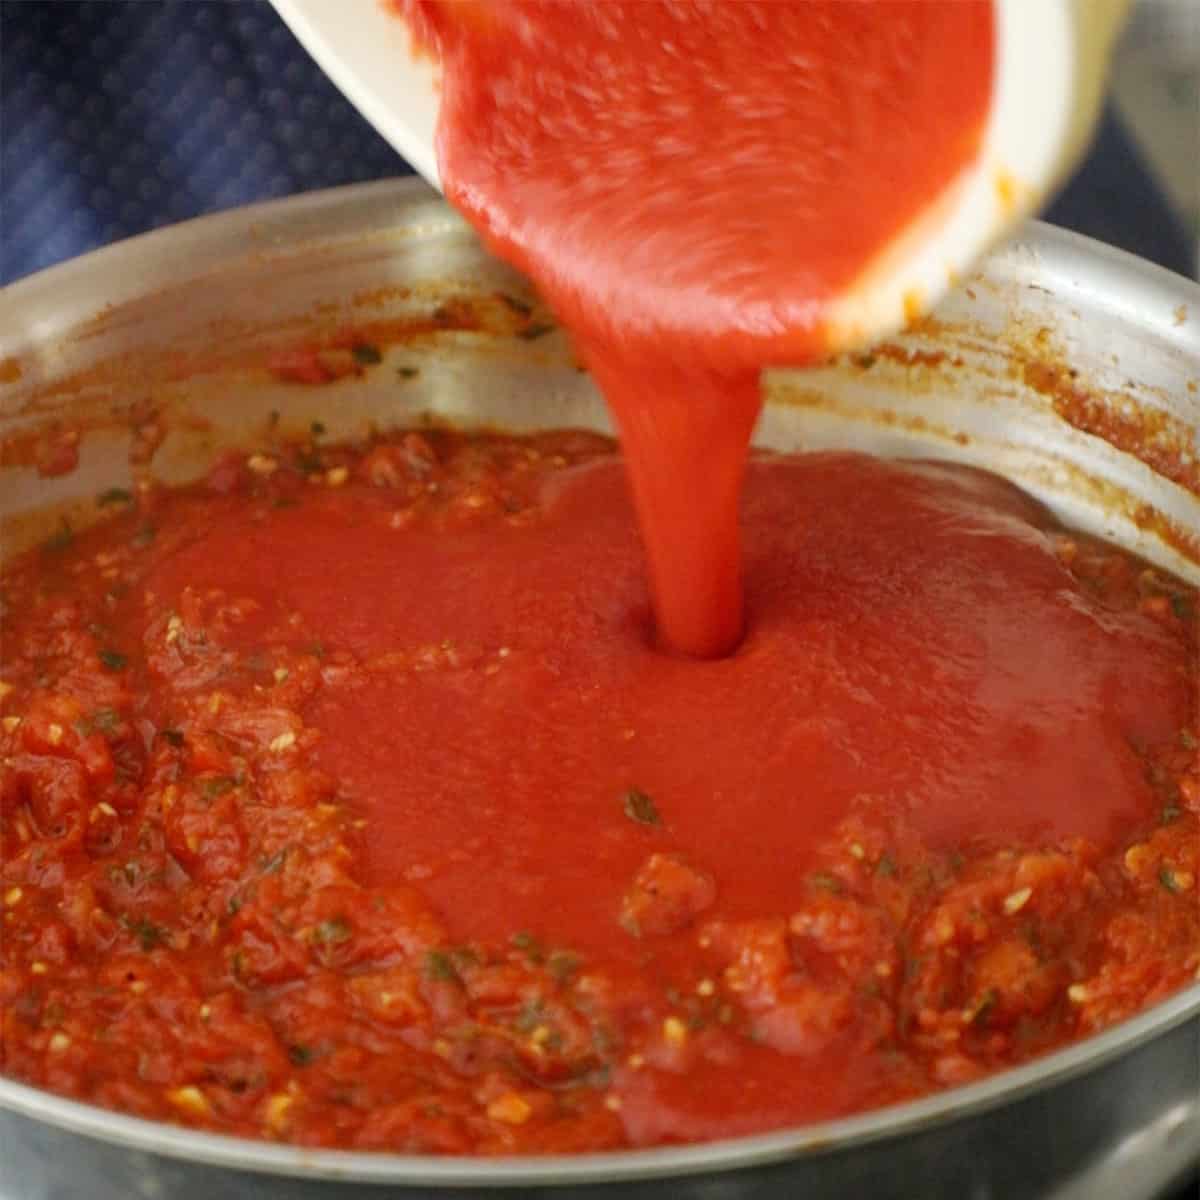
- Gradually whisk in the hot stock into the skillet, and continue whisking and stirring until most of the flour lumps have dissolved. Continue stirring until starting to thicken, about 3 to 4 minutes.
- Stir in the 1½ teaspoon Kosher salt, 1 teaspoon black pepper, and the heavy cream.½ cup heavy cream
- Add the cubed chicken, carrots, peas, and parsley. Mix well. Taste and add more salt, if needed.½ cup frozen peas, ¼ cup Italian parsley
- Pour filling into the 4 ramekins with the par-baked crust.
- Roll out the remaining two discs of dough about 12 inches in diameter. Use a skillet lid, or eyeball with a knife, and cut out two circular pieces of dough just large enough to cover the tops of the ramekin from each piece of dough. If desired, use the dough scraps to cut decorative leaf-like shapes to add to the tops of the pot pies.
- Brush the egg wash along the tops of the par-baked dough. Place the remaining cut dough on top of each bowl. Press the sides against the edges of the par-baked dough on the ramekins.1 egg
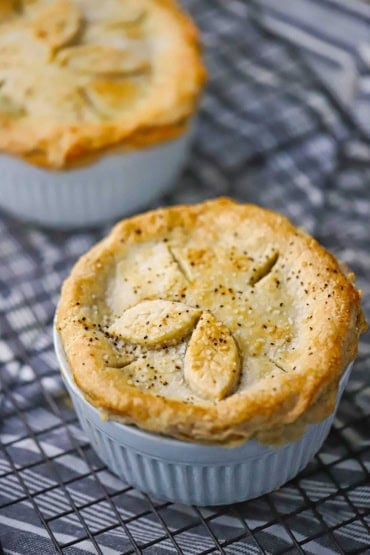
- Brush the dough with egg wash, and then sprinkle with coarse salt (sea salt, or Kosher) and freshly ground black pepper.
- Make 3 or 4 slits in center of each dough topping.
- Place on baking sheets and bake for 50 minutes, or until the dough is browned.
- Let rest for at least 15 to 20 minutes. Carefully remove the pot pie from the ramekin, or invert the pot pie onto a dinner plate, or serve in the ramekin.
- Sprinkle finely chopped parsley over the pot pies for garnish, if desired.


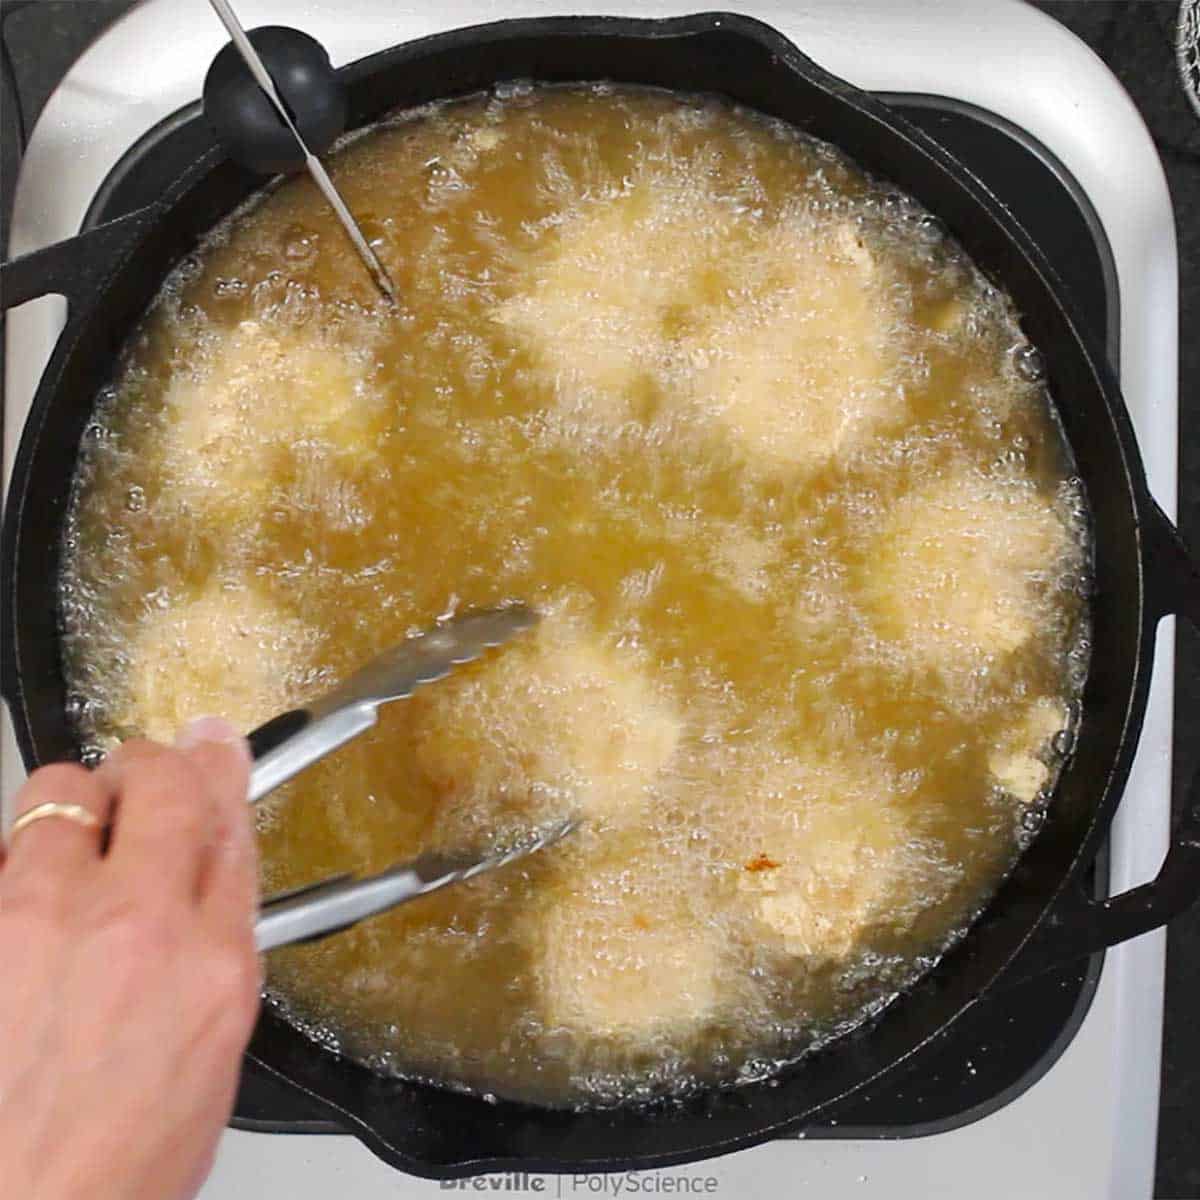
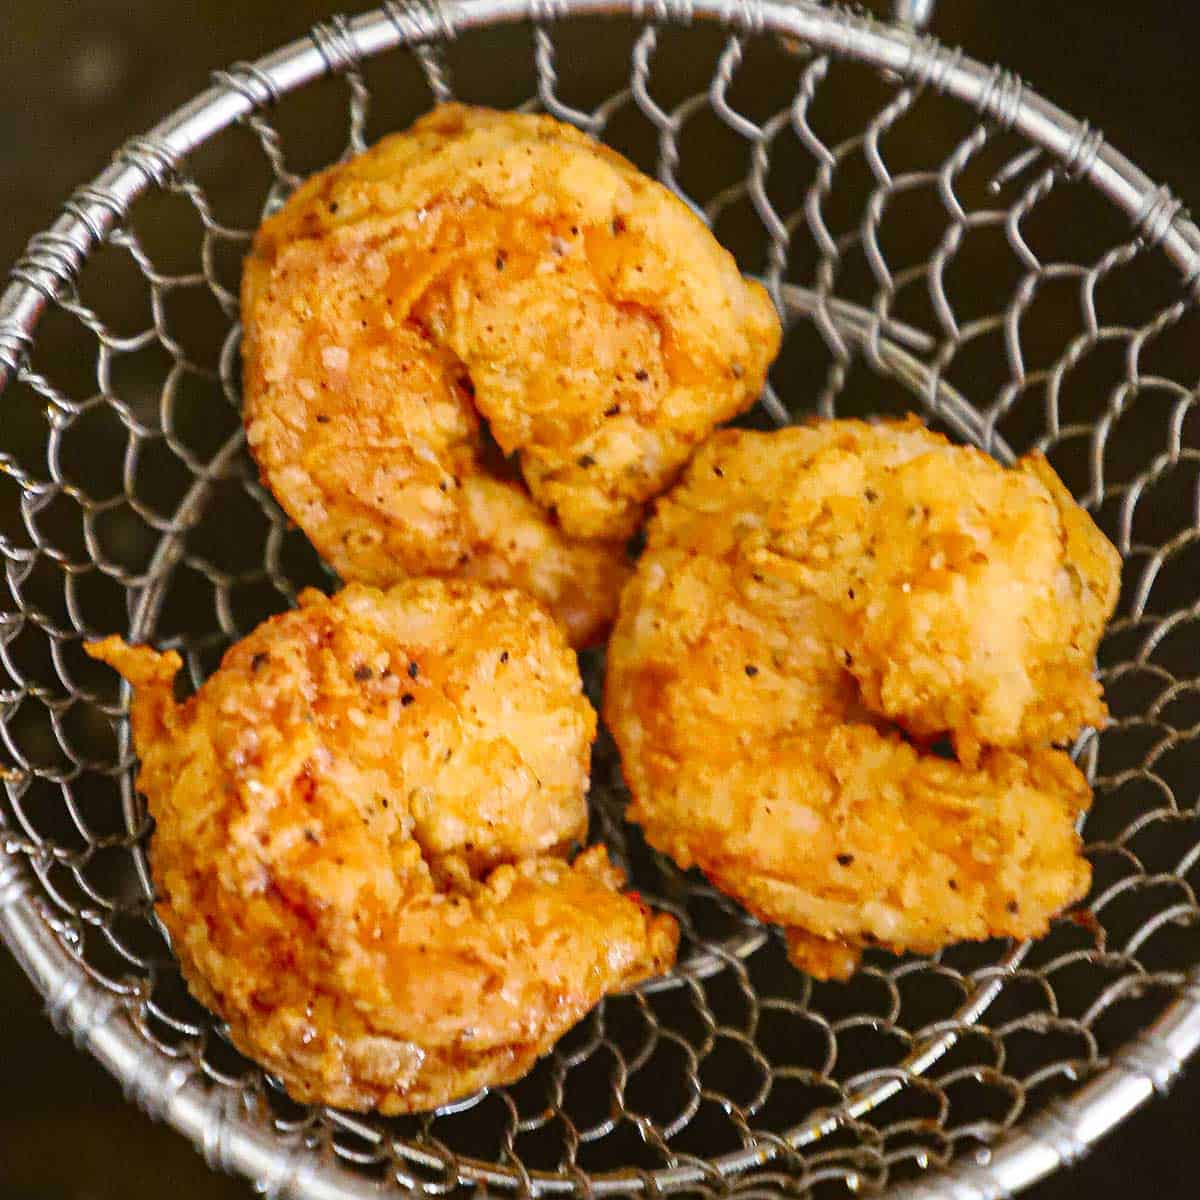


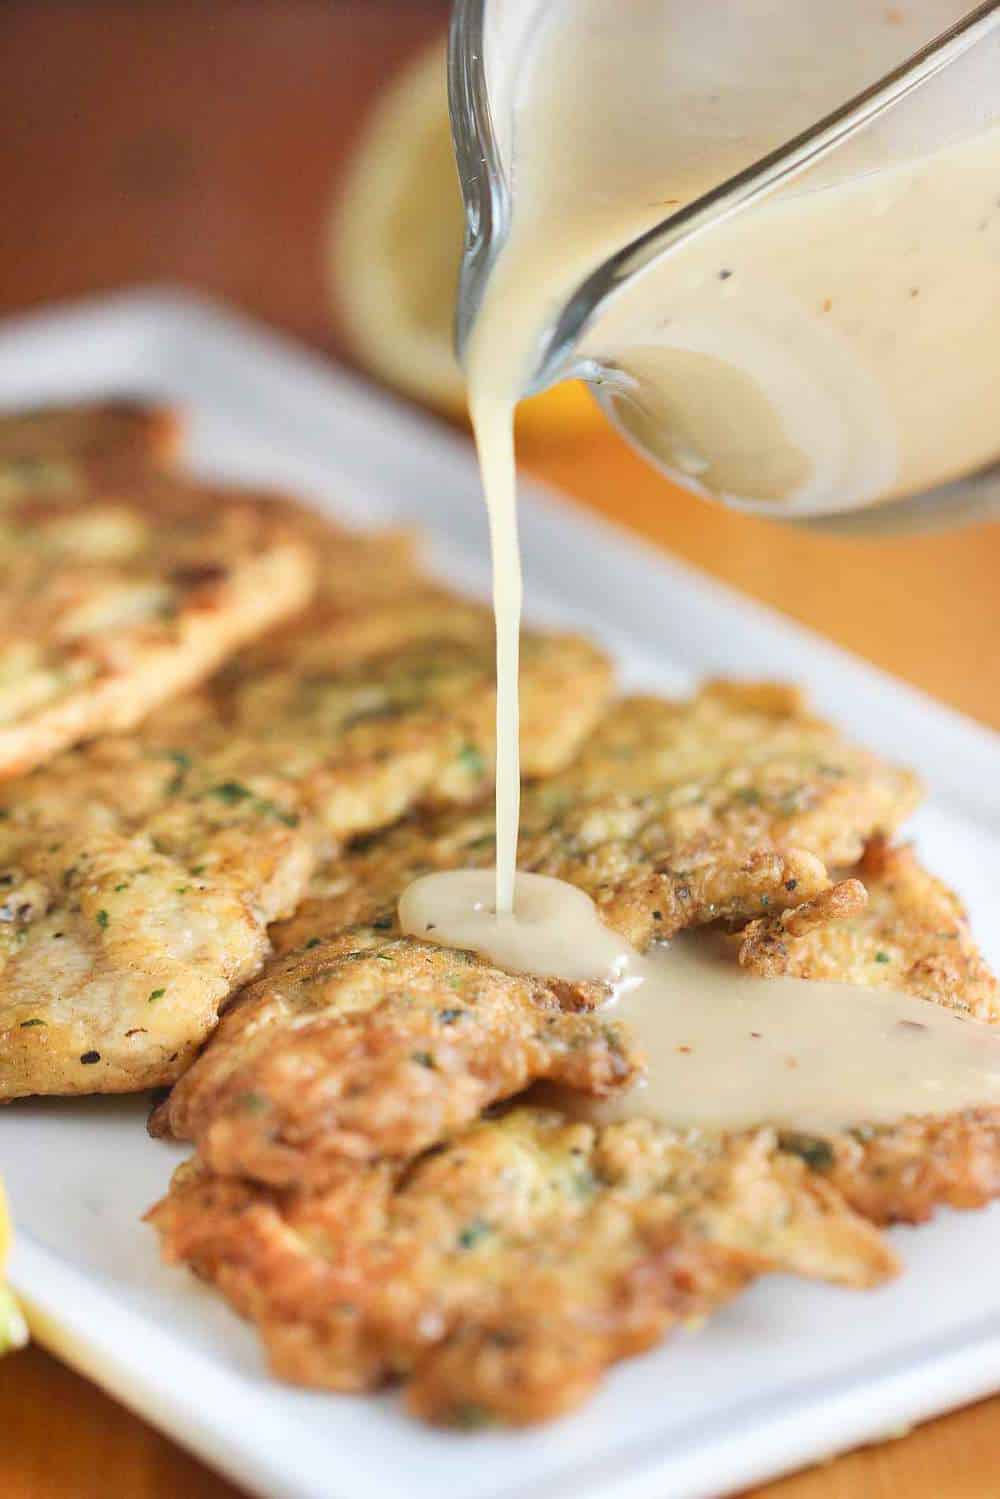


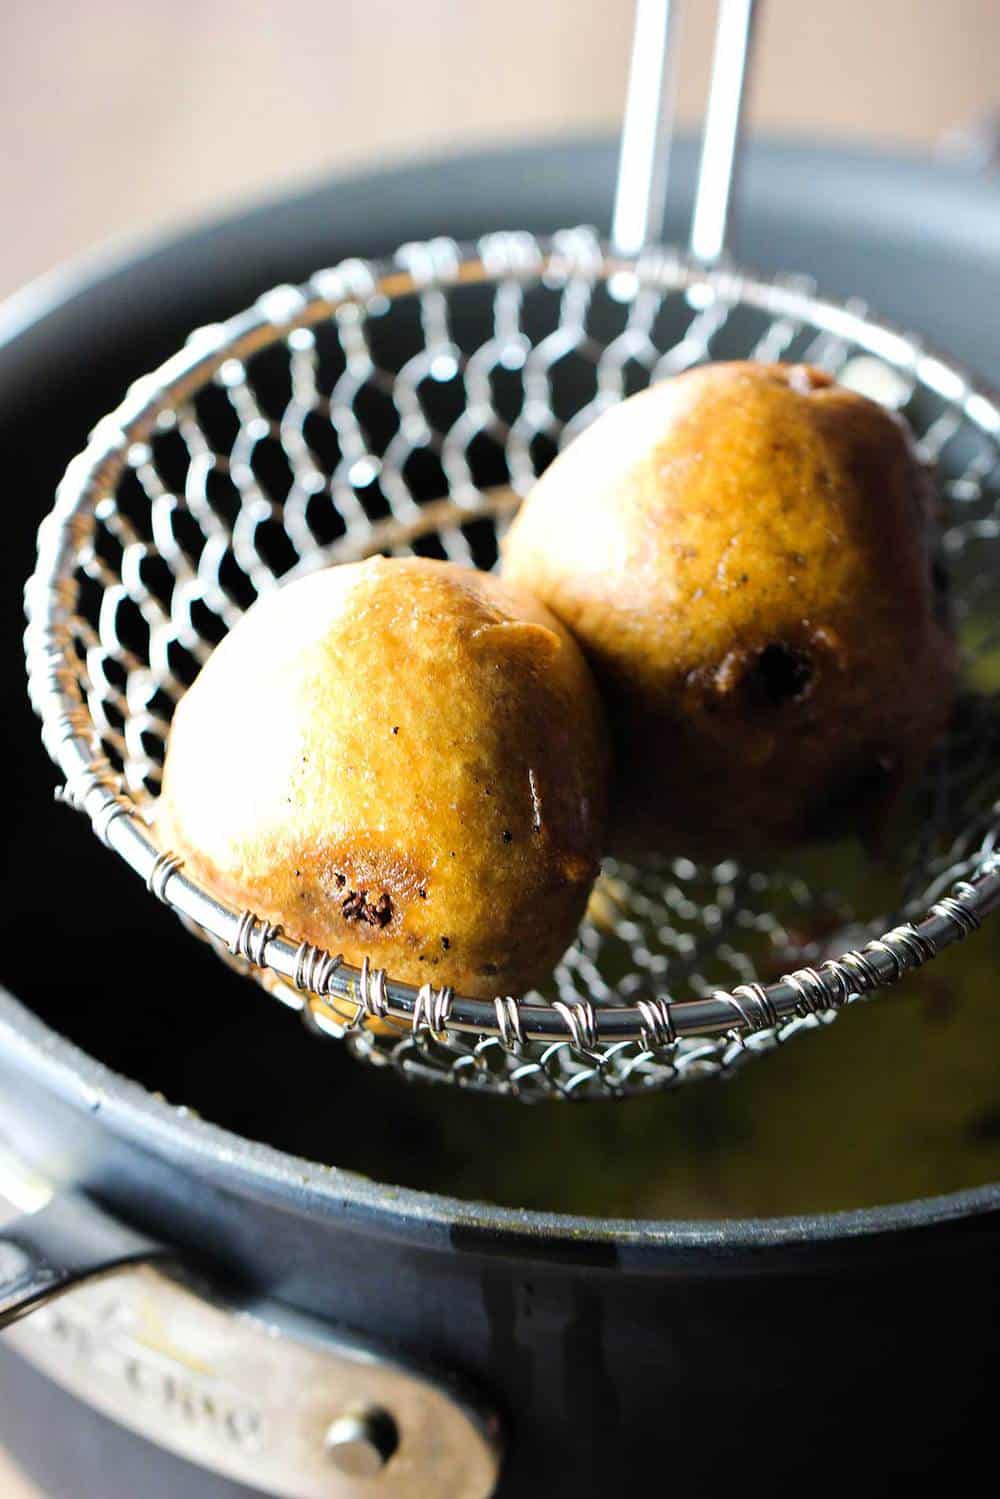


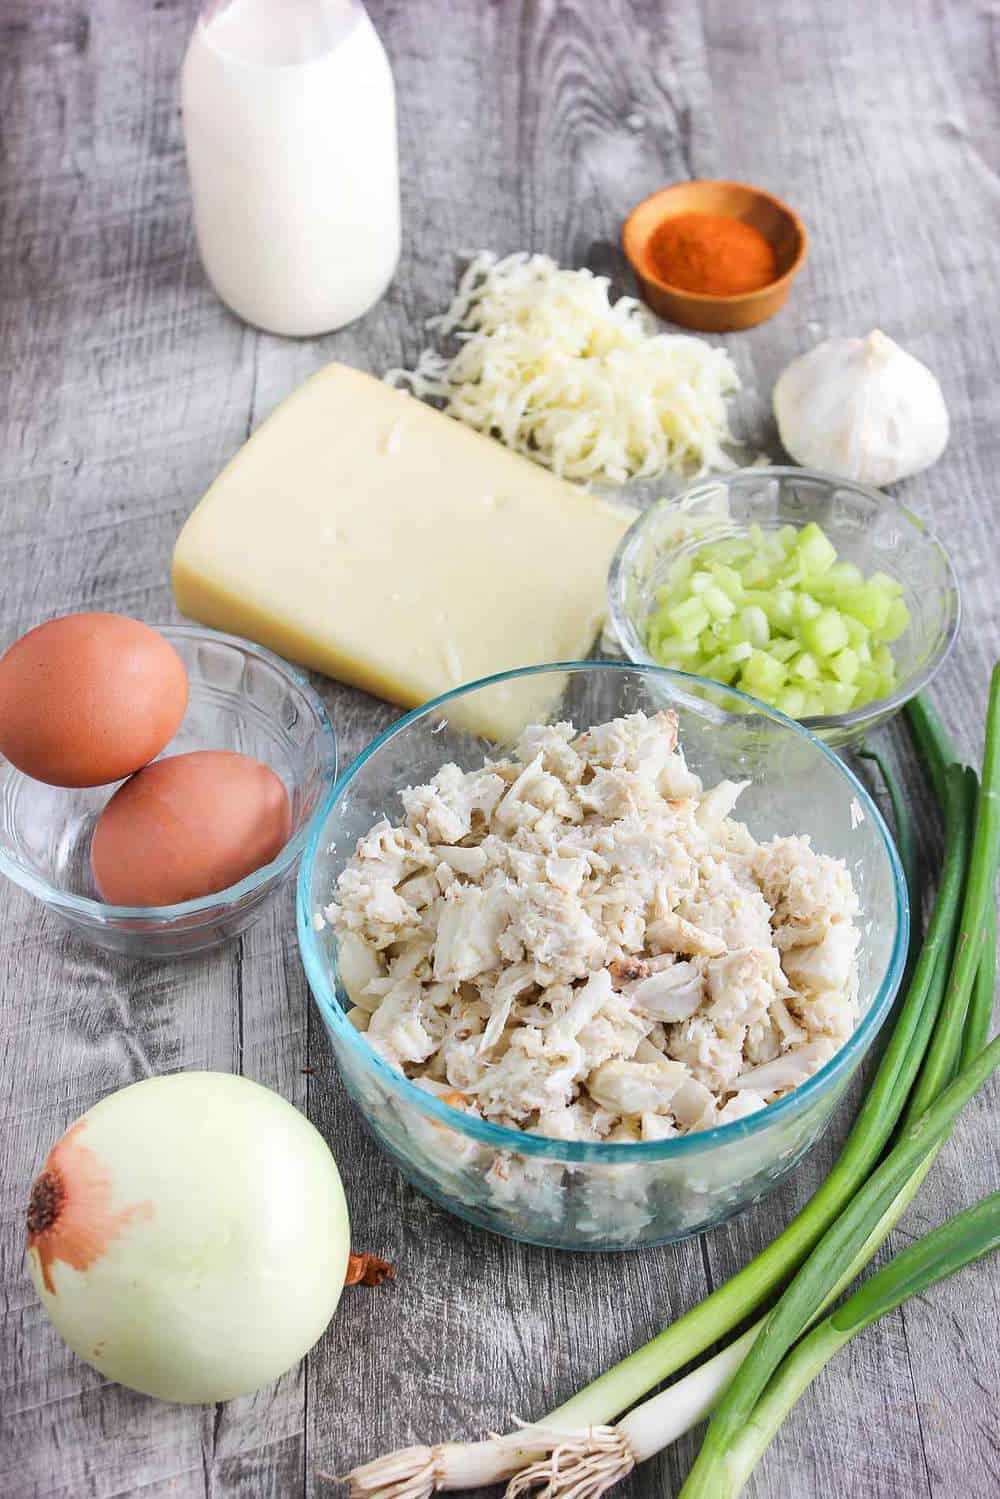


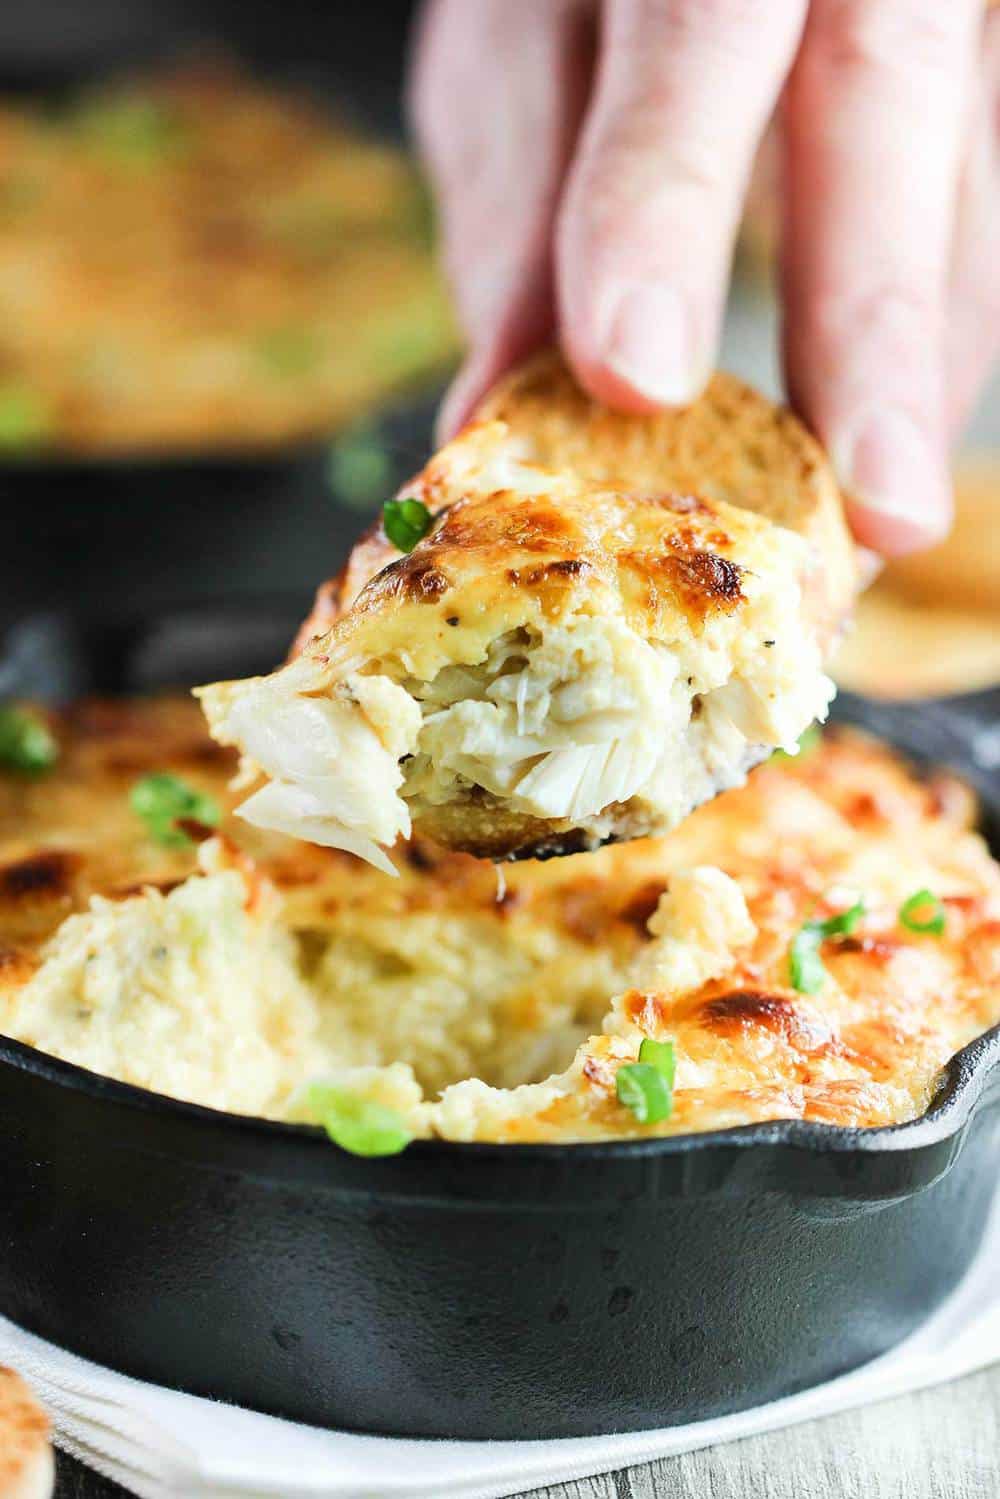


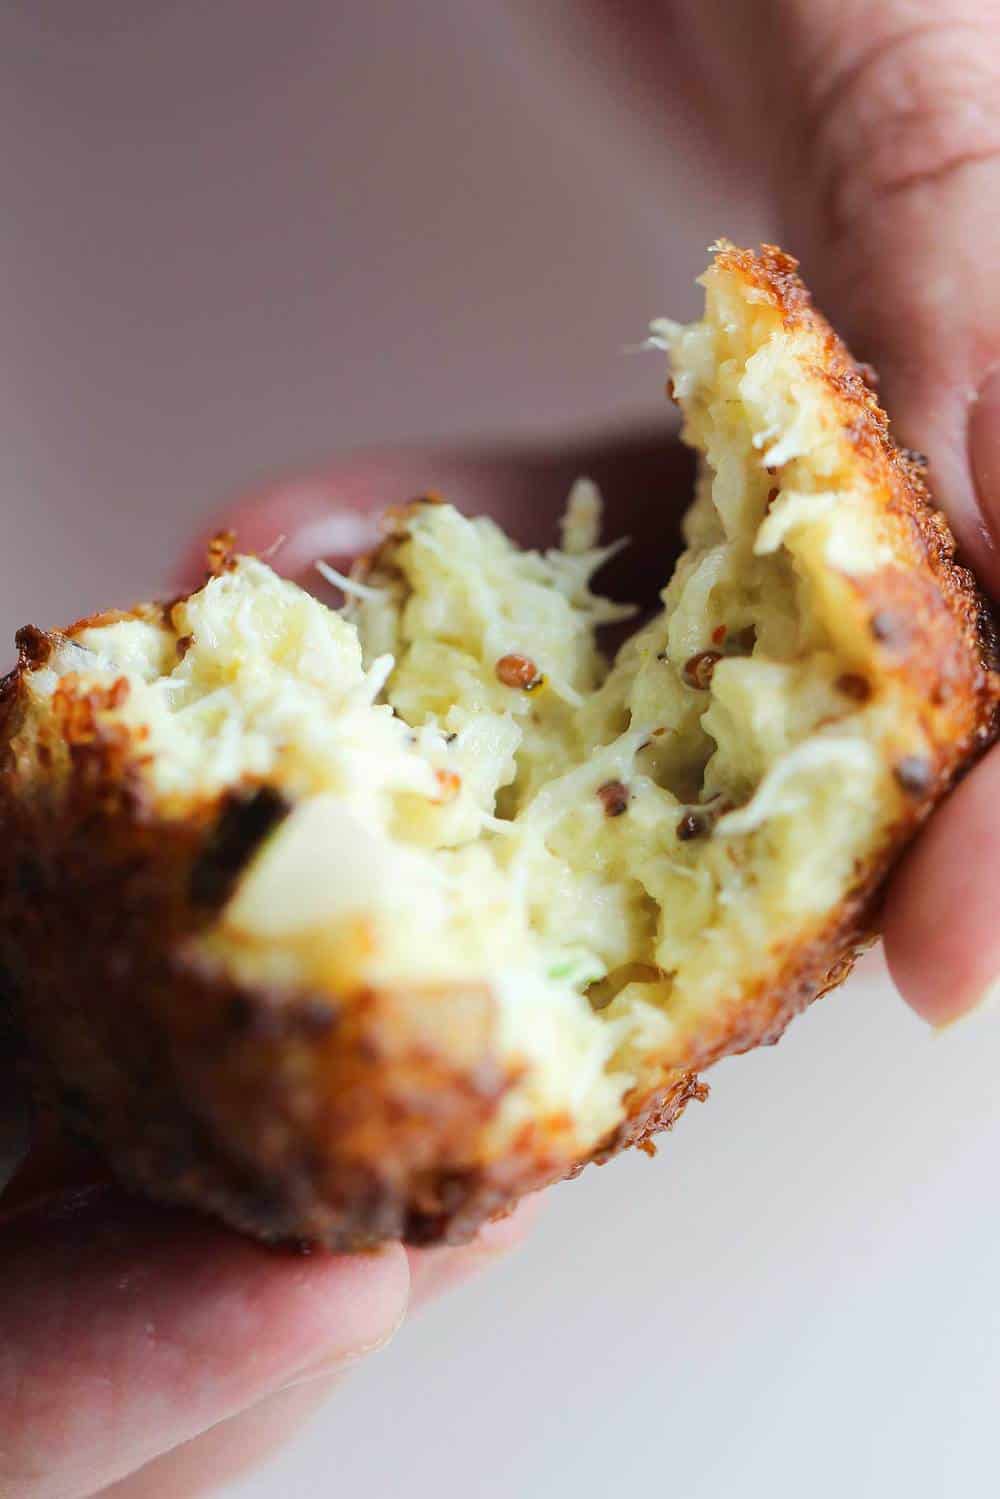
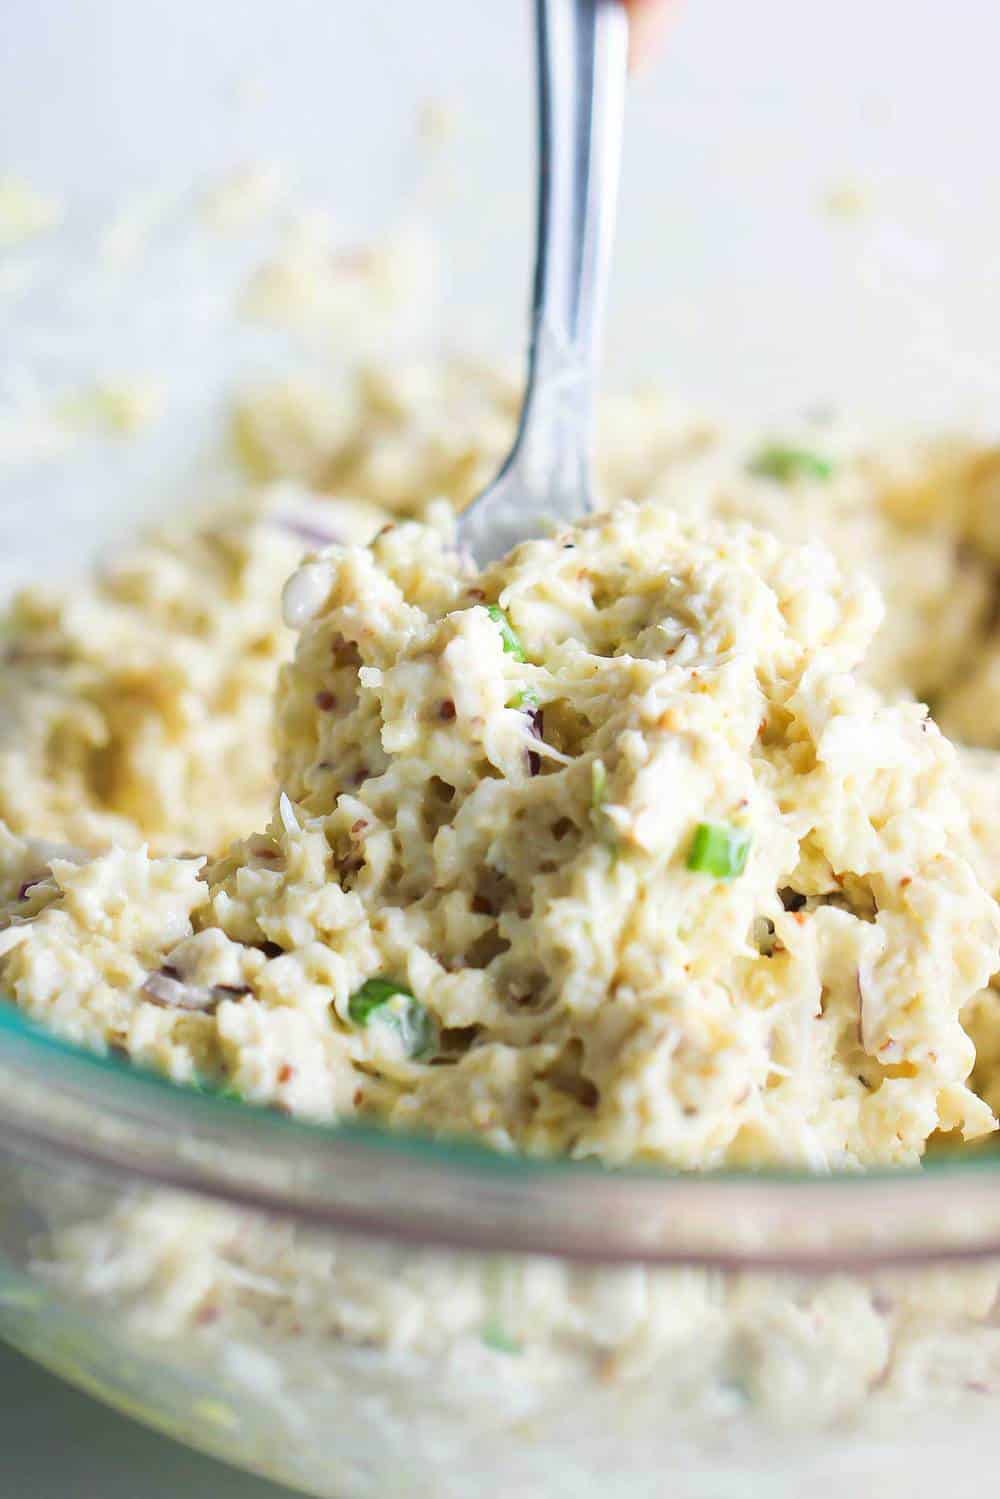 And just a minute or two in some hot oil produces the most amazingly crisp and crunchy exterior, and yet still the most tender, succulent crab mixture on the inside.
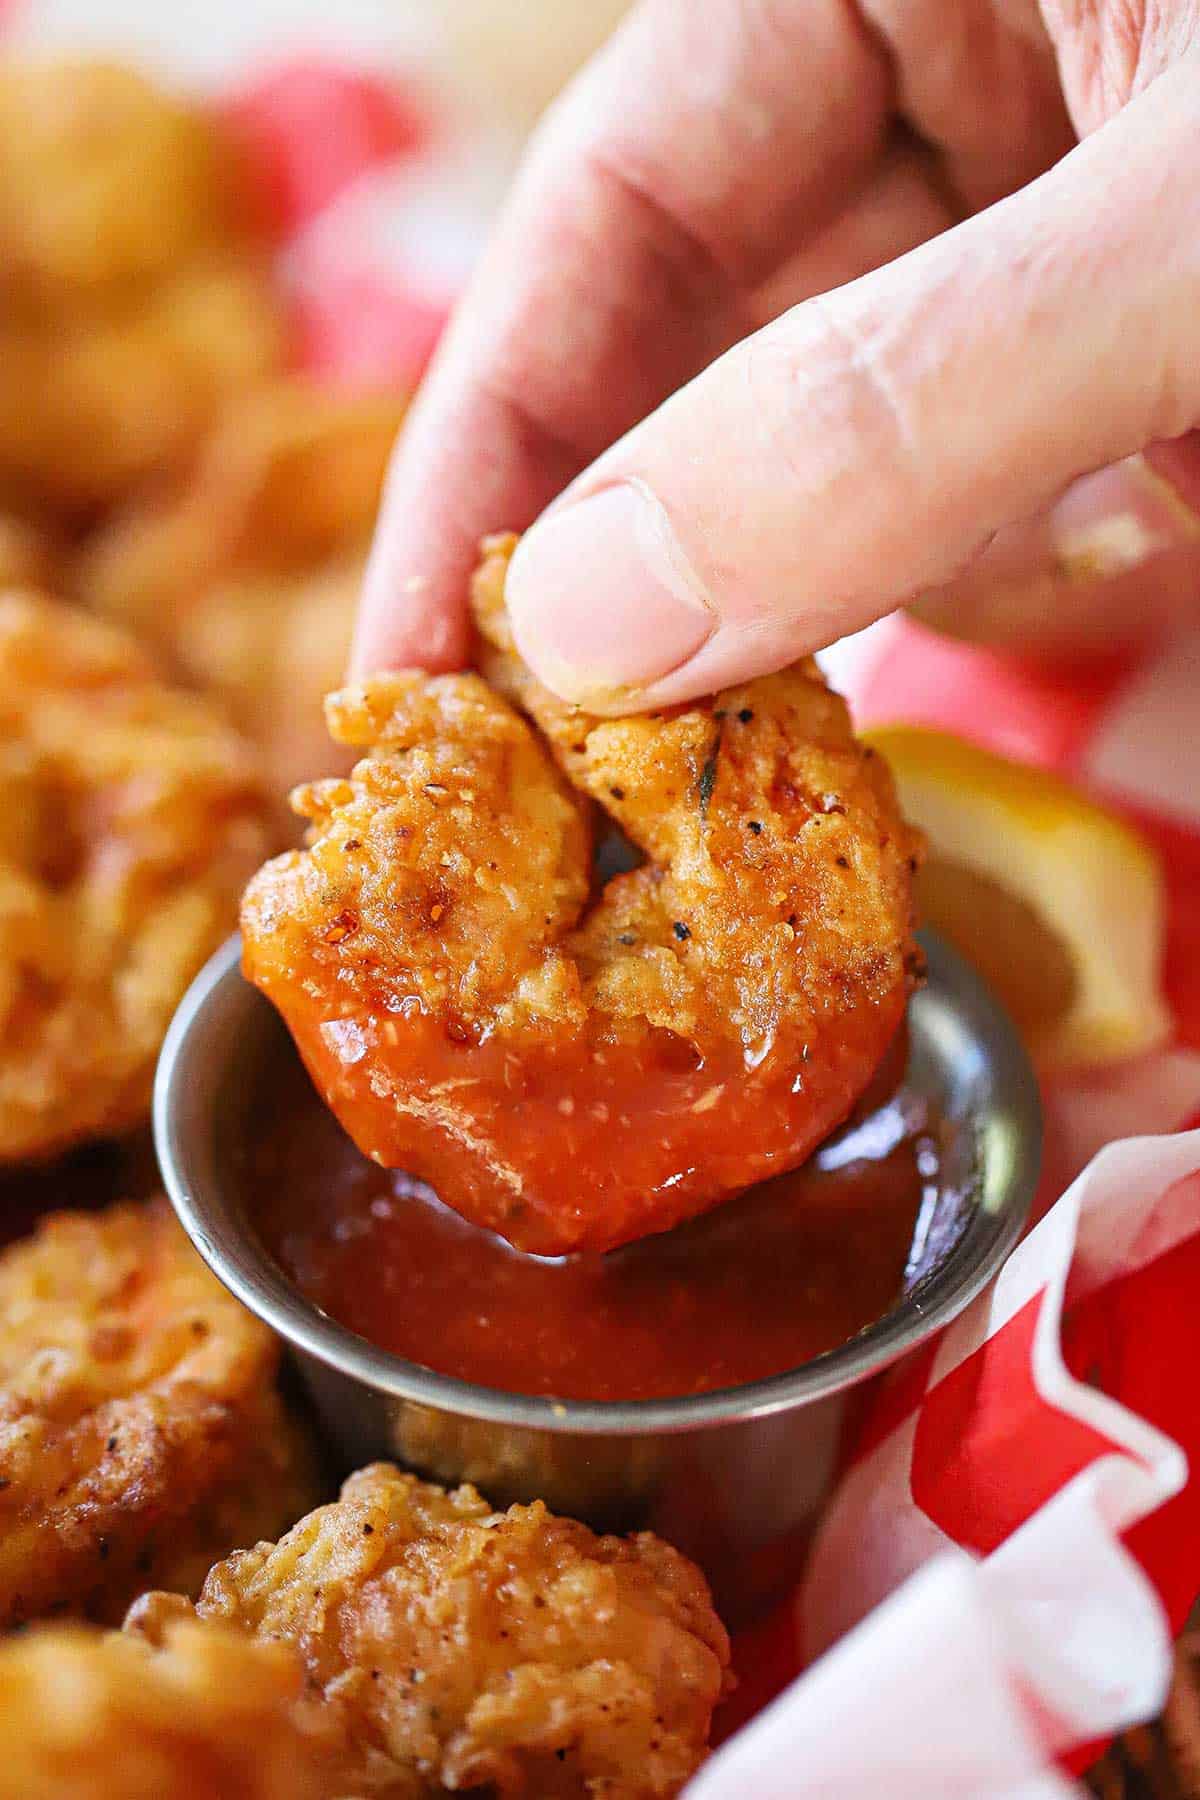
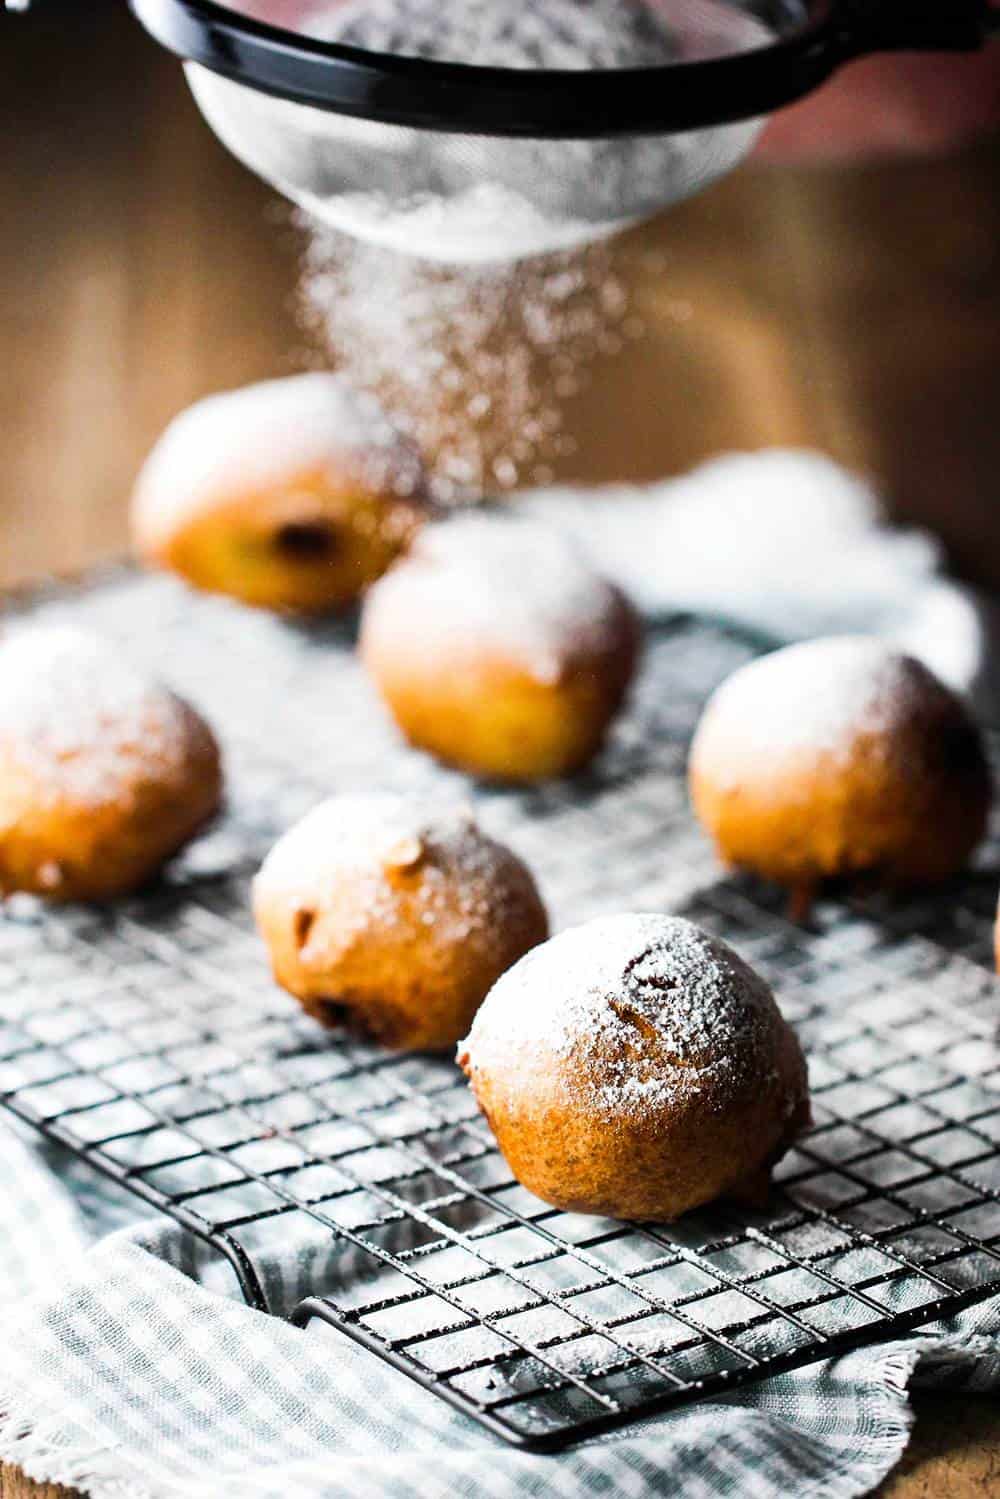
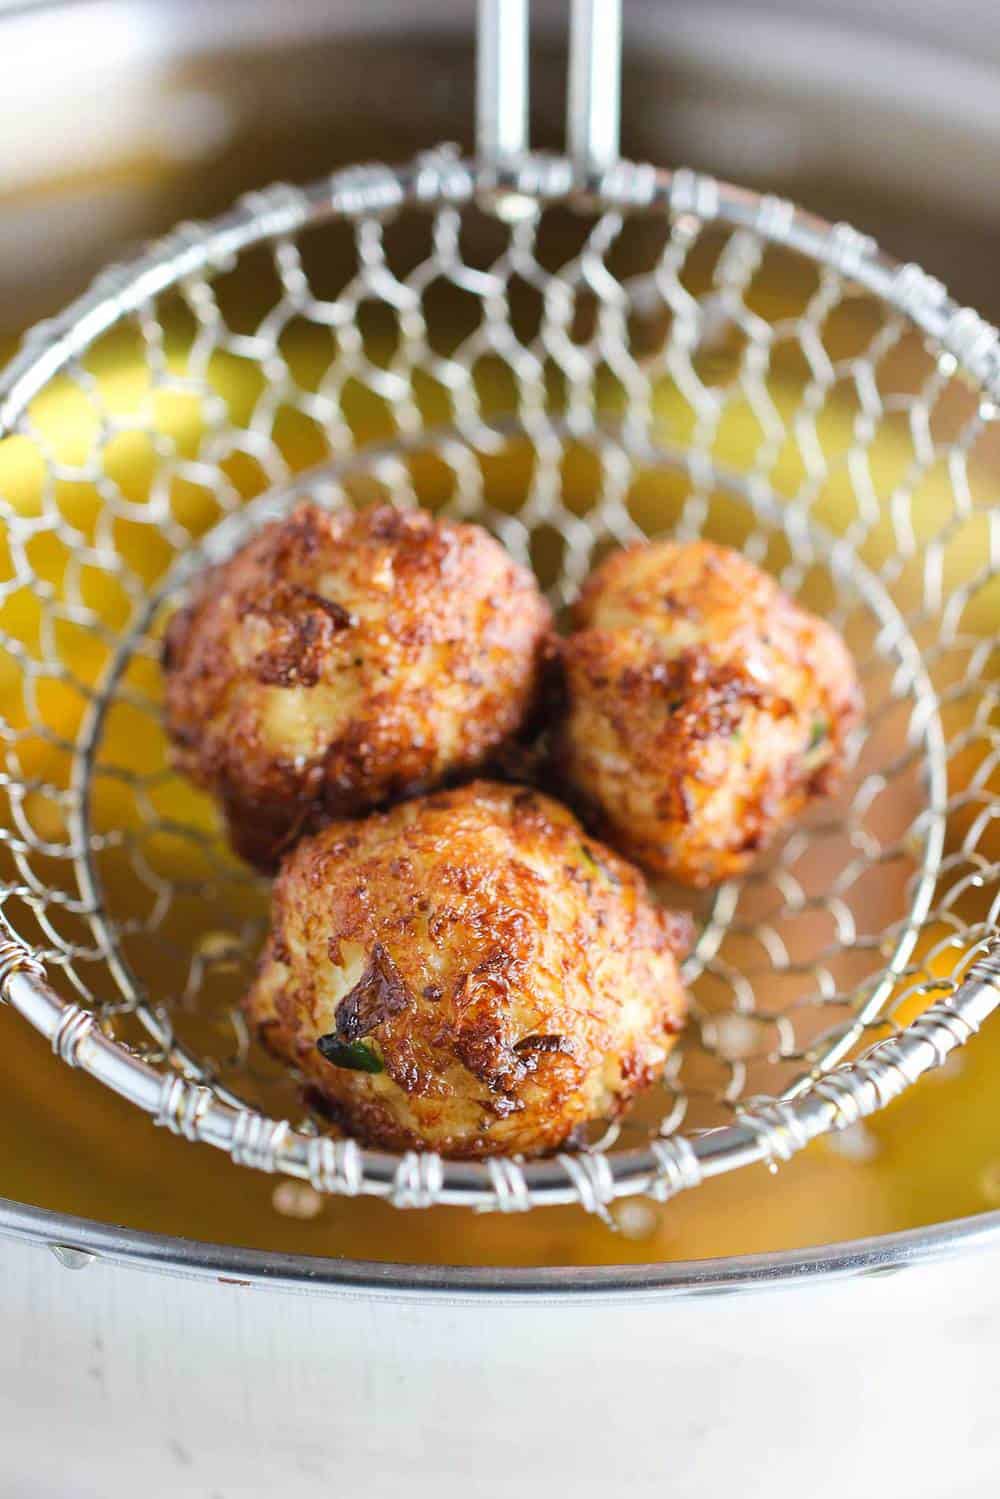 And, did we mention how creamy, crabby and ridiculously delicious the inside is? Oh we did? Well, we want to make sure you believed us.