How To Prepare Your Grill for Low & Slow Cooking is a quick tutorial for when you want to grill something, like ribs, on your charcoal grill. This utilizes the 2-zone heat method for indirect heat. You can follow this same concept with your gas grill, you just need to watch the internal temp of your grill, and have 2 hot areas, and then also a non-direct heat area (read this post and that will be more clear). This ‘non-direct’ area is where your ribs will cook, low and slow.
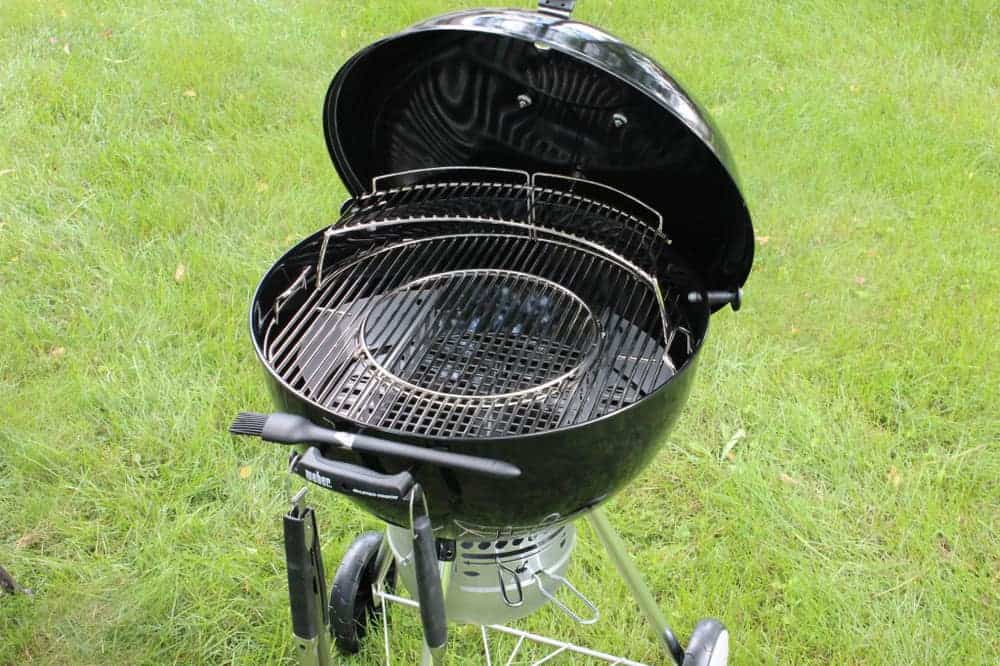
I am using a Weber Kettle Grill for this demonstration. This particular type is a Weber 22″ Kettle Grill. Any kettle grill will work. One of the many features I love about this particular grill are the hinged edges on the cooking grate that make replenshing hots coals quick and easy. The one-touch cleaning system is pretty awesome as well.
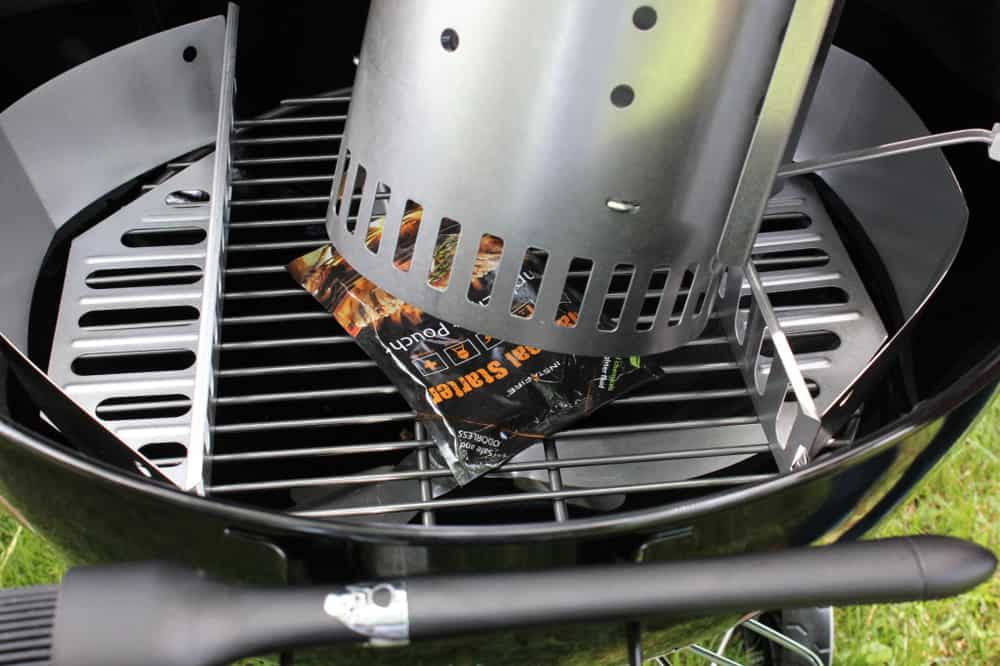
Now, we need to light the coals. I would suggest to NEVER use lighter fluid to do this. It imparts a chemical taste to the food and can be potentially dangerous. Using a chimney starter is the way to go. It is safe, inexpensive, and lights your charcoals in about 15 to 20 minutes.
Simply place your chimney starter on your grill, and either place a non-toxic fire starter under the chimney, or a couple pieces of wadded up newspaper.
Now, place 60 briquettes into the chimney. I always use Kingsford briquettes, I think they’re the best.
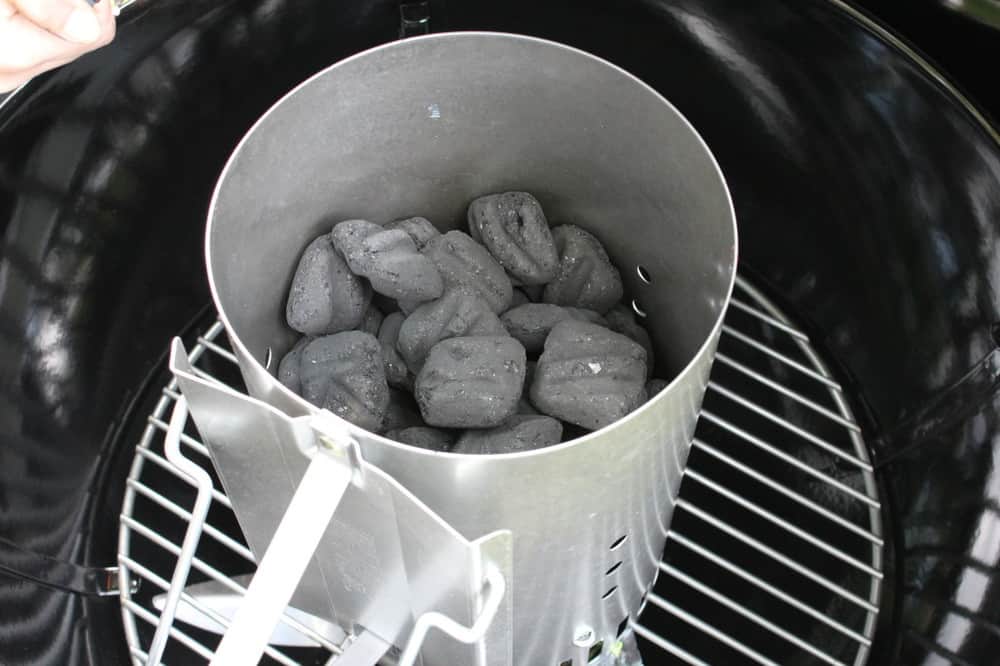
Light the fire-starter and wait until the coals have turned an ashy white color. As mentioned, this usually takes about 15 to 20 minutes. Note: Once you’ve started cooking your meat, you’ll need to replenish the heat zones with new hot coals about every 1 to 1 & ½ hours, so keep that in mind as you are monitoring your temperature. Rememer you’ll need about 20 minutes to get the coals going. Don’t just toss in unlit coals…most likely, they won’t get hot, and will throw the internal temp off.
Also, once you’ve started cooking the meat, you’ll need to find a another fire-resistant place to use your chimney starter for ‘replenishing’ coals. Concrete works, but just beware, it will leave a bit of a charred area on the concrete. I often use another grill that is not use.

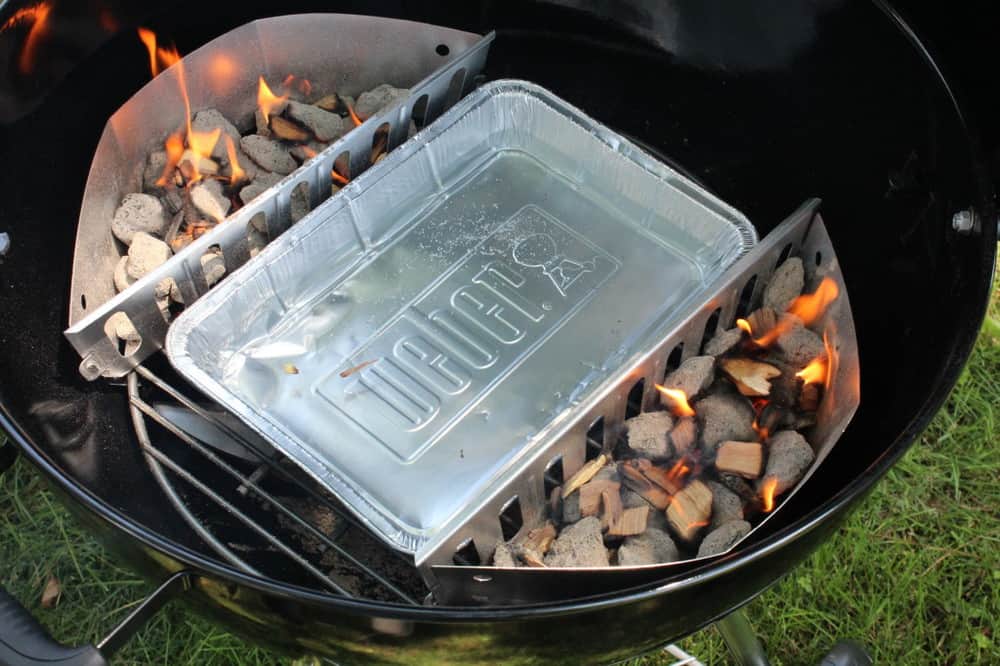
Again, you want to cook your ribs low and slow. To do this, you need use the non-direct heat method, and this can be achieved by creating a 2-zone fire. You can either place all the coals on one side of the grill, evenly placed, or, you can do what I usually do…place ½ the hot coals on one side and the other ½ on the other side, leaving an open channel in the middle, which will allow for the indirect heat area.
Be sure to use grilling mitts as you lift the chimney and carefully place the coals on each side of the bottom of the grill. Grilling tongs makes this easy.
Now, I like to place a hot water bath in the open non-direct heat area. The hot water absorbs and releases heat, which is good…this means less hot coals you have to keep adding to maintain the right temperature. Did I mention the temp you want to maintain – right at the cooking grate area – is between 200 – 235? I didn’t? Well, that’s super important. I wouldn’t rely on the thermometer on the lid of your grill, it’s not going to give you an accurate reading of the temp where the ribs will be. Get an instant read thermometer…it will make your life easier, and your ribs perfect.
To add that ever-important smoke flavor to your ribs, you’ll want to add smoke chips. For beef ribs, I like to use a combo of Mesquite and Hickory. Now, most people will tell you to soak the chips for 30 minutes to an hour before adding them to the fire. But, there are other champion pit-masters that will tell you to not soak them. I’ve tried both ways, and I have to say, I like soaking them. When they’re not soaked, they quickly light on fire, smoke a lot, but then burn out quickly. One important note, you’ll only need to add the smoke chips once at the start of your grilling. Too much smoke will impart a bitter flavor to your meat.
Remember: 200 – 235 F! 220 F is perfect. There are two vents on your grill…at the top and the bottom. Fire feeds on oxygen. When the vent is open at the bottom and at the top, natural ventilation pulls oxygen in from the bottom up through the top of your grill. This is how you increase heat. If you need to decrease the heat, you need to partially close off that flow of oxygen. A good rule of thumb I tend to follow is to leave the top vents half-way open all the time, and then adjust the lower vent to control heat. Most importantly, the more you grill, the more you’ll know what works best for you and your grill. And…resist peeking! Every time you open the lid, the cool air rushes in and dramatically changes the temperature within the grill area. This isn’t so good.
Now…it’s time to put your prepared ribs on the grill. Place them meat side up. No need to flip the ribs during cooking. Mop about every hour…but don’t over do it.
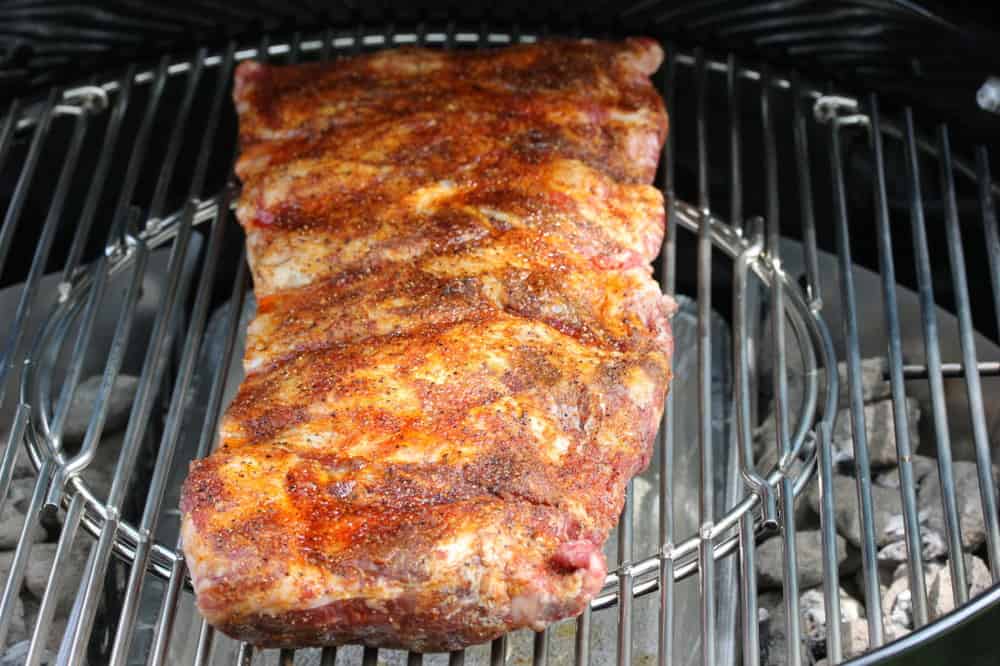
Depending on the size of the ribs, they’ll typically take anywhere from 3 to 5 hours. You’ll know when the meat starts to pull away from the ends of the ribs and they feel tender when prodded with your tongs. Again, the more you grill, the more you’ll know the exact time when your ribs are done.
Practice makes perfect!! Here is my recipe for Amazing Beef Back Ribs. HAPPY GRILLING!!
Leave a Reply