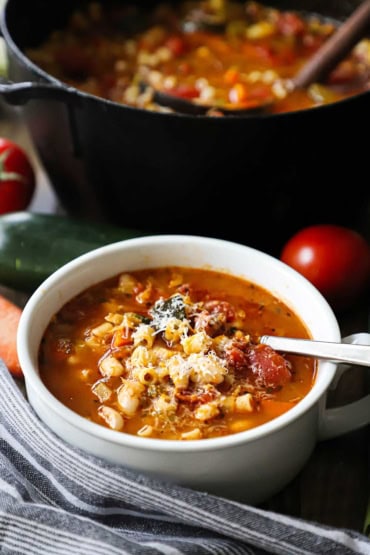
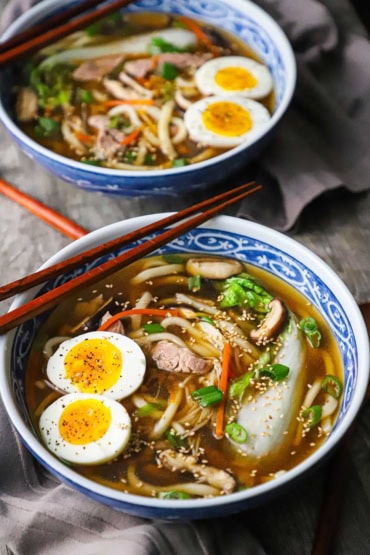
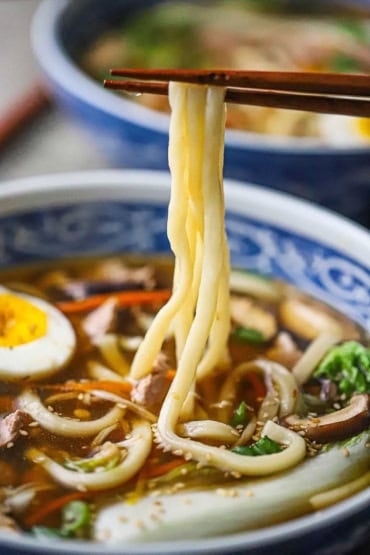
There is just something so comforting about a bowl of homemade soup. And this one checks all the right boxes.
A soup like this needs a wonderful broth as a base for all the other components. We go with a slow-cooked beef broth with a hint of ginger and cinnamon. This is a comfort soup just like homemade chicken pho is. The extra-large udon noodles are delicious and fun to gobble up.
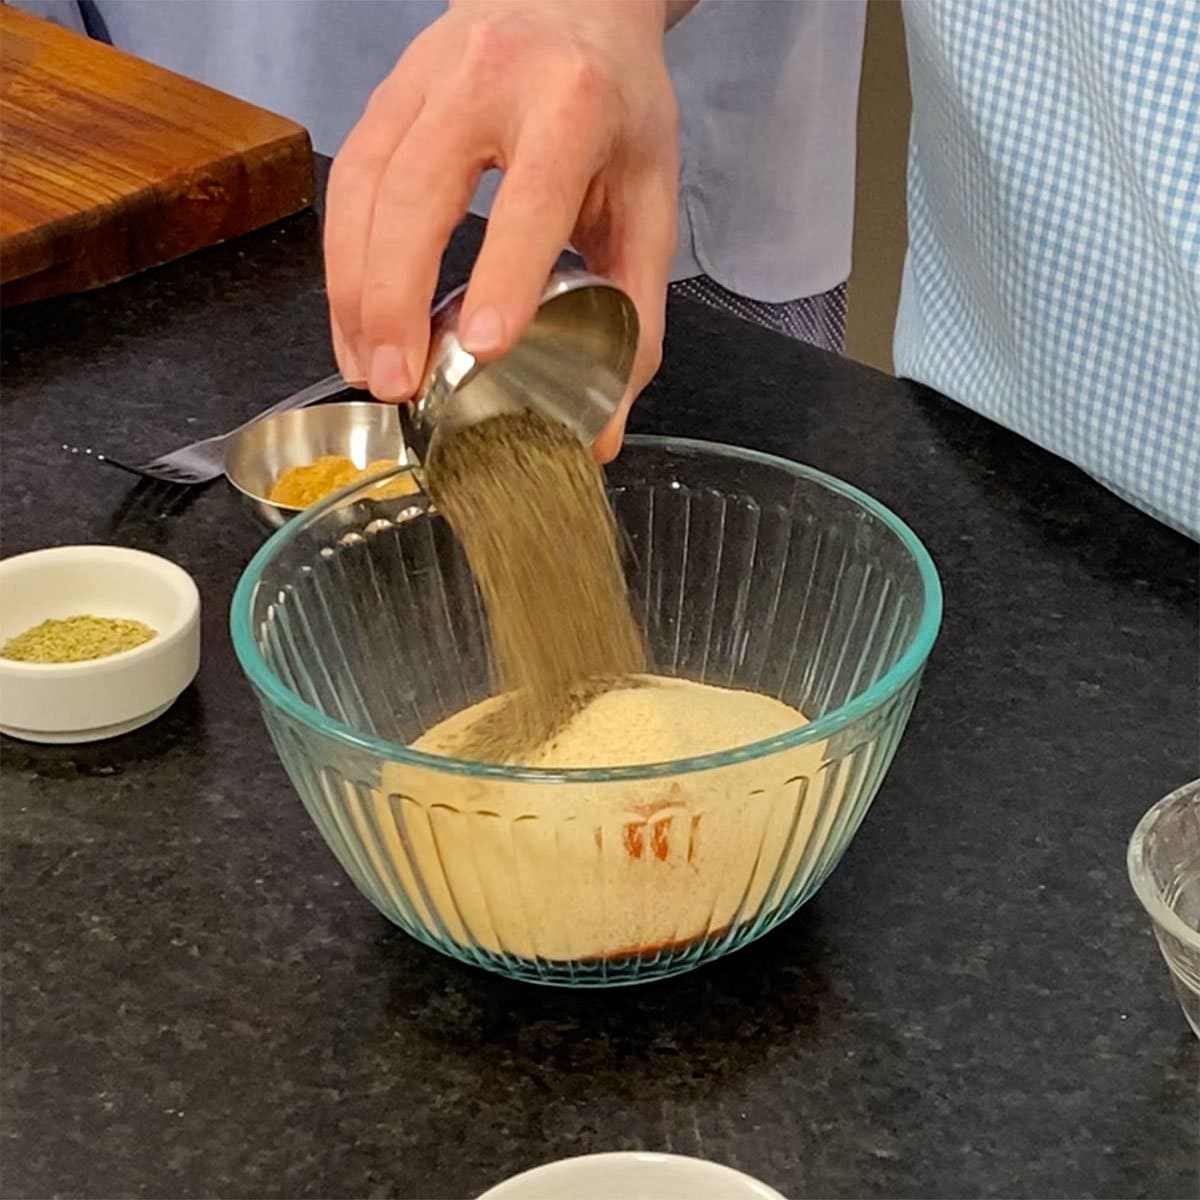
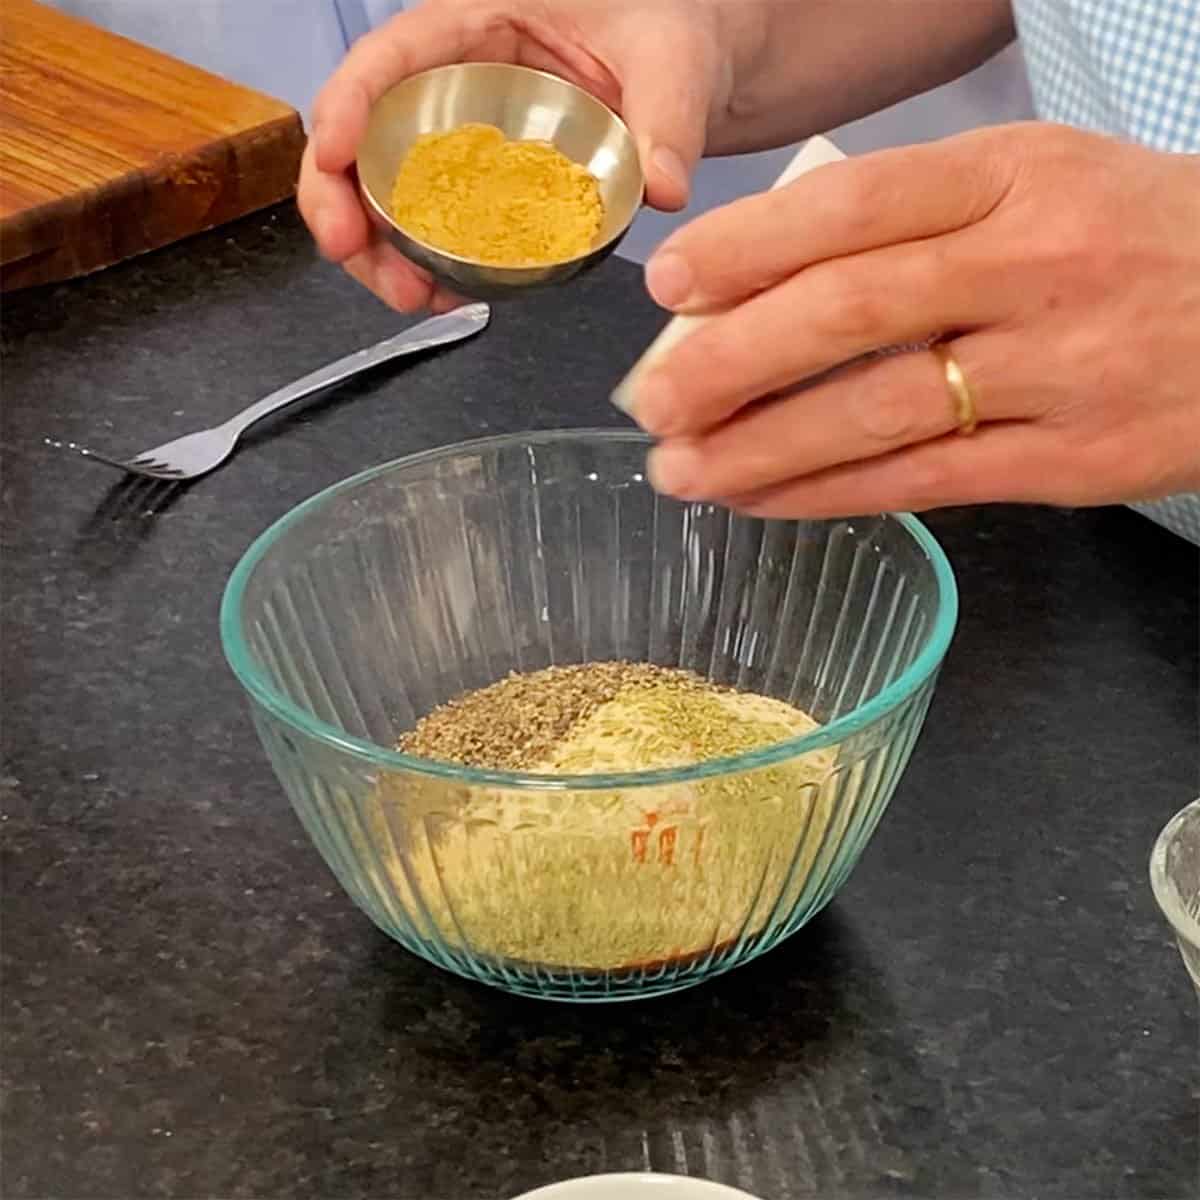
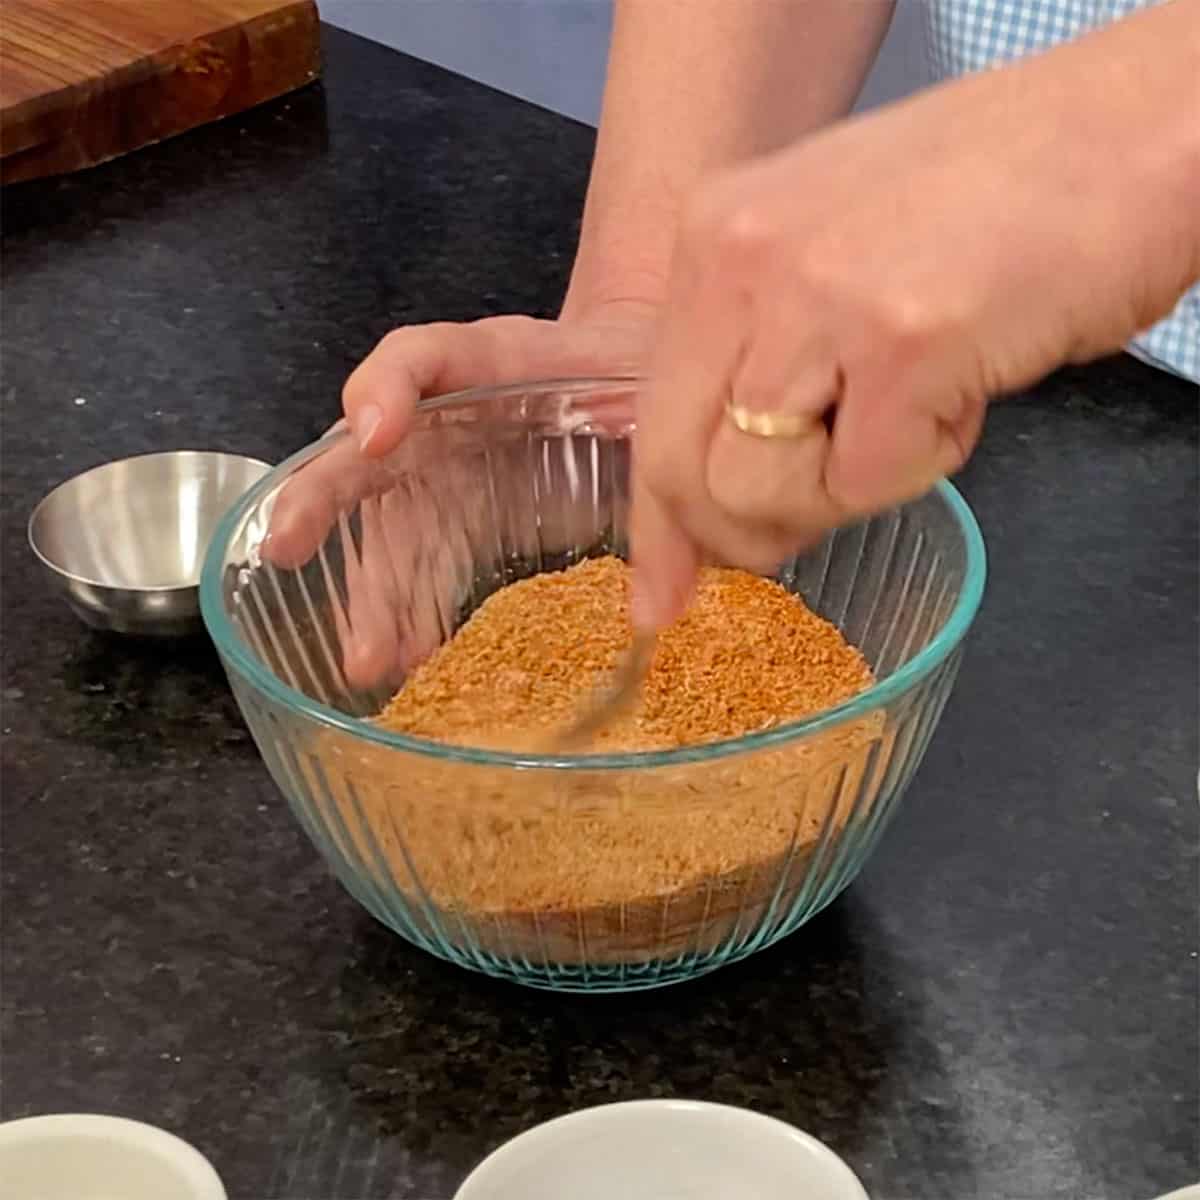
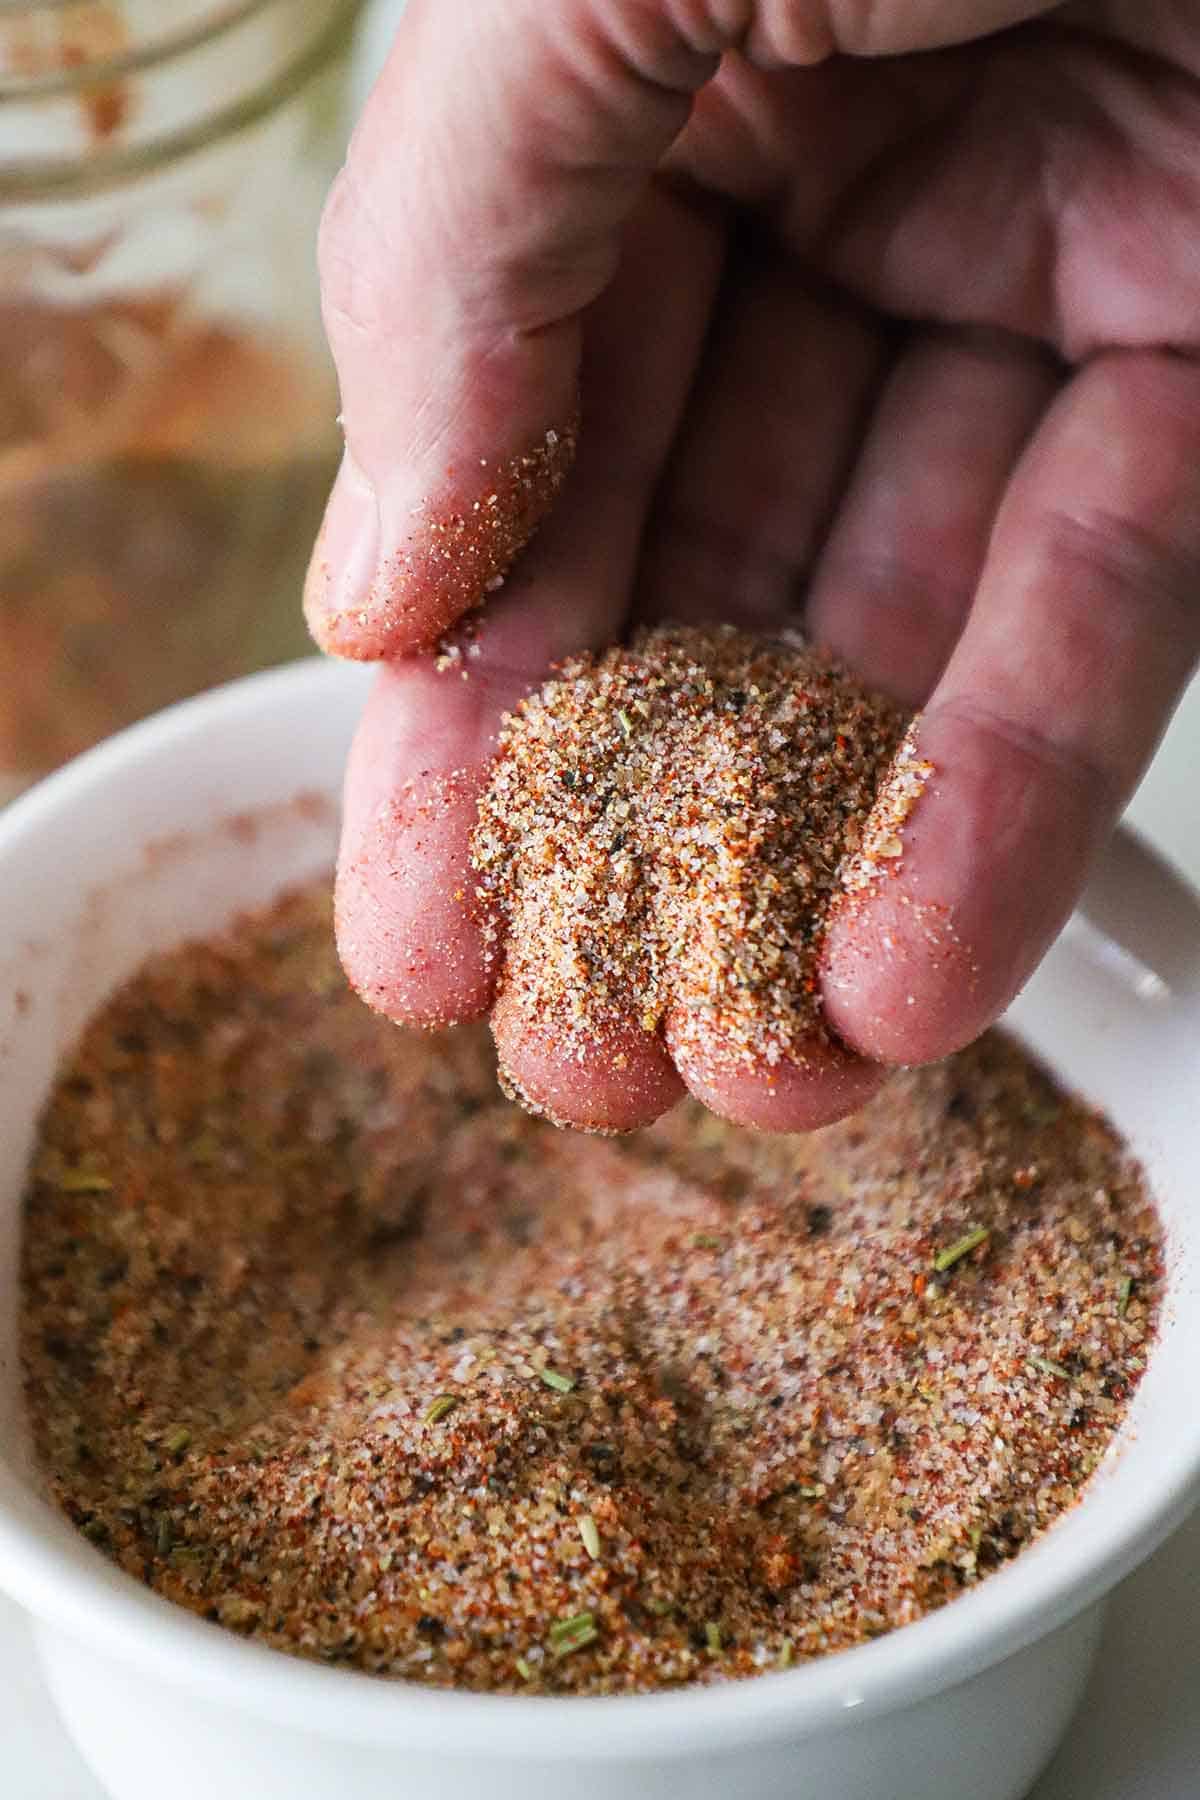
How To Make Udon Noodle Soup with Pork
NOTE: If you liked this video, please subscribe to our YouTube channel. Remember to click the little ‘bell’ icon so you’ll never miss a new video. Thank you!
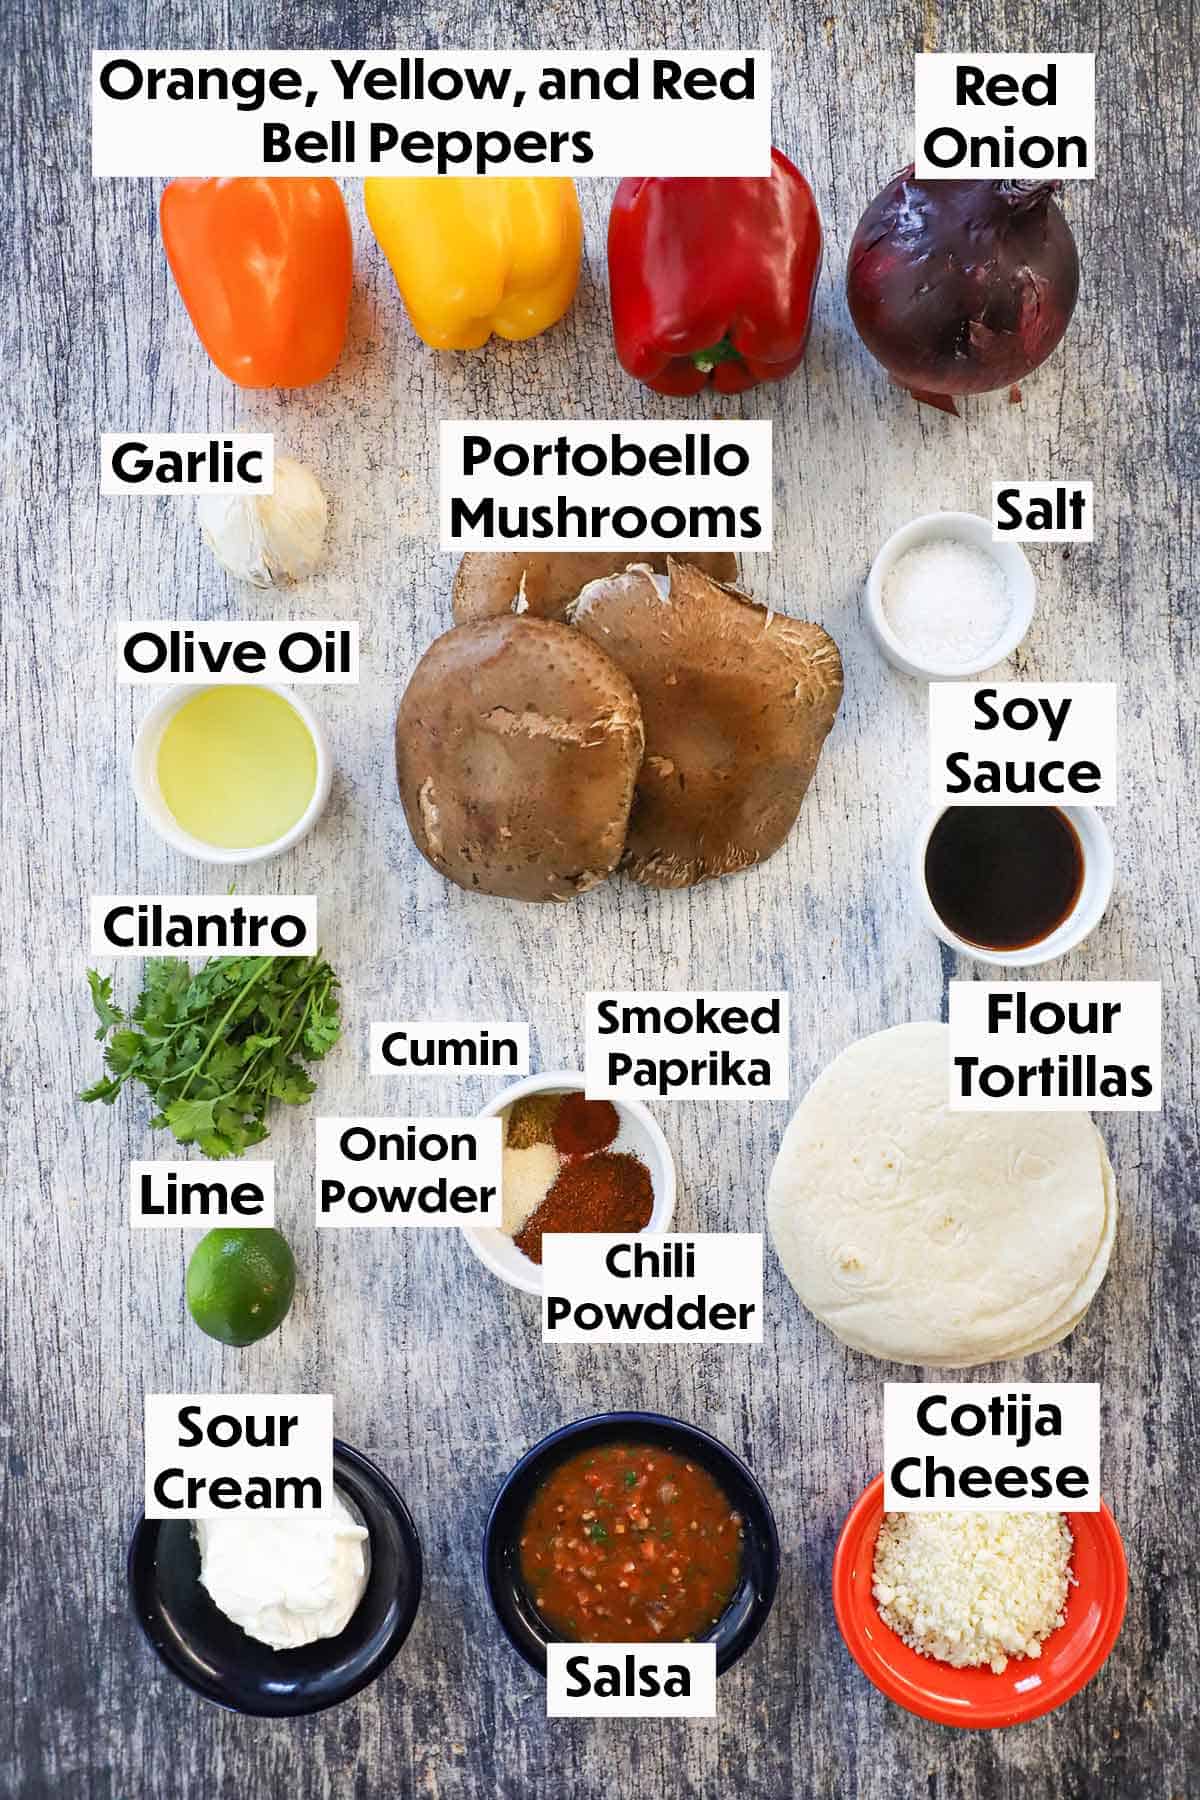
The Ingredients You Will Need
The ingredients in this soup are not hard to find, except you may need to run to your local Asian market to pick up the udon noodles and the enoki mushrooms. Or, you can easily replace them with easy-to-find substitutions. Here’s what you’ll need to have on hand:
For the Broth
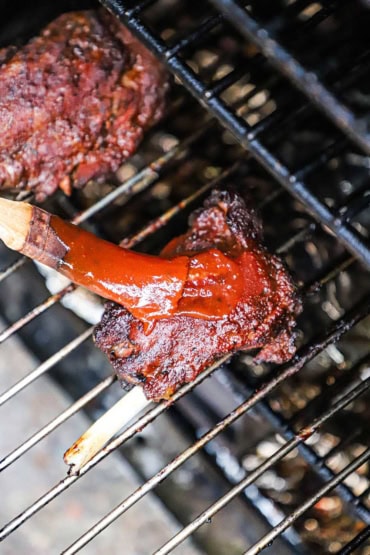
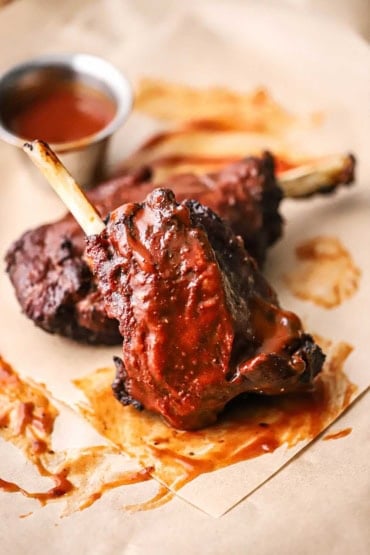
Beef short ribs – Or any kind of meat beef shanks. Available in the meat section of most well-stocked supermarkets or at your local meat market.
Onions – Yellow or red, quartered.
Carrot – Medium-sized, peeled and cut into chunks.
Cinnamon sticks – These can be found in the spice section of most supermarkets. We don’t recommend ground cinnamon.
Ginger – Fresh is best. Peeled and cut into chunks.
For the Soup
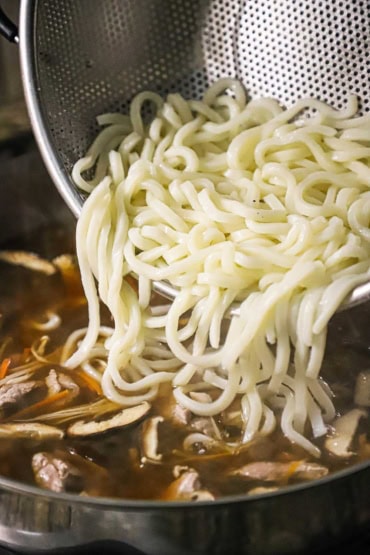
Udon noodles – We recommend the “extra large” variety. They can be found at Asian markets or online. If you can’t get your hands on them, any type of Asian noodle will work. Egg noodles can be substituted, too.
Pork tenderloin – Most tenderloin packages include two tenderloins. You’ll just need one. Chicken, beef, or even tofu can be substituted.
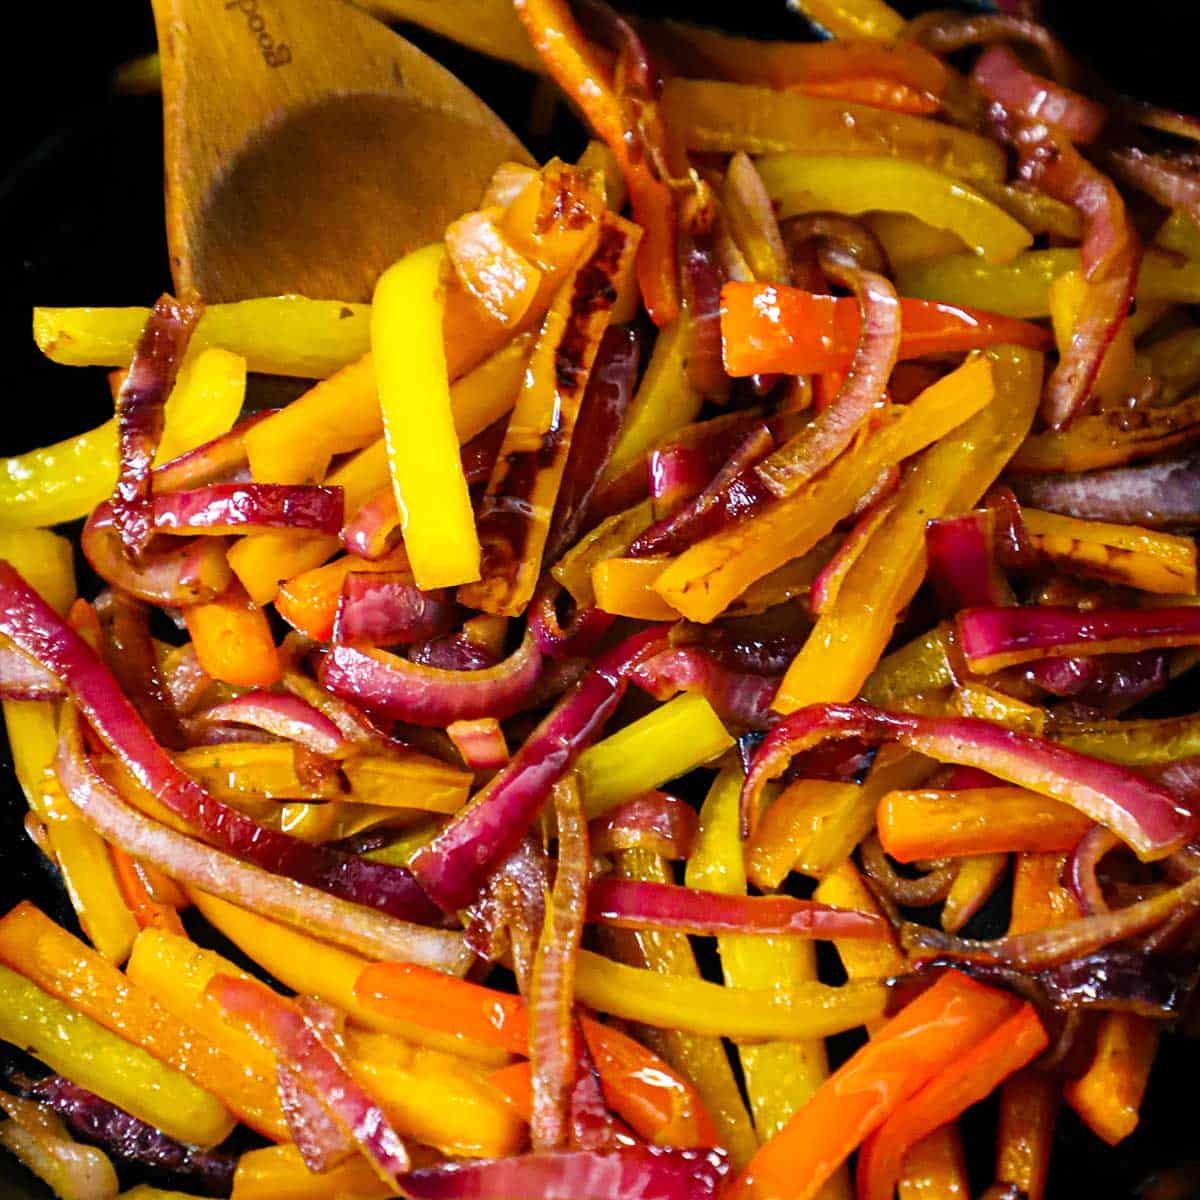
Carrots – Peeled and julienned. Use a mandolin on the julienne setting, or simply slice it into thin strips with a sharp knife.
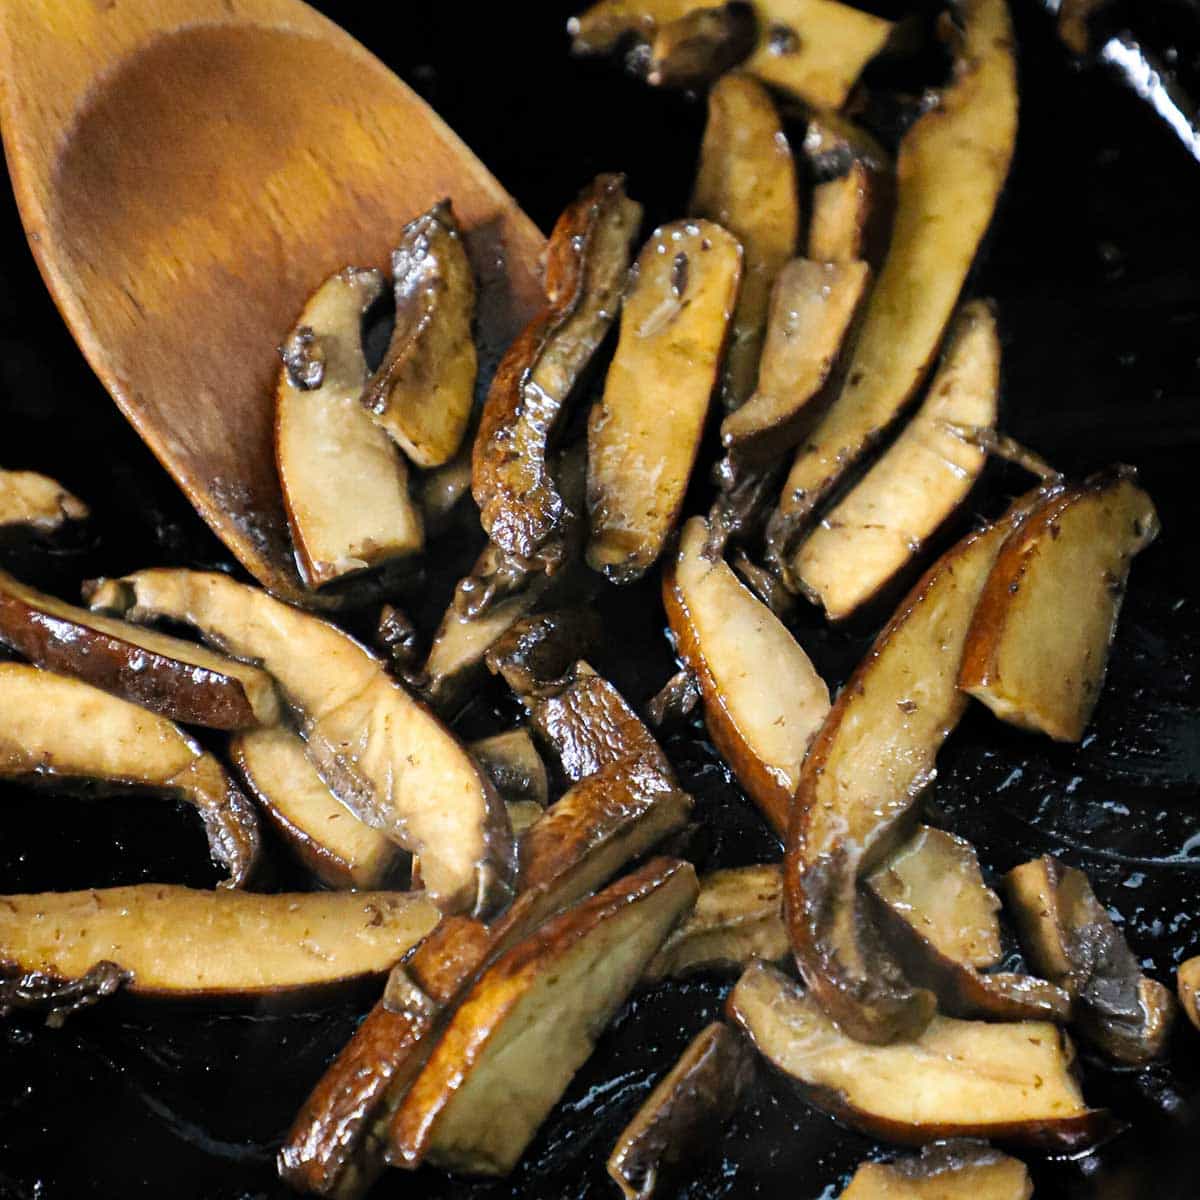
Mushrooms – We use fresh shiitake mushrooms and enoki mushrooms, which can be found at Asian markets. Any mushroom will work if you can’t get your hands on enoki, or even shiitake. Sliced button mushrooms will work!
Ginger – Fresh is best. Finely chopped or grated on a box grater.
Red chiles – Thai red chilis are wonderful. They can be found at many well-stocked supermarkets in the produce section, produce markets, or at Asian markets. Serrano or jalapeño peppers can be substituted.
Mirin – Japanese sweet cooking wine. Substitute mirin with Sherry, white wine (ie, Chardonnay), rice vinegar, or Chinese cooking wine.
Soy sauce – Regular or low sodium.
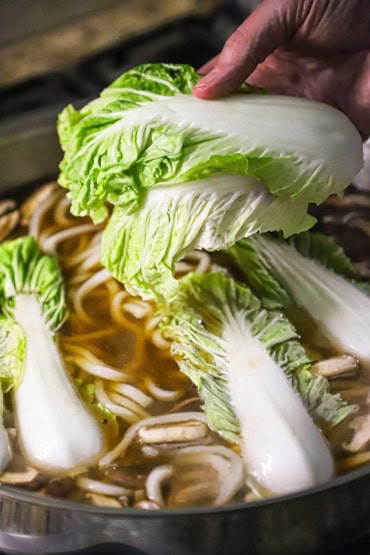
Cabbage – Chinese cabbage, bok choy, or green cabbage. Chinese cabbage can be found in Asian markets.
Garnish – Chopped scallions and toasted sesame seeds.
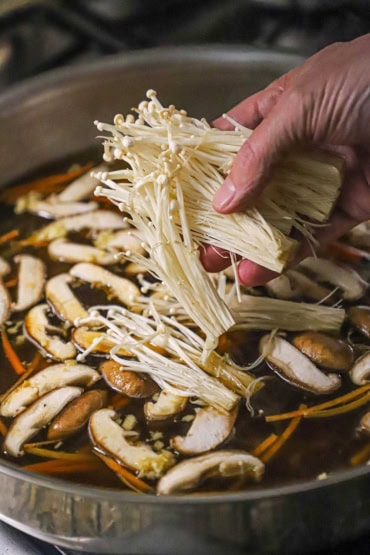
EXPERT TIP: Fresh enoki mushrooms typically come in bunches that connect at the base. Cut away the tough base and then separate the long thin mushrooms into smaller bunches. The enoki will reduce as they cook, so don’t cut them into small bunches.
Tips for Making Perfect Udon Soup with Pork
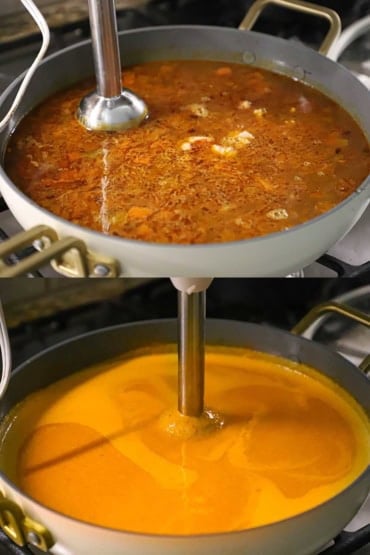
Make the Broth – Every great soup starts with a great broth. We love the beef broth version in the recipe, but you can go with traditional chicken stock, beef stock, or even vegetable stock. The stock can be made days in advance.
Go with Quality Udon – If possible, seek our jumbo udon noodles. They can be found in Asian markets. Dried udon noodles aren’t as big (usually), but are still delicious. Cook according to package directions. Don’t overcook them, or they will get mushy.
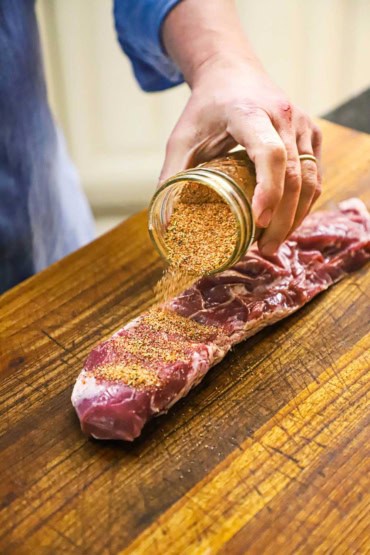
Briefly Freeze the Pork – Freeze the tenderloin for about 30 minutes before slicing. This makes this step much easier. Cut against the grain. Season with salt and pepper, or, marinate the pork in soy sauce, ginger, and garlic.
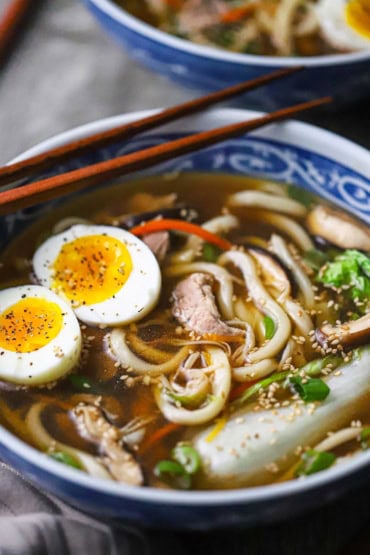
Don’t Overcook the Eggs – For authentic taste and texture, you’ll want a semi-hard egg. Don’t overcook them or they will be hard and rubbery. Follow the instructions closely in the recipe and you’ll have perfect eggs.
EXPERT TIP: Any type of cabbage will work. You can find Chinese cabbage at Asian markets. Baby bok choy is another excellent option that can be found in the product section of most supermarkets. Place the leaves in the simmering broth and simmer until they wilt somewhat, usually about 1 to 2 minutes.
How To Serve
You’ll want to serve this soup in a large and wide soup bowl.
Have chopsticks available for those who prefer them, but, spoons are necessary to capture the broth.
Don’t add the chopped scallions and toasted sesame seeds until just before serving. If desired, have hot chili oil available for guests who prefer a little heat in their soup.
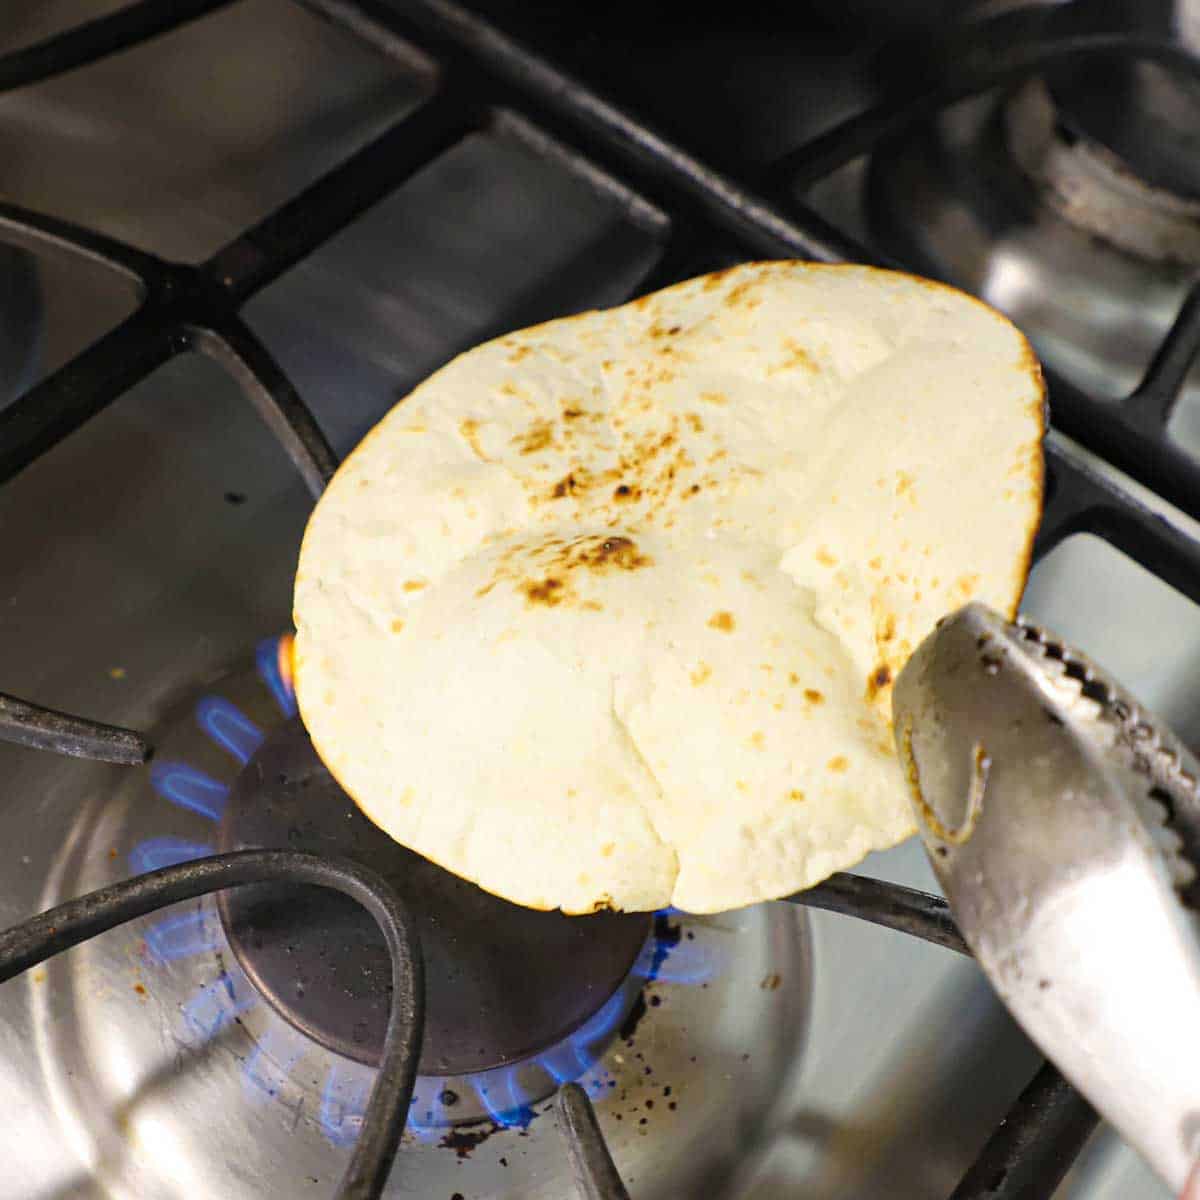
EXPERT TIP: If using fresh udon noodles, you’ll need to cook them in boiling water for only 4 minutes. Do NOT overcook them. If you do, they will start to fall apart. If using dried, cook according to the package directions. You can prepare the noodles in advance and toss them (after draining) in a little olive oil to keep them from sticking together.
Other Broth Soup Recipes to Try
There is just something extra comforting about a soup that has a base of homemade broth. Here is a collection of some of our favorites:
- Chicken Pho (Vietnamese Chicken Noodle Soup)
- Ramen with Spinach and Poached Egg
- Classic Chicken Noodle Soup
- White Chili with Chicken and Tomatillos
- Authentic Matzo Ball Soup
- Chicken Tortilla Soup
- Italian Wedding Soup
- Classic French Onion Soup
- Minestrone Soup
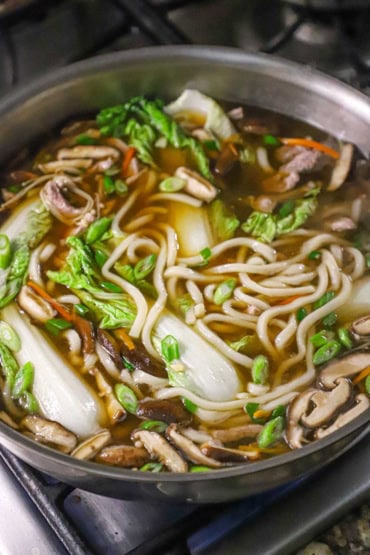
These are all amazing and classic in their own way. But, in the meantime, isn’t this skillet full of comfort calling your name?
What To Serve with Udon
This udon soup is very filling. It’s perfect on a chilly day for a very satisfying lunch.
When serving guests, if desired, serve in smaller soup bowls as a first course. We love to serve this with a big platter of sautéed baby bok choy.
Sake is the perfect wine, but any white wine (dry or sweet) pairs nicely with the deep flavors of the soup.
If you love a heartwarming soup as much as we do, this soup will make you very happy.
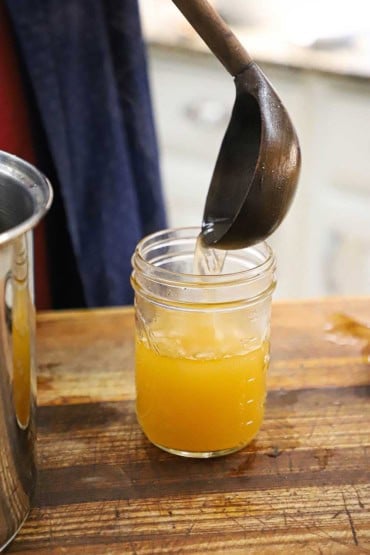
Probably the most important part of this comforting component of this soup is the broth. Remember, it can be made several days in advance. We recommend making it and then chilling it. This makes removing any congealed solid fat on the surface super easy.
This is one of our favorite soups and you can adjust the filling to your own tastes! And, is often the case, it’s even better the next day!
And those extra-large noodles are so satisfying!
Ready to make the best soup in town? Go for it!
And when you do, be sure to take a photo of it, post it on Instagram, and tag @HowToFeedaLoon and hashtag #HowToFeedaLoon!

Udon Noodle Soup with Pork
Equipment
- 1 Large pot 8 QT, for simmering the broth
- 1 Large skillet 12-inch, or stock pot for preparing the soup
Ingredients
For the Broth (Do Ahead)
- 4 lbs beef short ribs or beef shanks
- 2 medium onions peeled and quartered
- 1 medium carrot peeled and cut into chunks
- 1 medium cinnamon stick don't use ground
- 1 3-inch piece ginger fresh
For the Soup
- 1 lb pork tenderloin
- 4 whole eggs
- ½ lb Udon noodles fresh, or ¼ lb dried noodles
- 2 quarts beef broth
- 1 large carrot peeled and julienned
- 3½ oz shiitake mushrooms stems removed and sliced
- 5 oz enoki mushrooms cut into smaller portions (if connected)
- 1 tablespoon ginger fresh, minced
- 2 red chilis
- ¼ cup mirin
- 2 tablespoon soy sauce
- 1 teaspoon sugar
- 1 teaspoon Kosher salt
- 2 medium Chinese cabbage or baby bok choy
- 2 bunches scallions chopped, plus extra for garnish
- 2 tablespoon sesame seeds toasted
Instructions
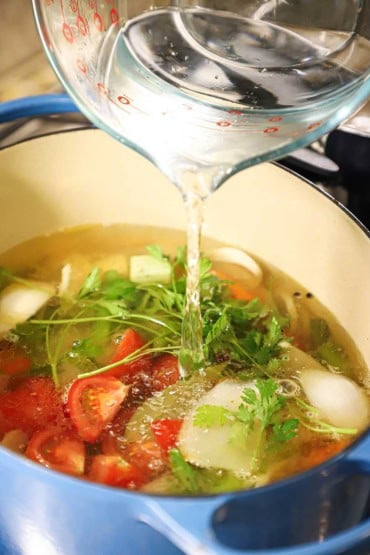
Do Ahead - Prepare the Broth
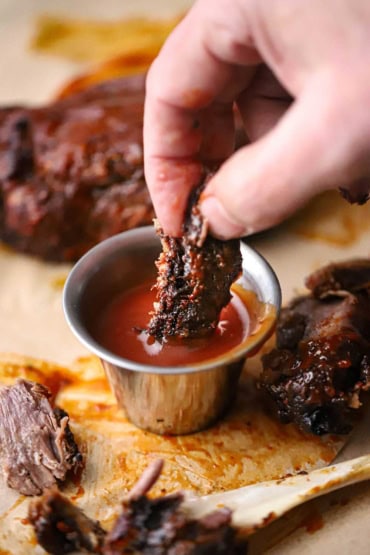
- In a large pot, add the short ribs, onions, carrots, cinnamon stick, and ginger. Cover with 2½ quarts (10 cups) of water and bring to a boil. Lower the heat and simmer, stirring occasionally, for 3 hours. Add more water if needed to keep the ingredients covered. Let cool, remove the bones, pull off the meat, and keep for another use. Strain into a pot and chill for 3 hours, or overnight. Use a spoon to remove any solid, congealed fat from the surface. Store the broth until ready to use.4 lbs beef short ribs, 2 medium onions, 1 medium carrot, 1 medium cinnamon stick, 1 3-inch piece ginger
Make the Soup
- Place the pork in the freezer for about 20 minutes.1 lb pork tenderloin
- To cook the eggs, add enough water to a pot to cover the eggs. Bring to a boil and then gently lower the eggs into the water. Boil for exactly 8 minutes then remove with a slotted spoon and place in a bowl filled with cool water. Set aside.4 whole eggs
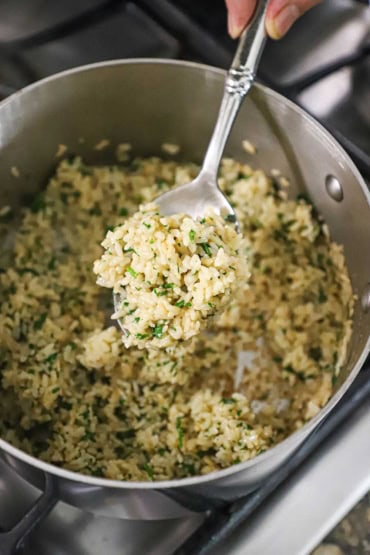
- Bring a pot of water to a boil over high heat. If using fresh udon, carefully add the udon and boil for about 1 minute. If using dried, cook until just tender, usually about 5 to 7 minutes. Drain into a colander and rinse with cool water. Set aside.½ lb Udon noodles
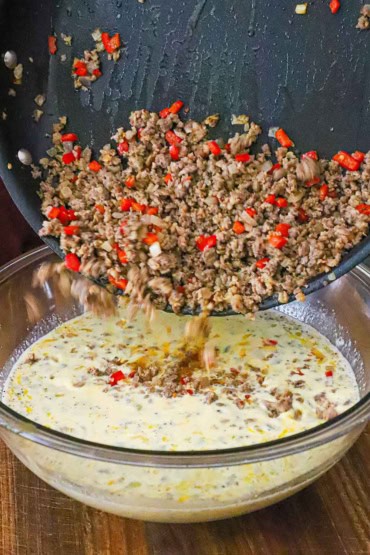
- Remove the pork from the freezer and slice it against the grain into thin slices, then cut those slices into smaller strips. Set aside.
- Add the broth to a large skillet (or pot) and bring to a simmer.2 quarts beef broth
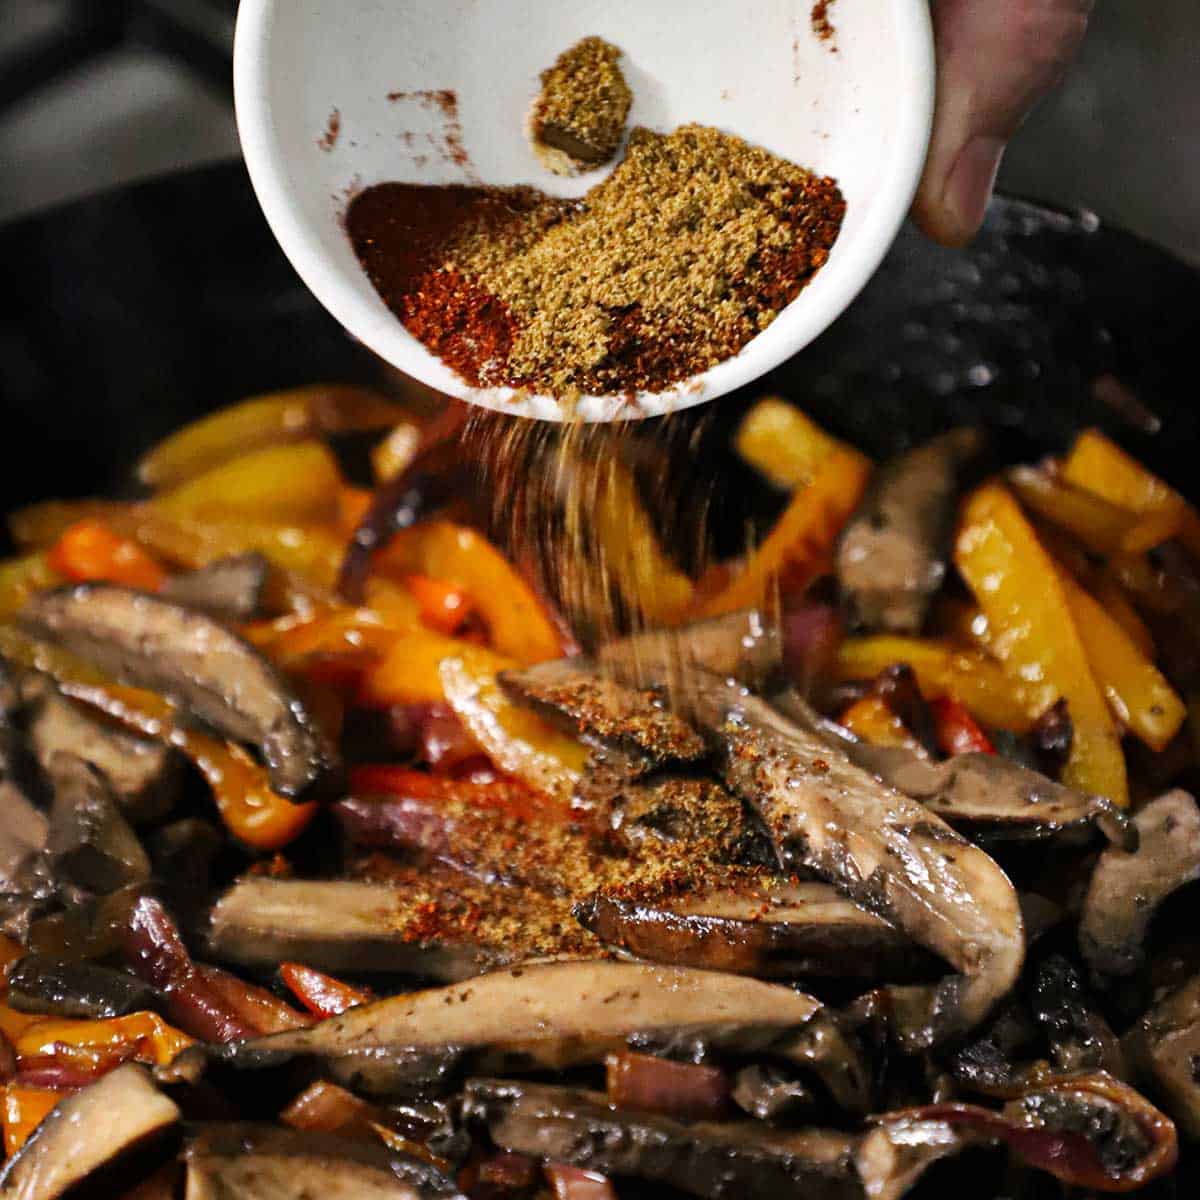
- Increase the heat to high, and add the carrots, shiitake and enoki mushrooms, ginger, chilis, mirin, soy sauce, sugar, and salt, and bring to a boil. Lower the heat to medium and simmer for 5 minutes. While the soup is simmering, peel the eggs.1 large carrot, 3½ oz shiitake mushrooms, 5 oz enoki mushrooms, 1 tablespoon ginger, 2 red chilis, ¼ cup mirin, 2 tablespoon soy sauce, 1 teaspoon sugar, 1 teaspoon Kosher salt
- Add the pork and cook for another couple of minutes. Stir in the cooked noodles, cabbage, and scallions. Simmer until the cabbage has started to wilt, about another 3 minutes.2 medium Chinese cabbage, 2 bunches scallions
- Remove from the heat and remove the chilis. Taste and add more soy (or salt) if desired. Ladle into bowls. Slice the eggs in half and place them on top of the soups. Garnish with additional chopped scallions and sesame seeds.2 tablespoon sesame seeds