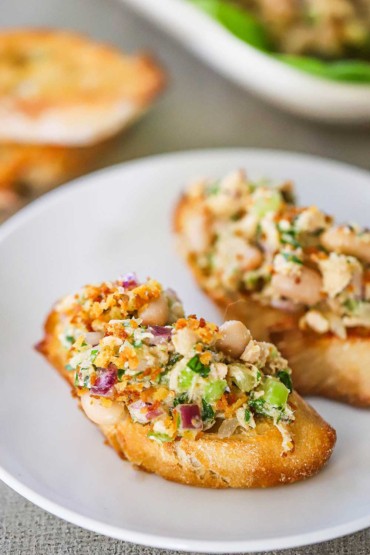
This really is the perfect go-to salad for sandwiches or on top of a green salad.
You could easily add crumbled bacon, or raisins, or cashews, or even mix in a little curry powder to the mayo. Of course, homemade mayo puts this salad over the top. But again, a good quality store-bought mayonnaise works perfectly well, too. After cooking the chicken, the salad comes together in only about 15 minutes!

How To Make Chicken Salad
EXPERT TIP: Cook the chicken up to 3 days before assembling and serving. You can also make the homemade mayonnaise several days in advance, too!
Although chilling the salad after it’s mixed is recommended, we think to let the salad return to room temperature is great for taste when serving.
Watch us show you how easy it is to make this truly incredible recipe!
Other “Best-Ever” Salads to Try
What Makes It So Delicious?
So many folks have made this salad and asked us in complete sincerity: “What makes this chicken salad recipe so darn delicious?”
Well, there are several reasons, we believe: Here are some of the main ones:
- Roasting the chicken ensures flavorful, juicy chicken for the salad. In a pinch, you could certainly use a rotisserie chicken from the supermarket.
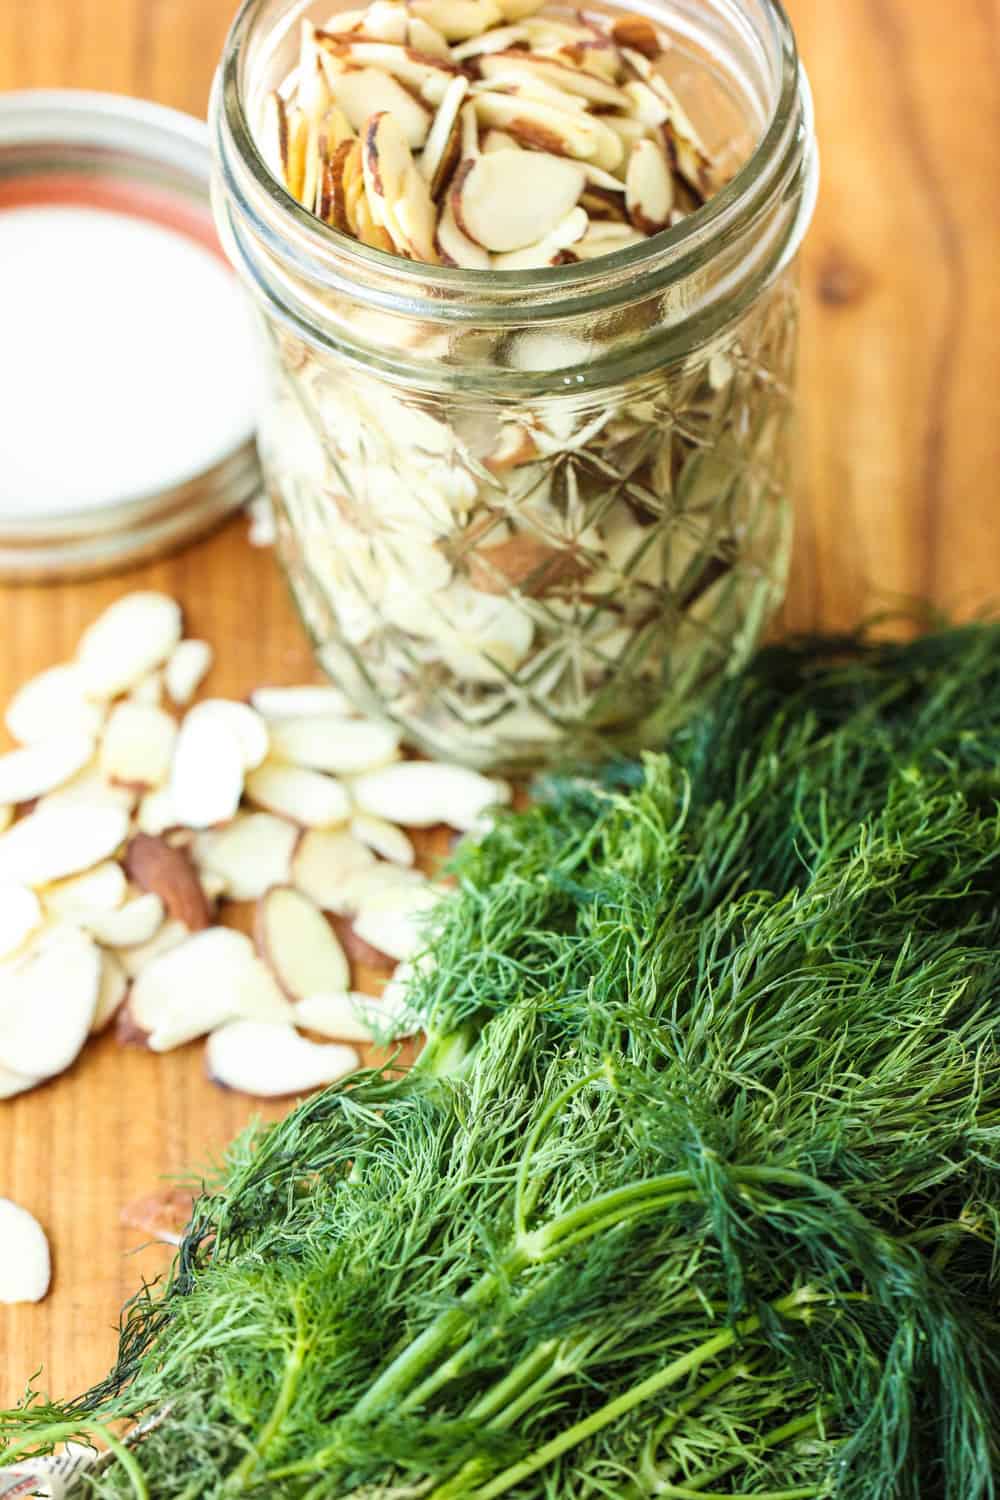
- The addition of seedless grapes, almonds, and fresh dill are part of what makes this dish so wonderful.
- A mix of mayonnaise, Dijon, and lemon juice adds a freshness that is just so very delicious. It all adds up to the best chicken salad sandwich you can imagine!
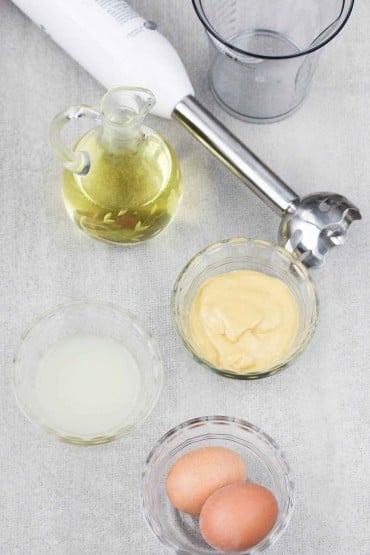
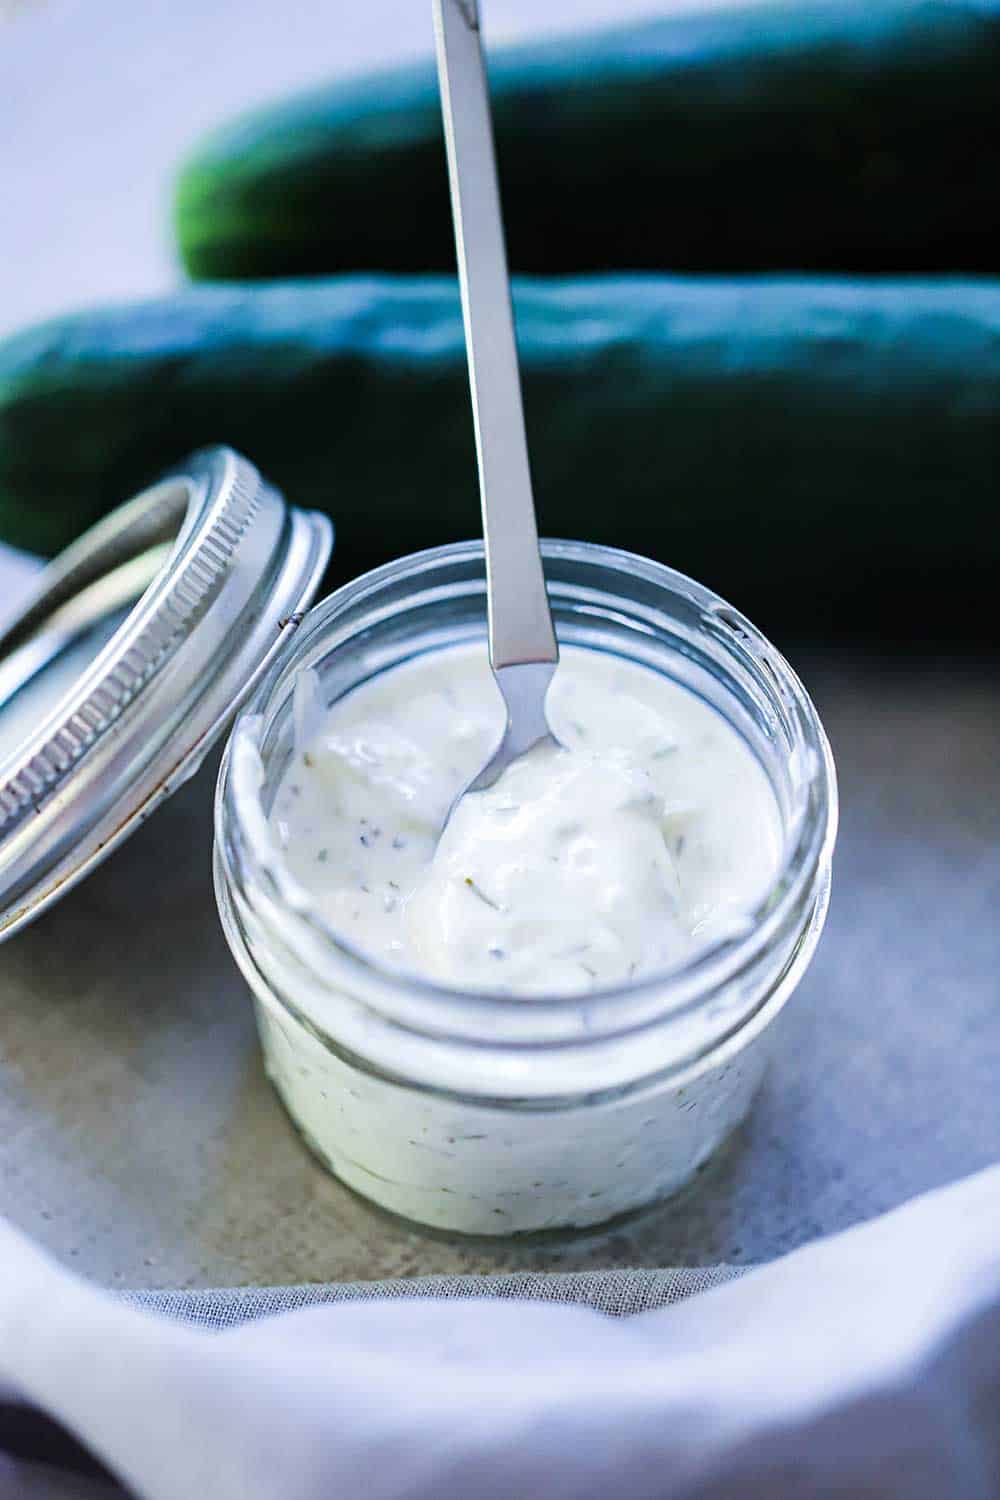
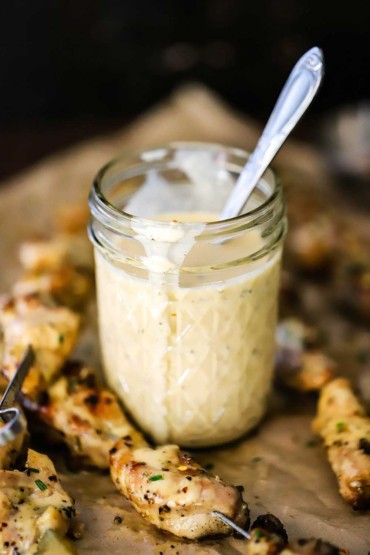
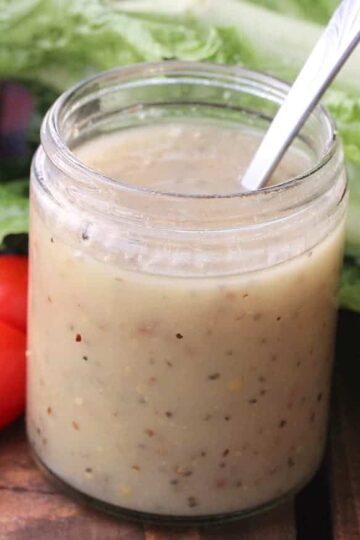
Homemade Mayonnaise Adds More Freshness
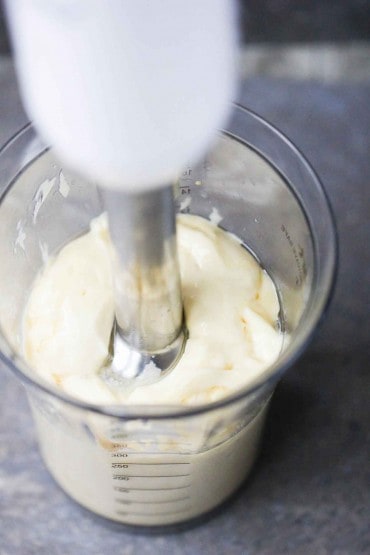
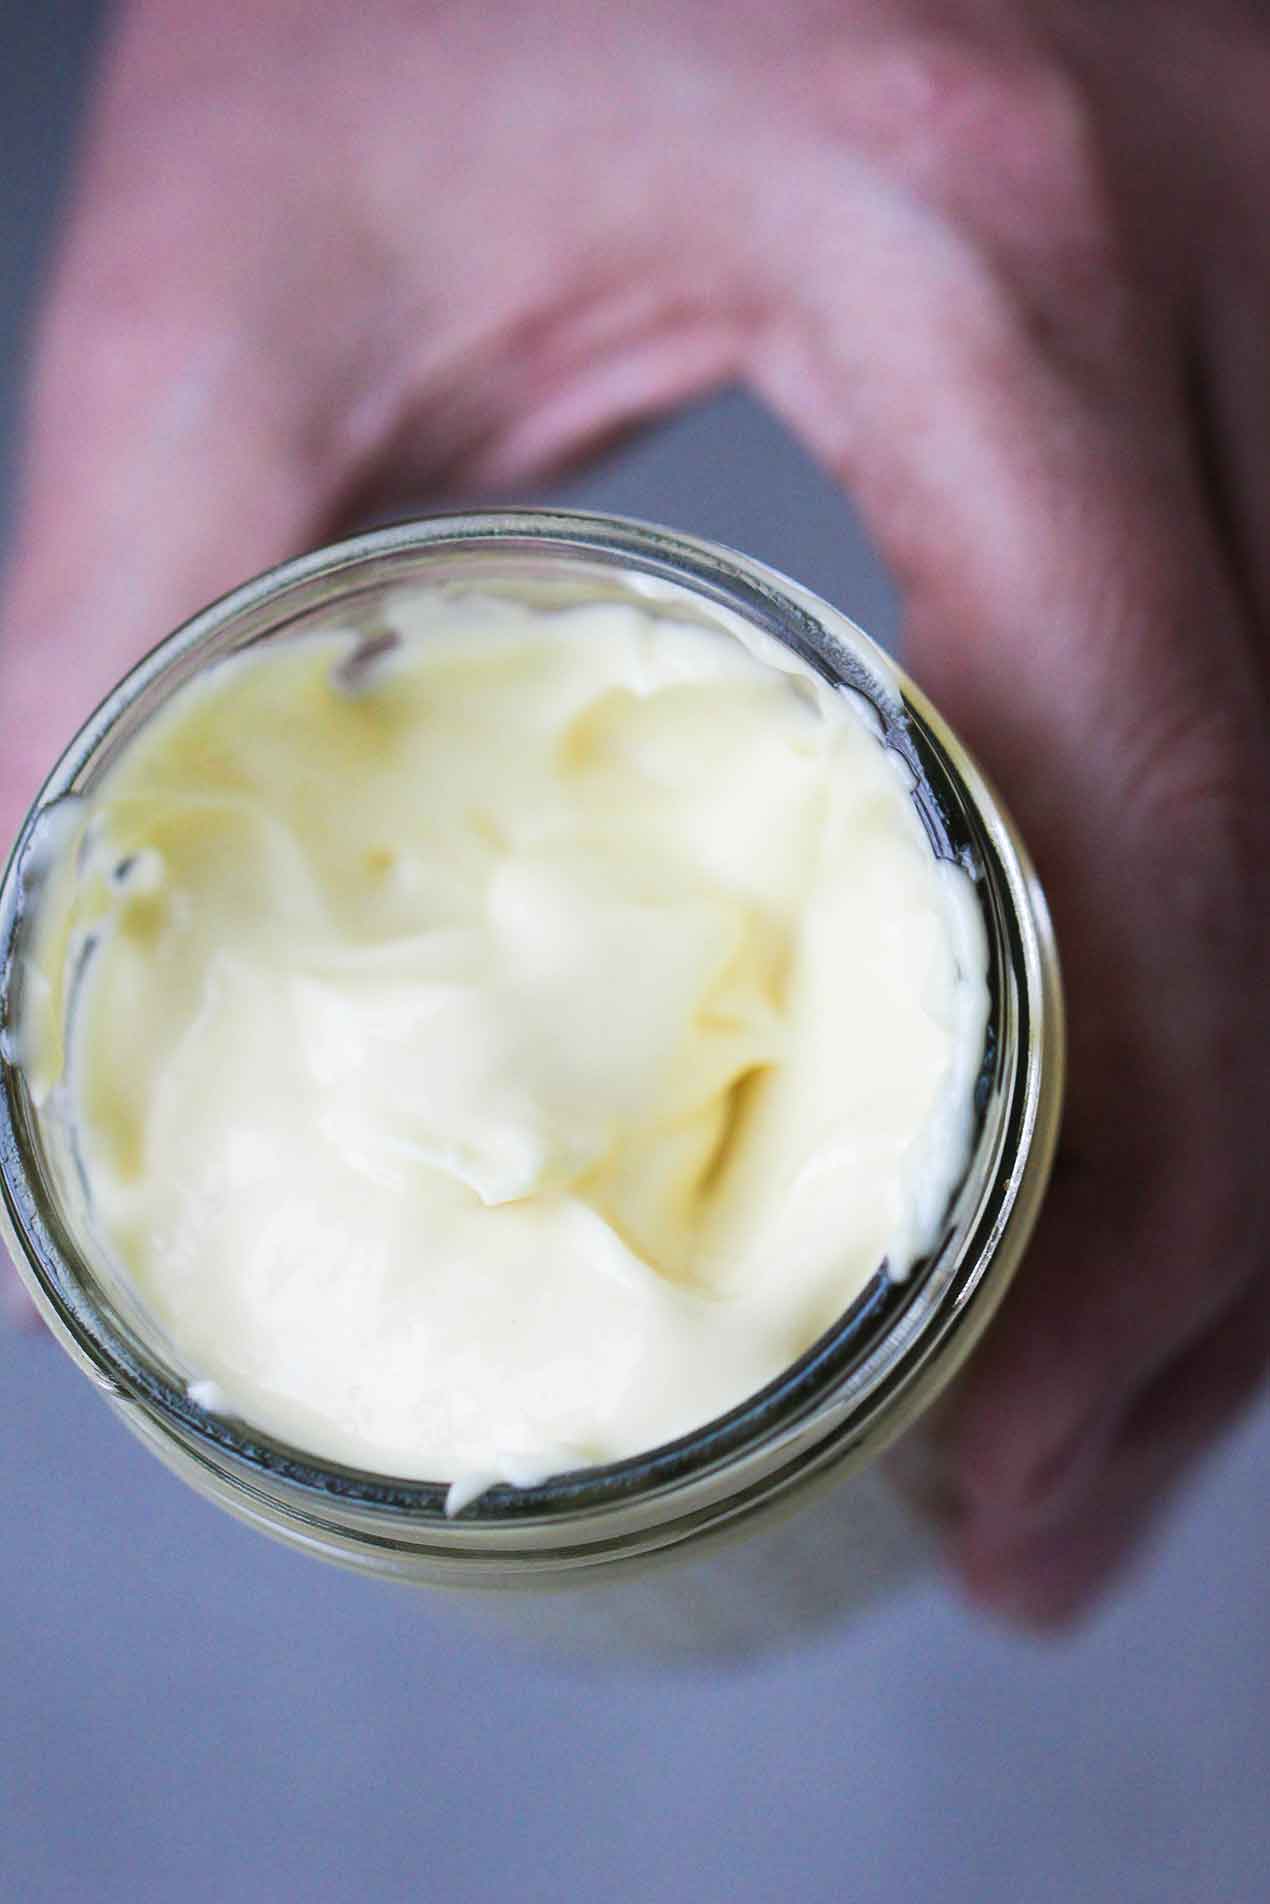
If you really are in the mood to make this truly the BEST-EVER chicken salad…make your mayonnaise from scratch.
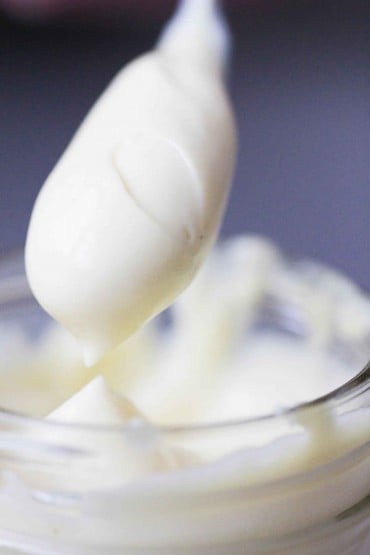
There’s nothing better than homemade classic mayonnaise (click for recipe).
Of course, good-quality store-bought mayonnaise will work just fine, but we absolutely LOVE making it from scratch! One thing to keep in mind, though, homemade mayo has raw egg in it, which could be an issue with the very young, the elderly, or anyone with a compromised immune system.

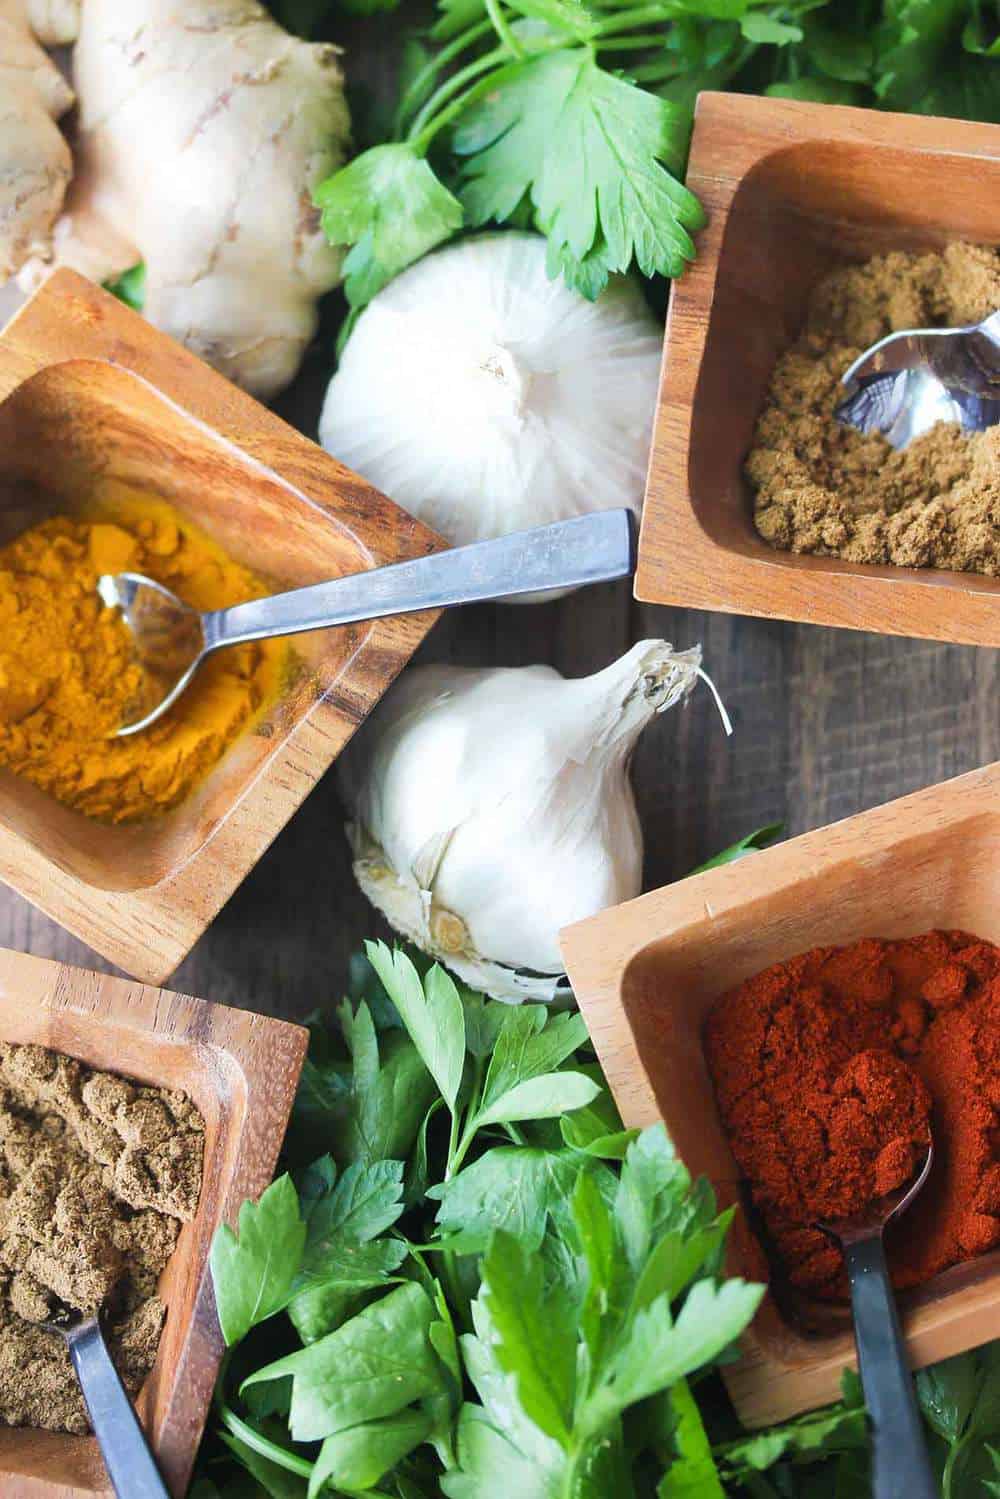
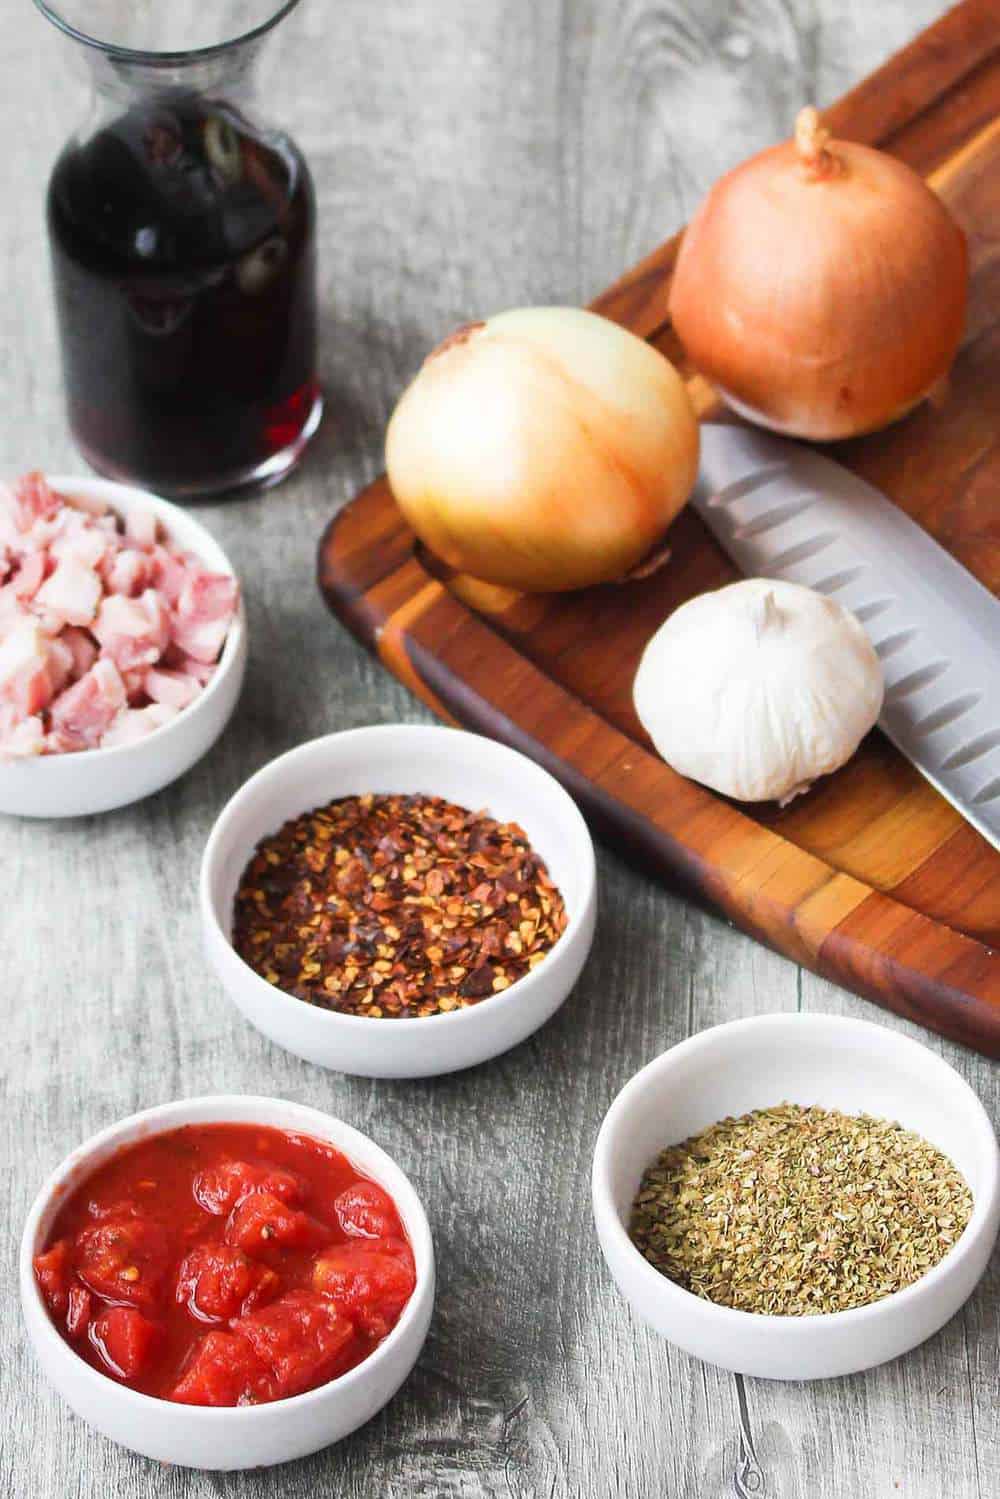
It’s all about using fresh ingredients.
Fresh dill and parsley add a layer of flavor that we think puts this salad over the top.
If you can’t get fresh, dried will work, just use half the amount that you would be using if fresh.
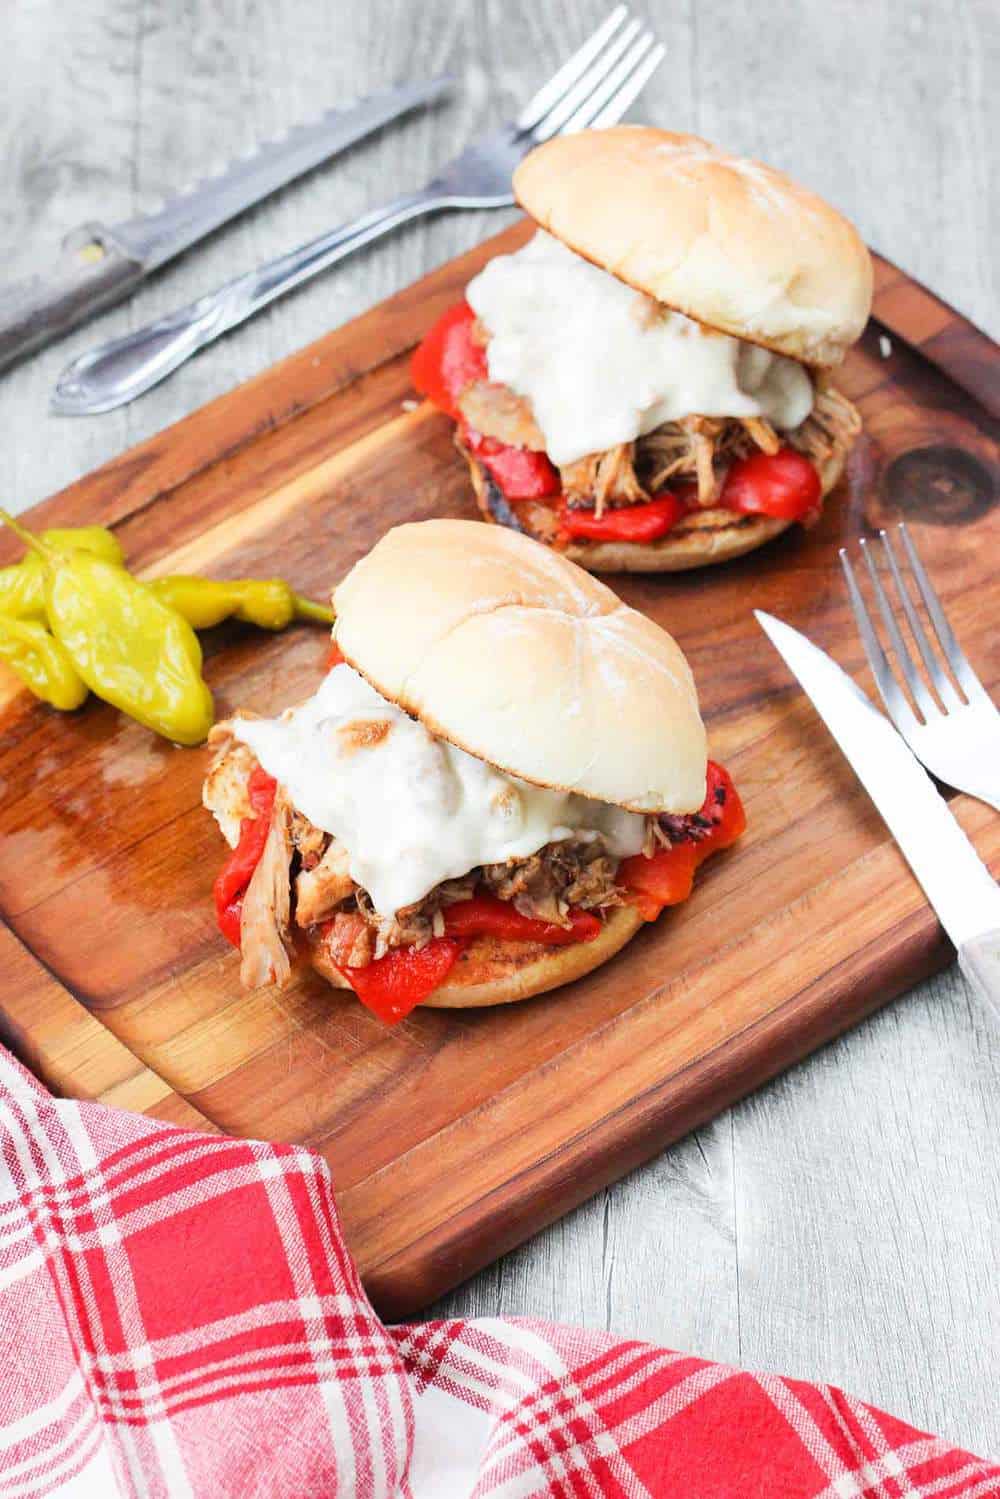
And it’s even better after it sits in the fridge for a few hours, or overnight! This chicken salad sandwich recipe is really about as good as they come!
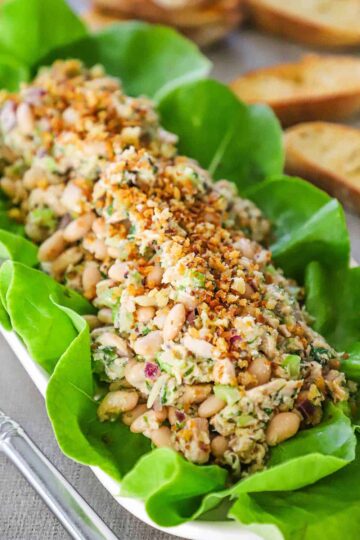
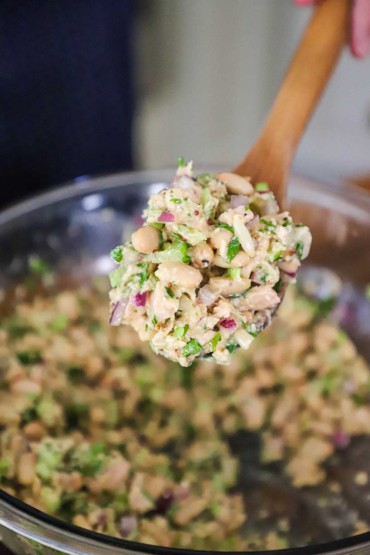
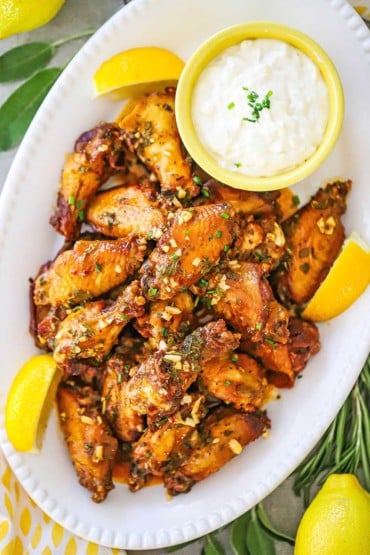
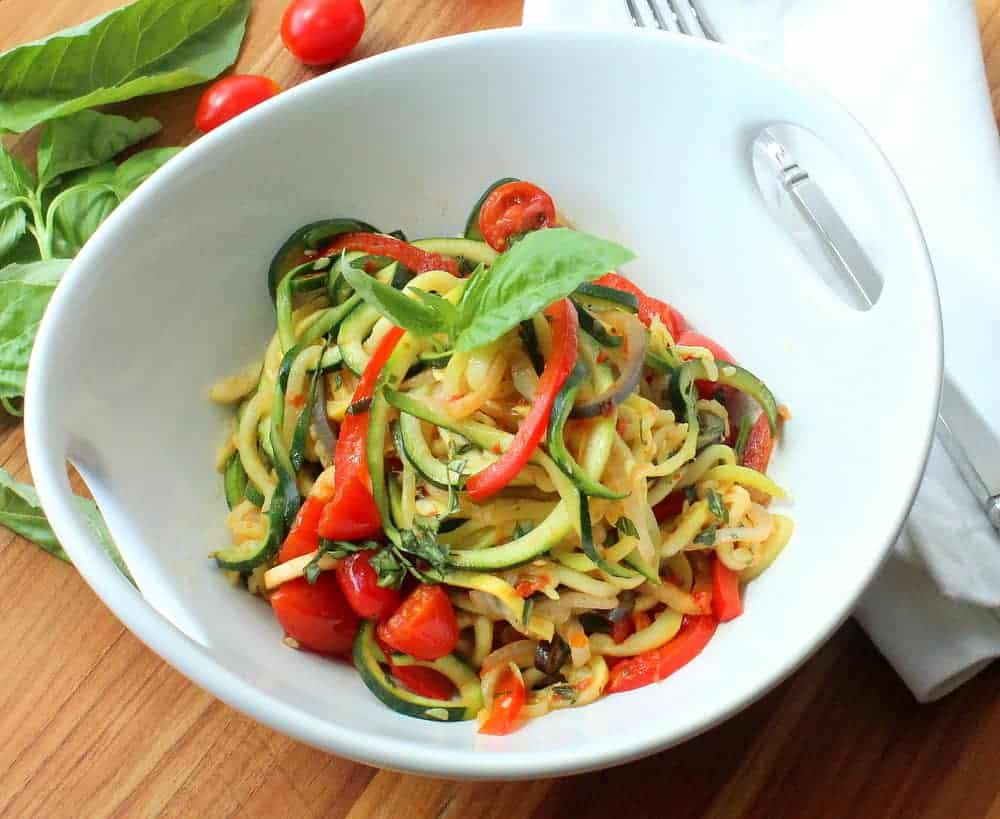
I mean, just look how delicious this looks!
Wait until you taste it!! You and those around you will love it!

If you are looking for an easy chicken salad recipe that tastes like something you’d get at an amazing restaurant, you need to look no further!
You can almost taste how good this is just by looking at it.
There is a reason this is hands down the most popular recipe on How To Feed a Loon!

Best-Ever Chicken Salad FAQs
- How far advance can it be made? We recommend serving soon after the salad is assembled. However, you can prepare the chicken and the dressing up to several days in advance. We will say the salad is even tastier after it sits in the refrigerator for a few hours. We just suggest bringing the salad back to room temp before serving. But that’s just a suggestion!
- Is a rotisserie chicken okay to use? Absolutely! We feel pretty strongly that the roasted chicken pieces yield an even tastier salad, but a good-quality rotisserie chicken will work, too. Just please don’t use canned chicken. Please.
- What other ingredients could I include? The sky is practically the limit: We love dried cranberries, sliced apples, cashews or peanuts, even capers! Fresh oregano, rosemary and/or thyme is great, too!
- Can the salad be frozen? Yes! Freeze for up to 1 month in an air-tight container. Let thaw completely and return to room temperature. You may need to make a small batch of the dressing just to stir in before serving after it’s been frozen, but that’s not 100% necessary.
Ready to make the best lunch dish in town? Go for it!
And when you make it, take a picture and post to Instagram and tag @HowToFeedaLoon and #HowToFeedaLoon

Best-Ever Chicken Salad
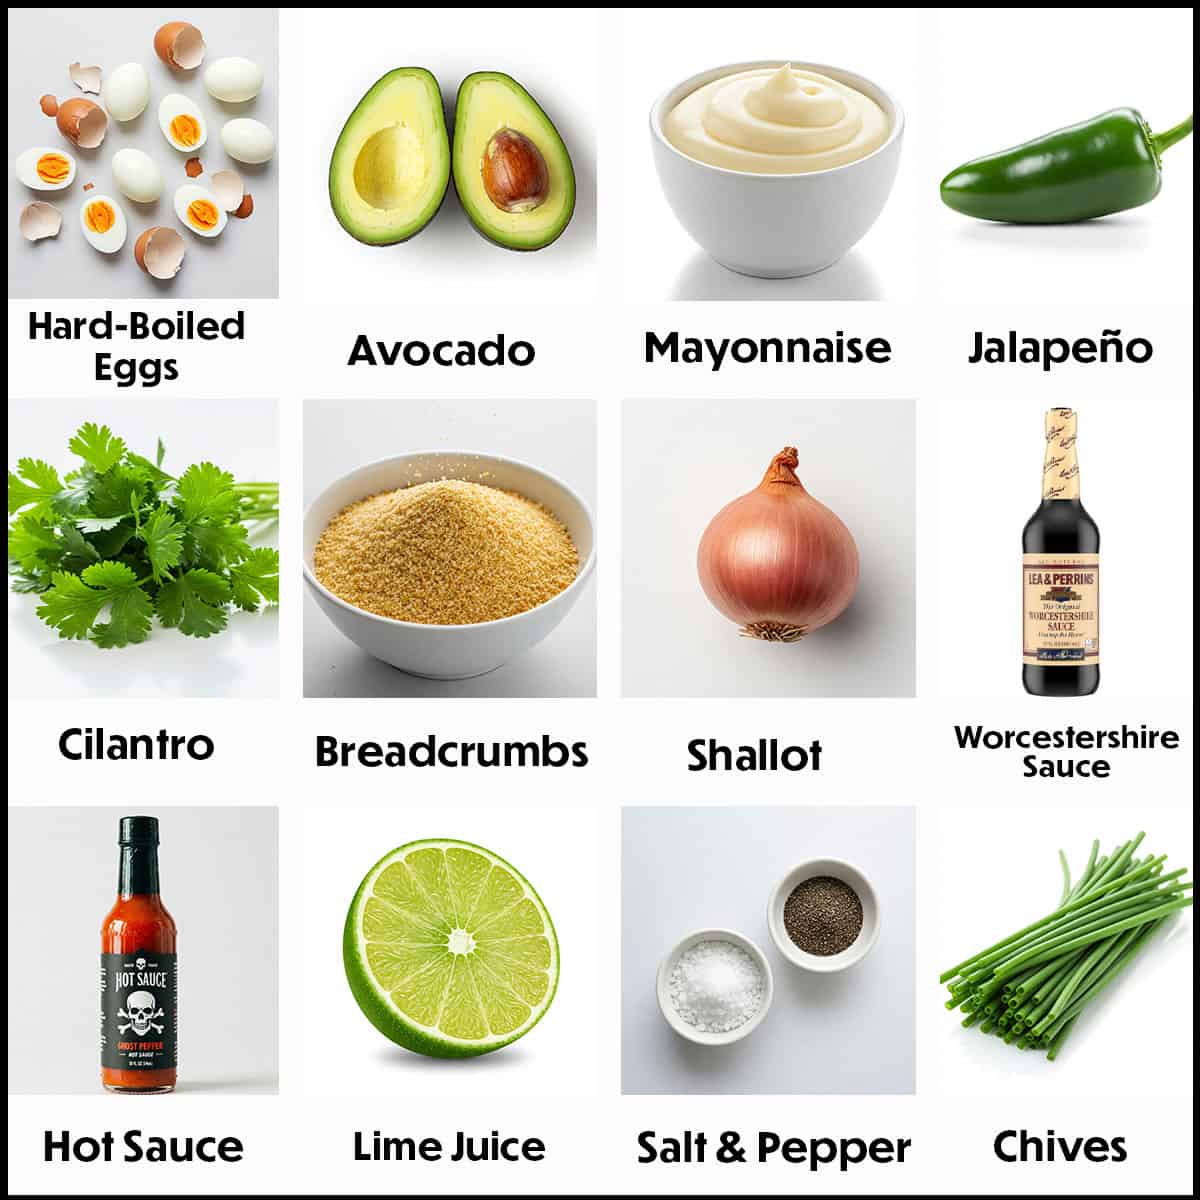
Ingredients
- 4 lbs chicken parts (bone-in, skin-on thighs and breasts work well) (You'll need about 4 cups)
- 2 tablespoon olive oil
- 1 cup grapes seedless, halved (red and green varieties are great)
- 1 cup almonds thinly sliced
- 2 stalks celery finely diced
- 3 scallions thinly sliced (white and green parts)
- 2 tablespoon dill fresh, chopped
- 1 tablespoon parsley fresh, chopped
- 1 cup mayonnaise
- Juice of 1 lemon
- 1 tablespoon Dijon mustard
- 1 teaspoon Kosher salt (start with ½ teaspoon, then add more, to taste)
- Freshly ground pepper
Instructions
- Preheat oven to 350°F
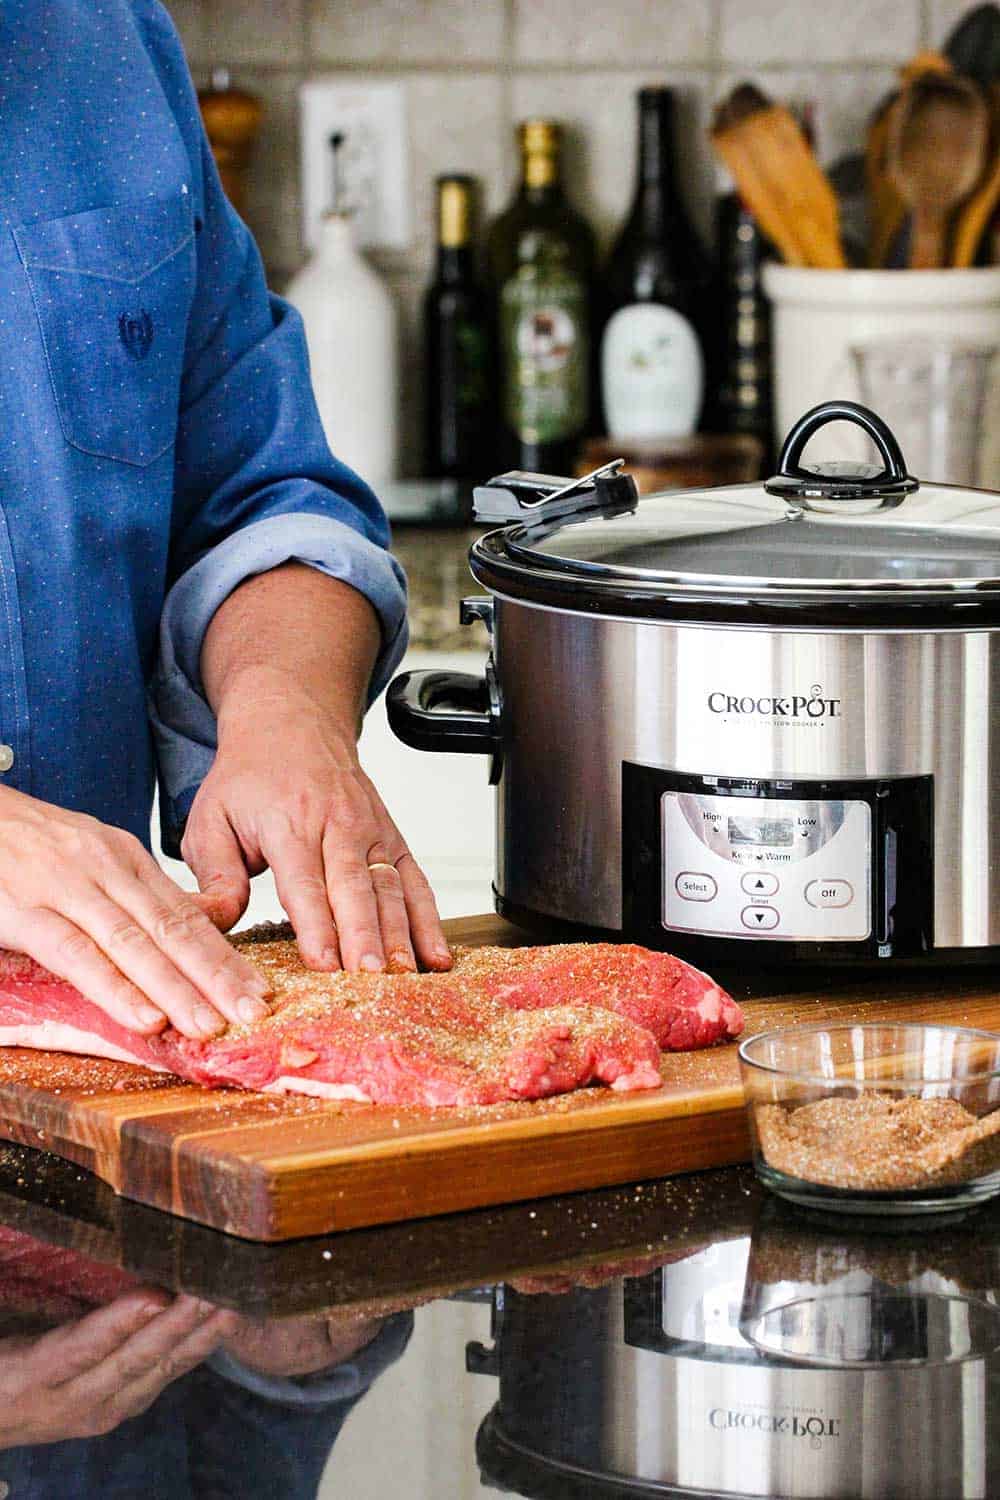
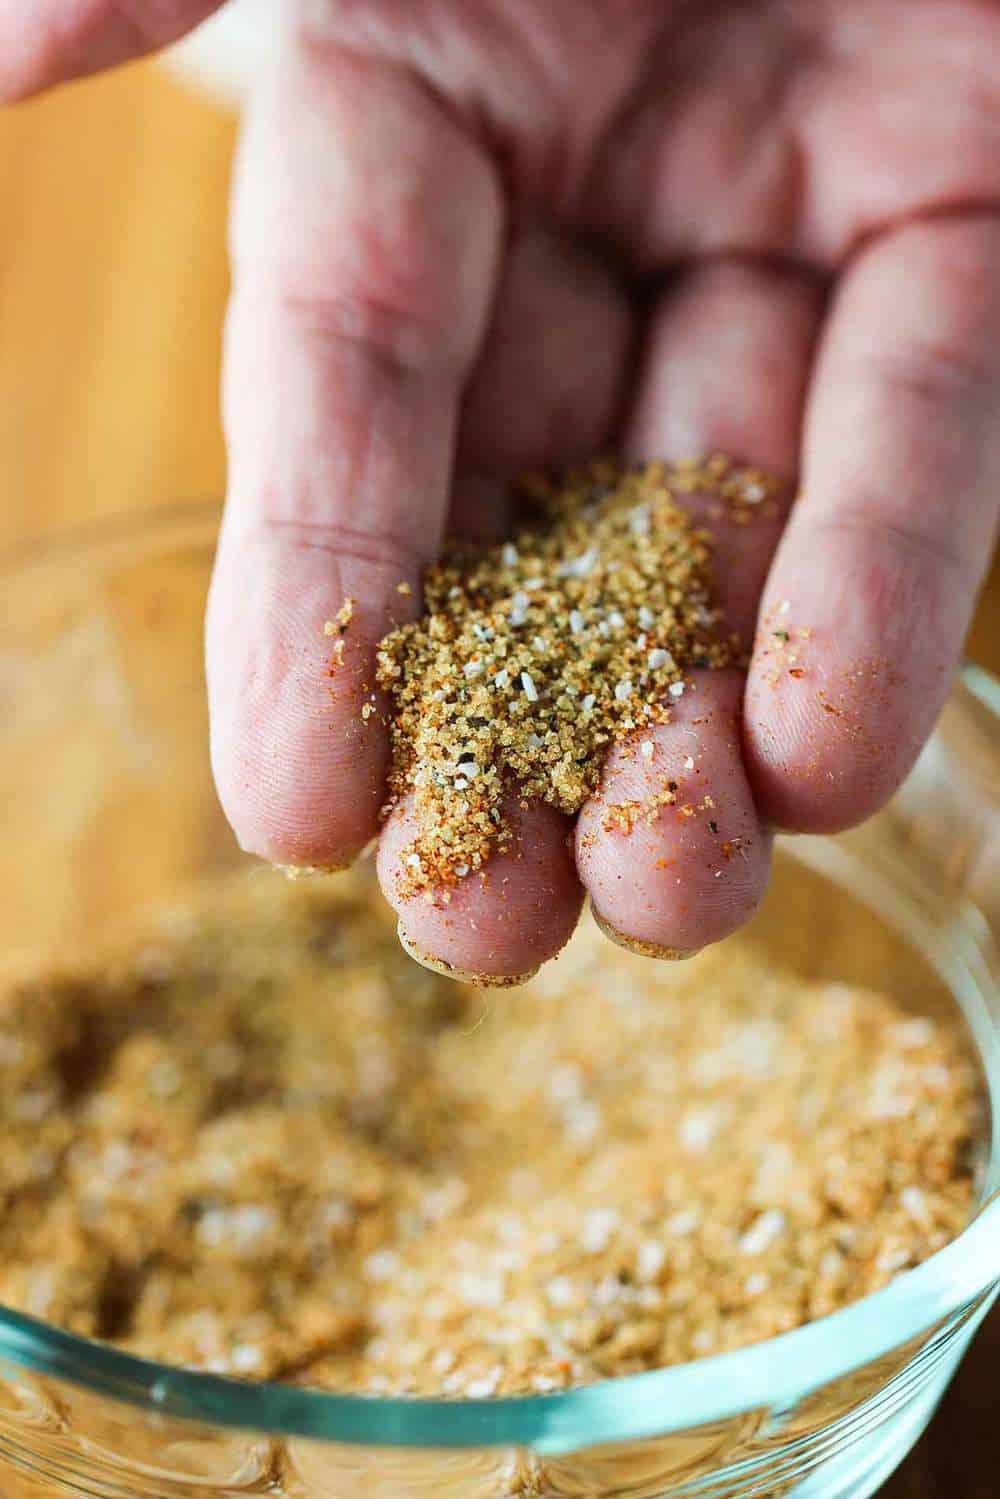
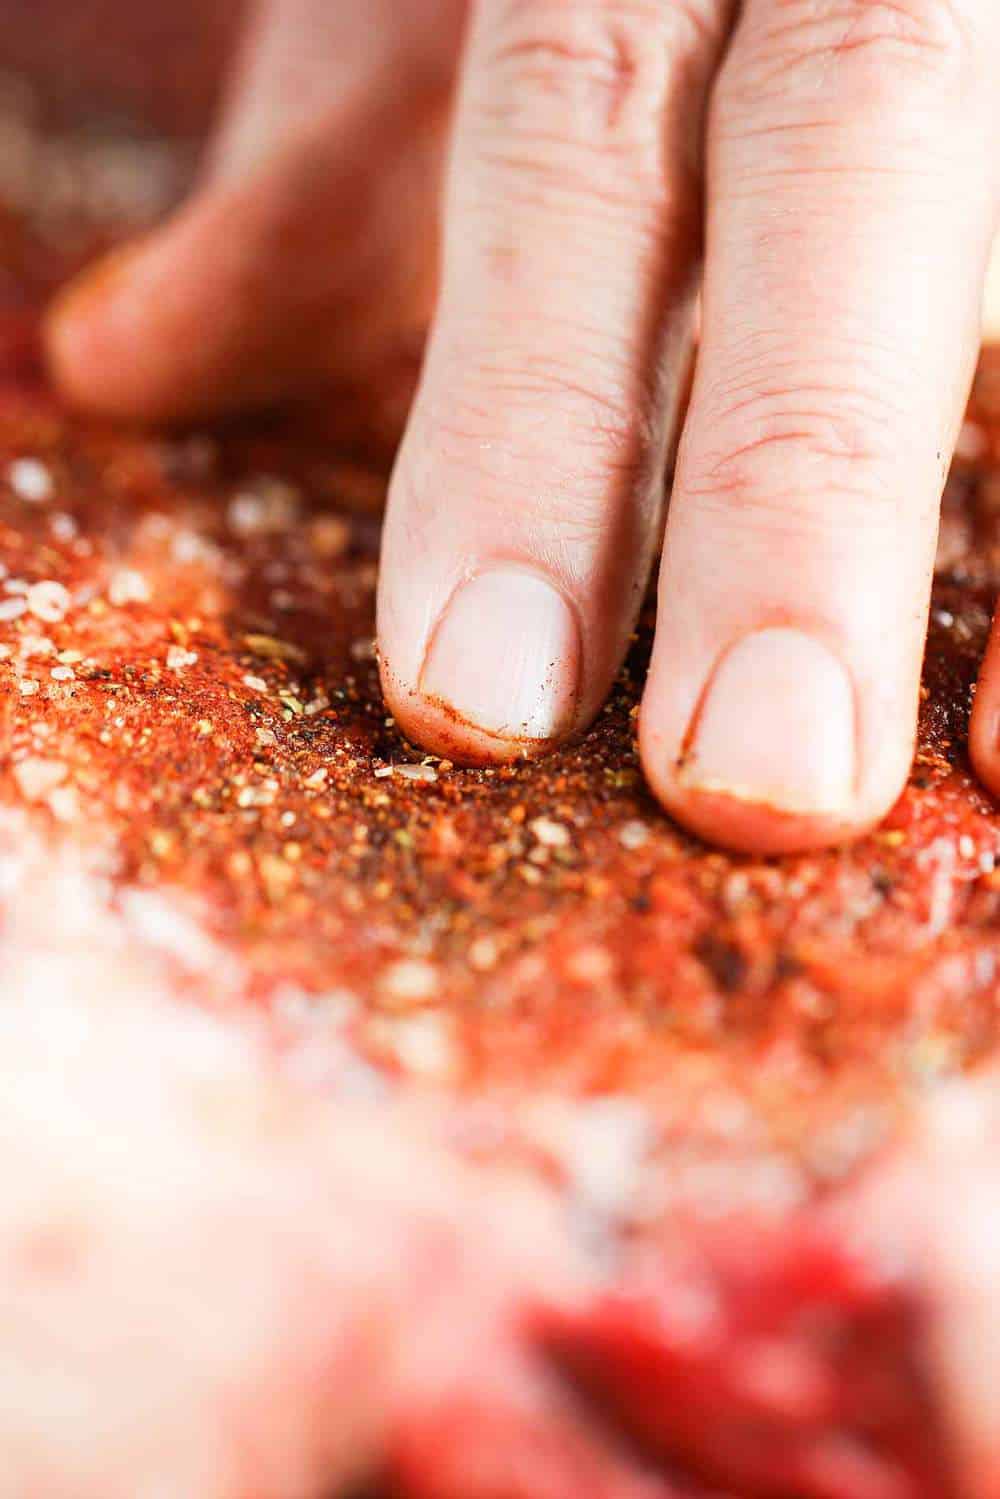
- Rub the olive oil all over the chicken pieces and sprinkle with salt and pepper.
- Bake for 45 to 55 minutes, or until internal temp reaches 165°F using an instant-read thermometer.
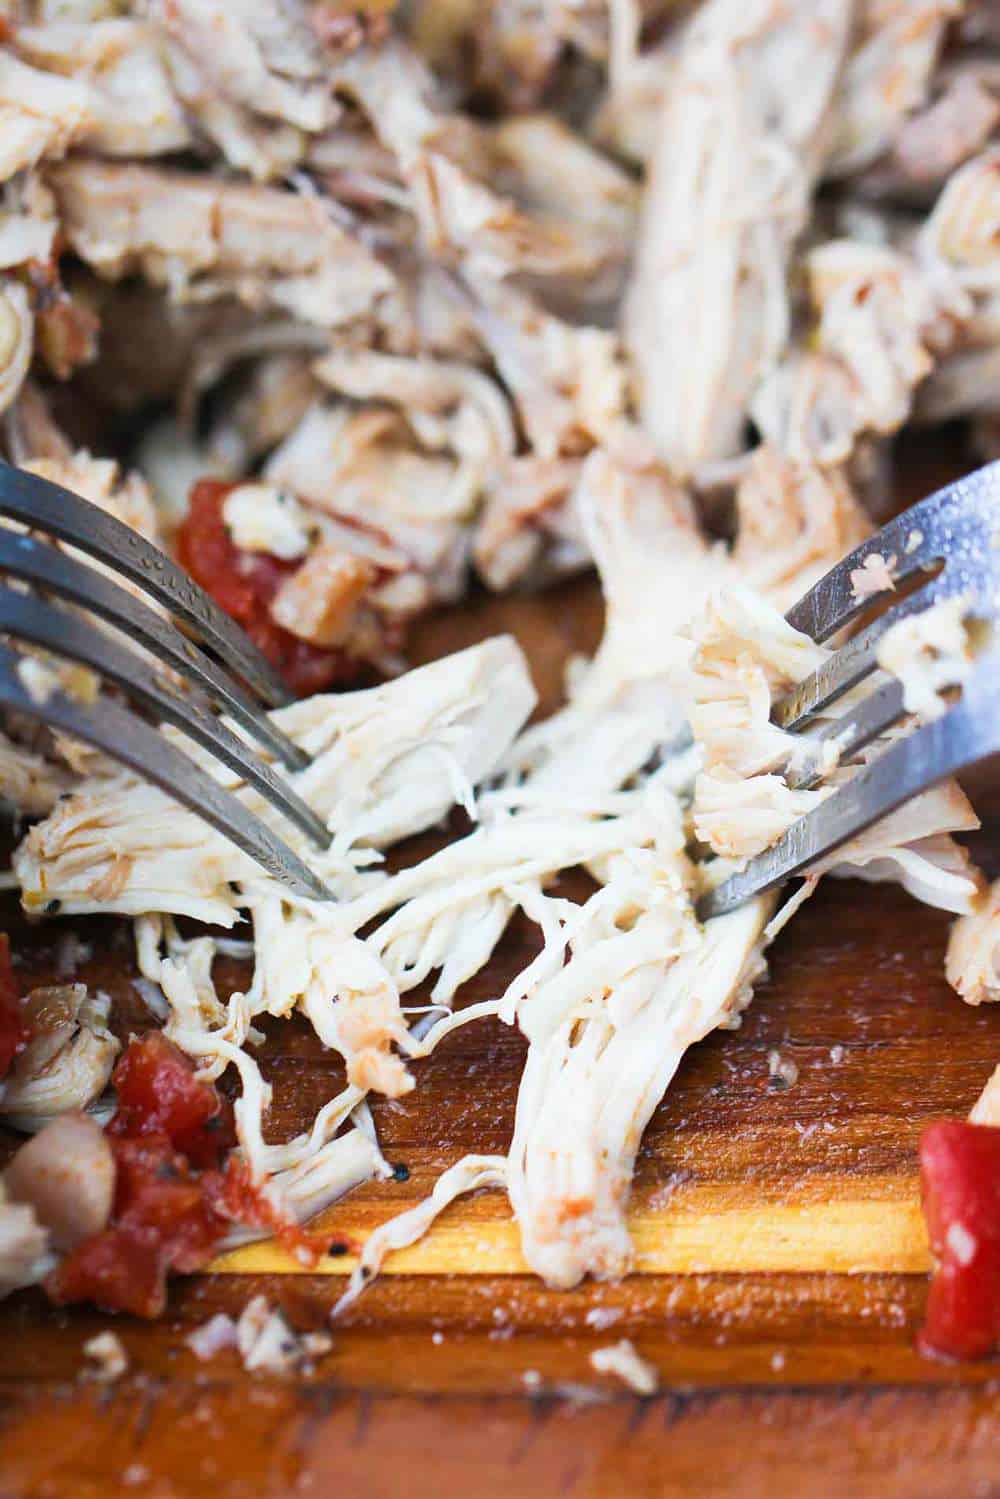
- Remove the chicken from the oven and let cool. Remove the skin then pull the meat from the bones and roughly chop.
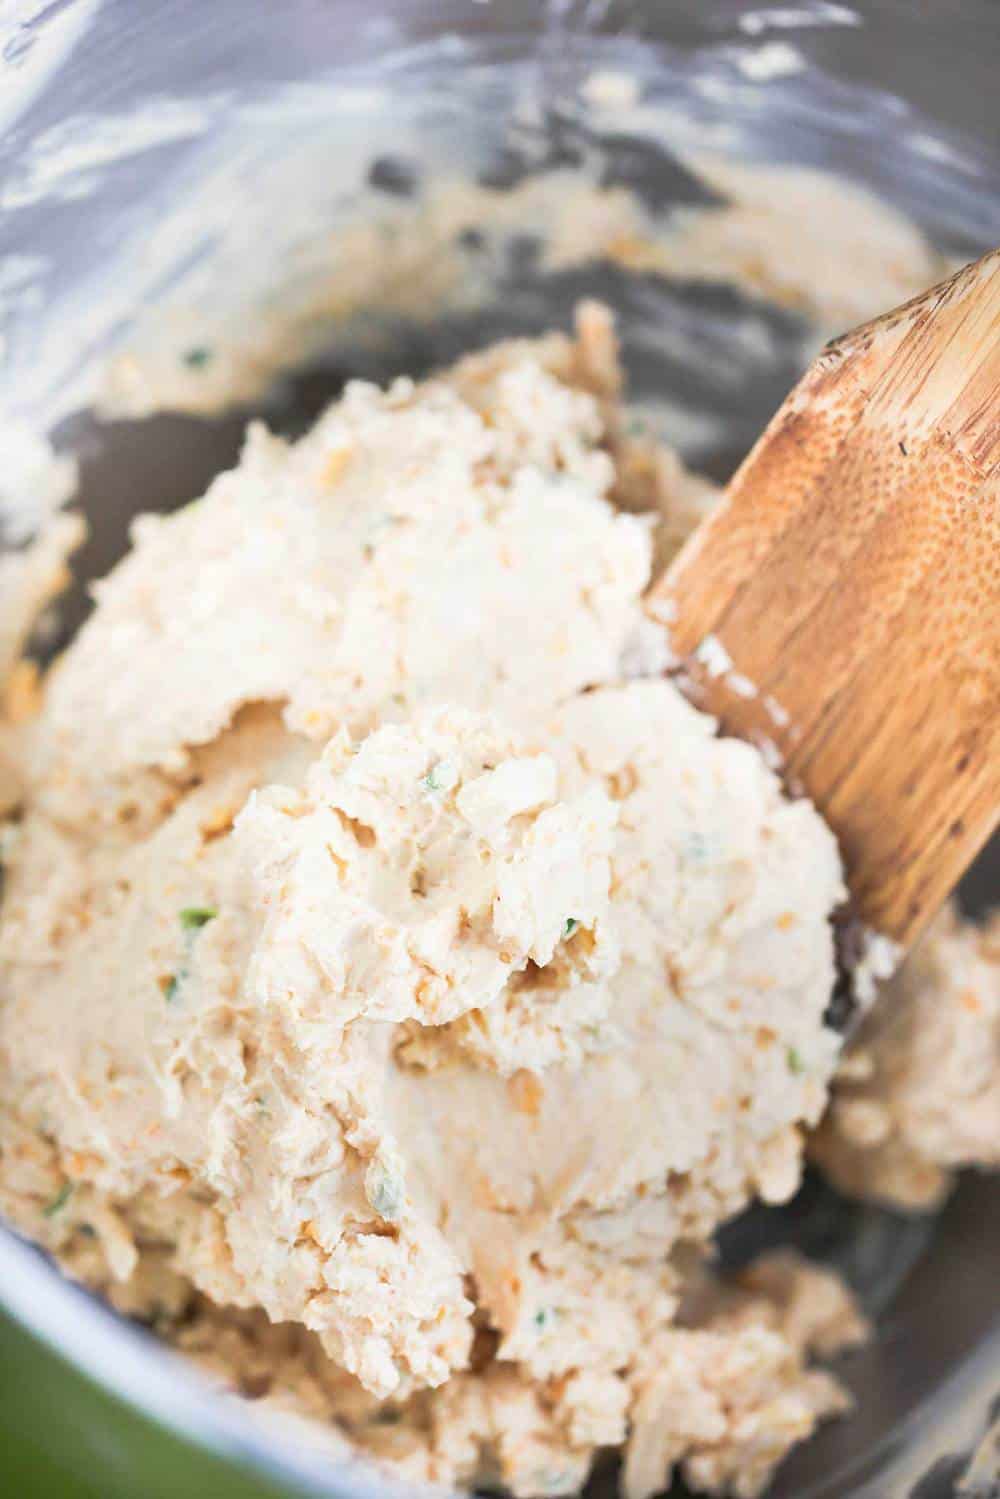
- In a large bowl, mix together the chicken, grapes, almonds, celery, scallions, dill, & parsley.
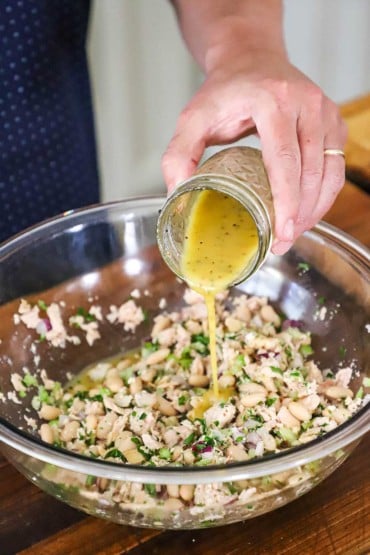
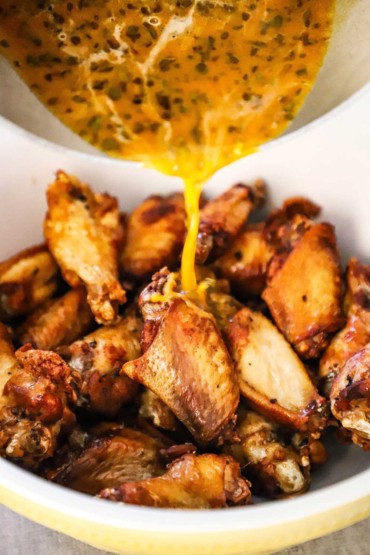
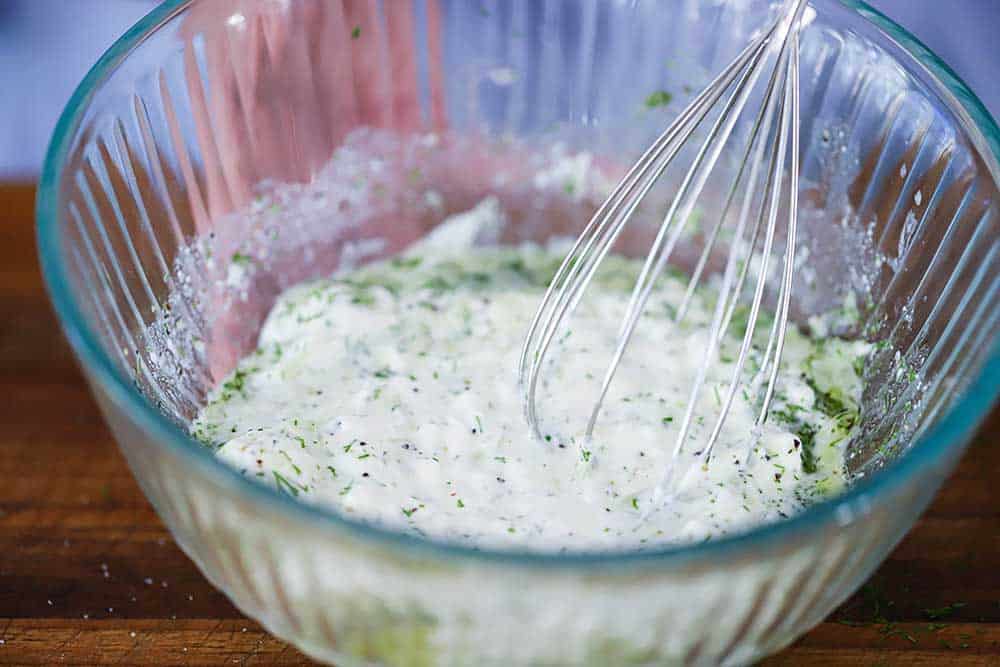
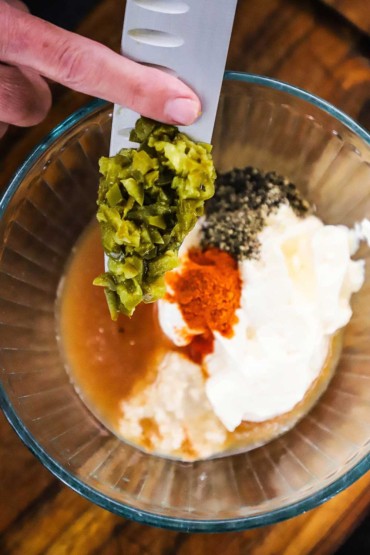
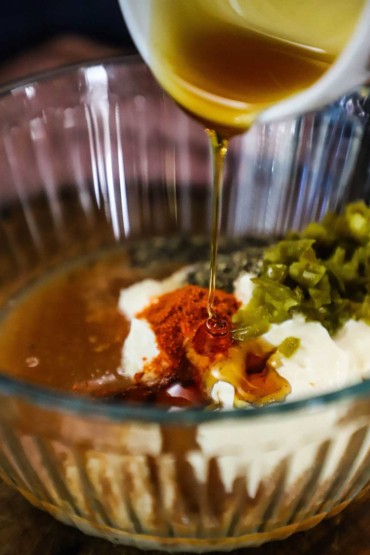
- In a small-medium bowl, mix together the mayonnaise, lemon, mustard, salt, and pepper.
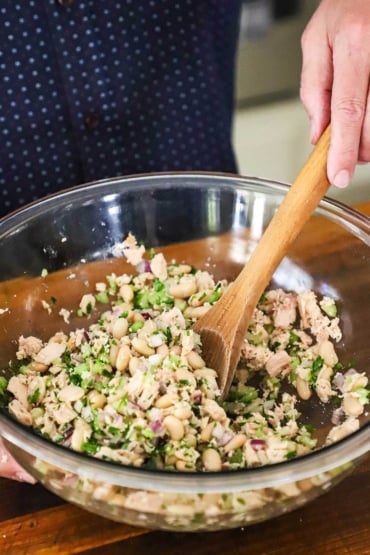
- Add the mayo/mustard mixture to the chicken mixture and gently stir until well mixed.
- Cover with plastic wrap and refrigerate for at least an hour.
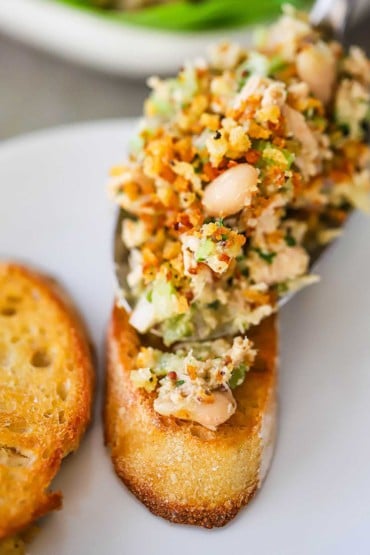
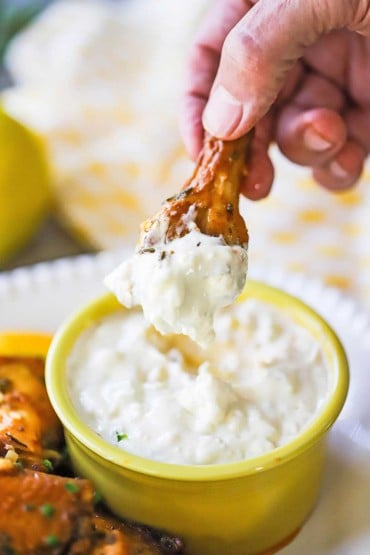
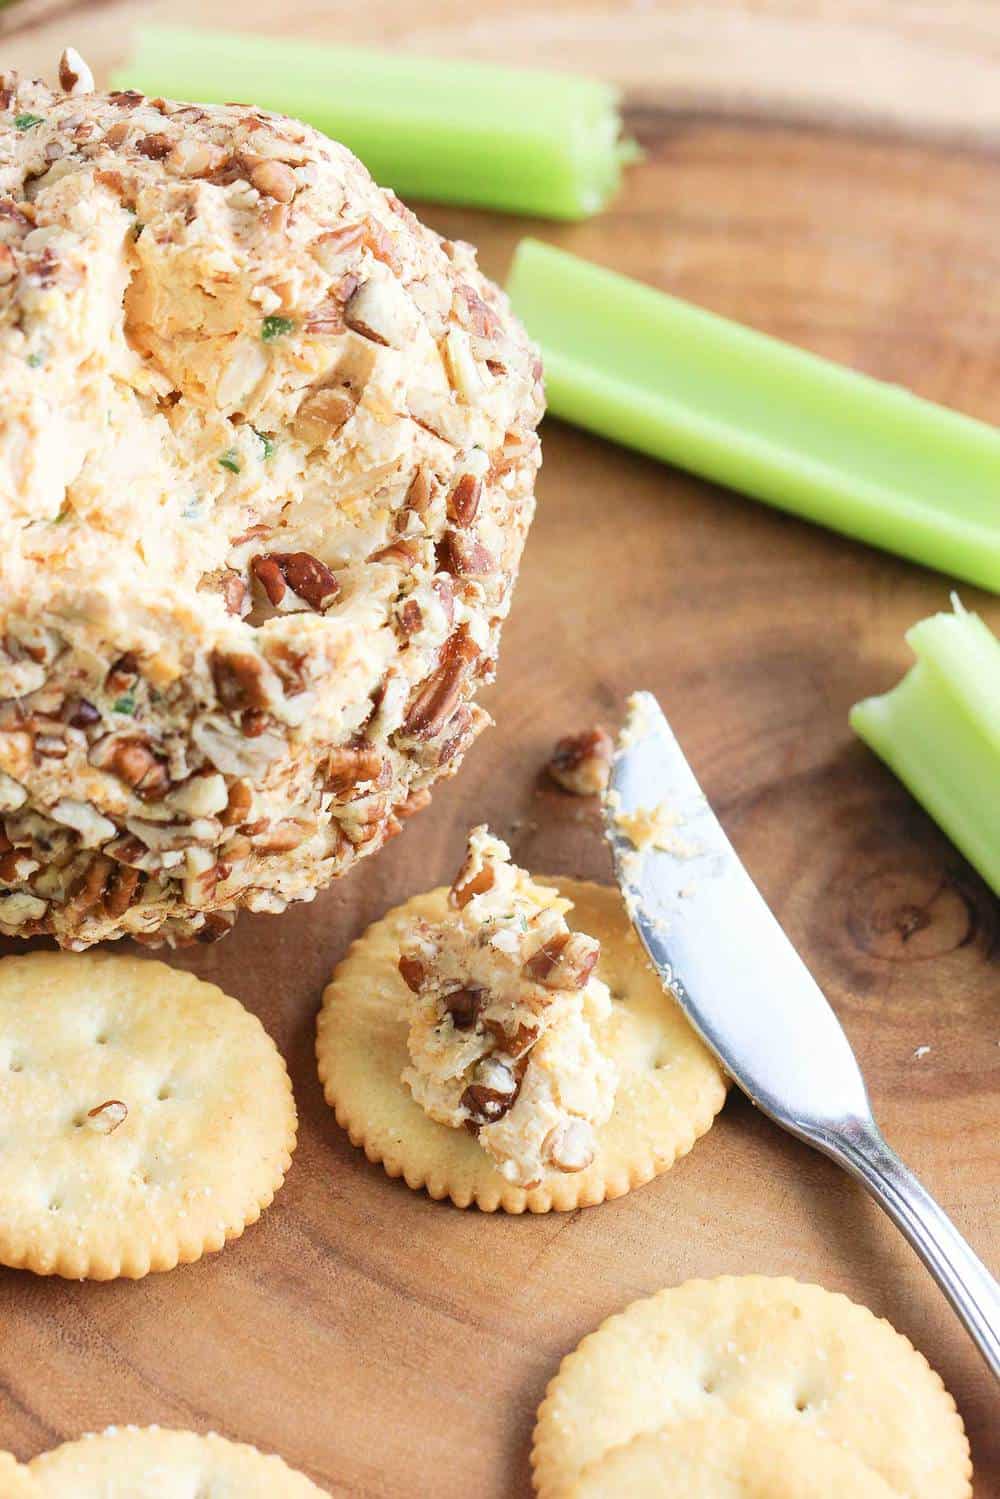
- Serve on a bed of greens with sliced tomatoes and avocado. Or, serve on bread with green leaf lettuce. Add more toppings to your taste!
Video
Notes
Nutrition