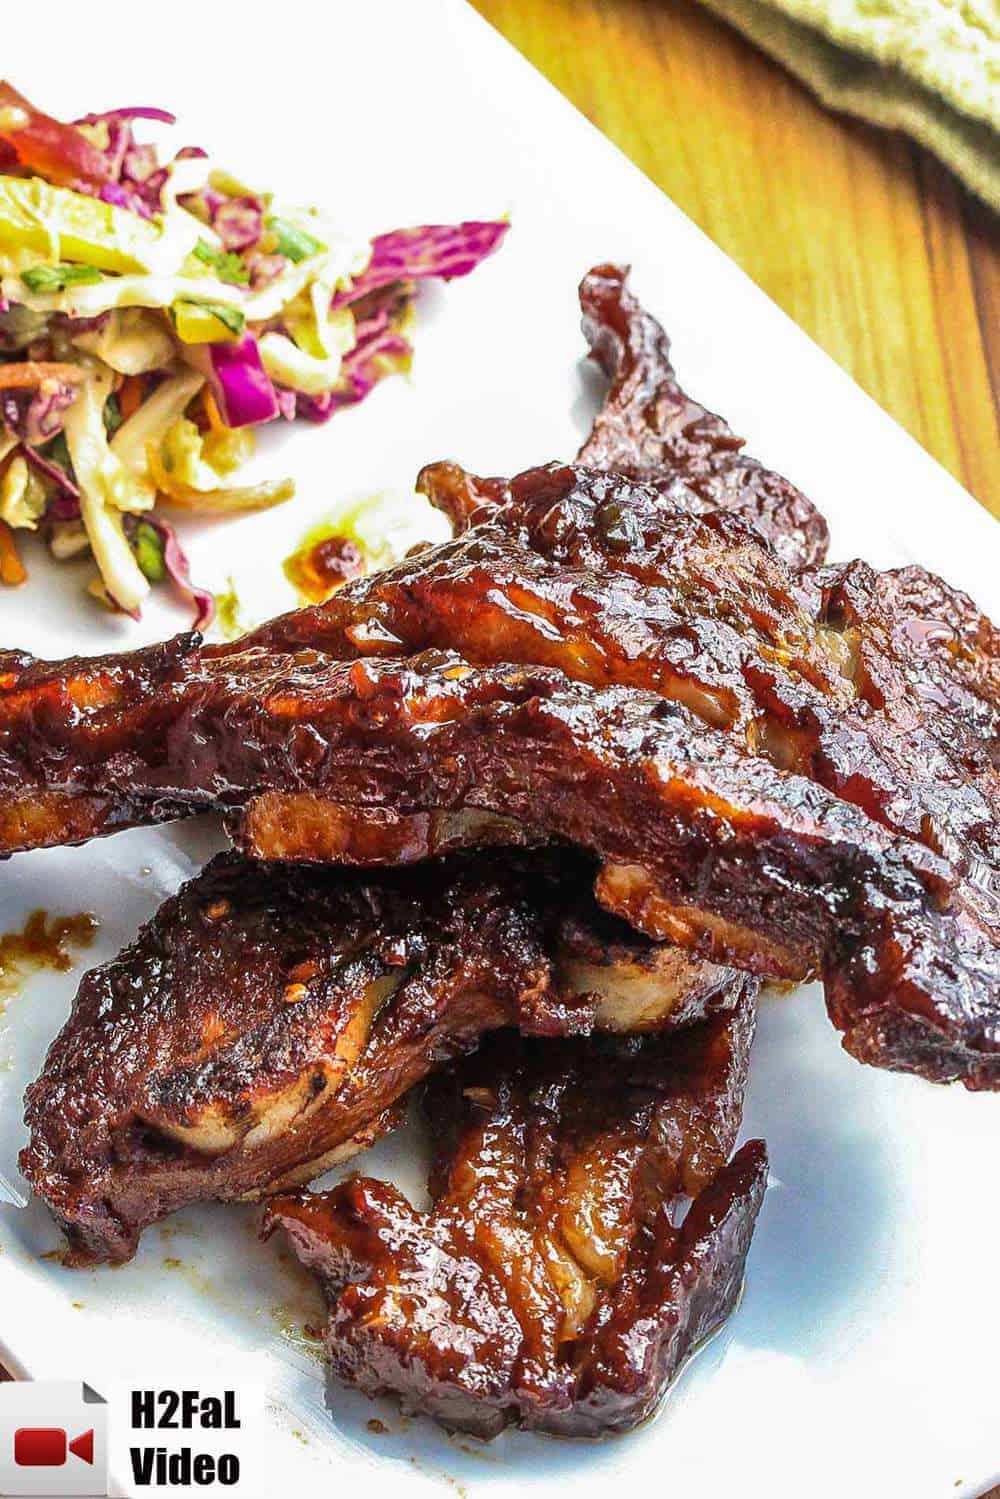
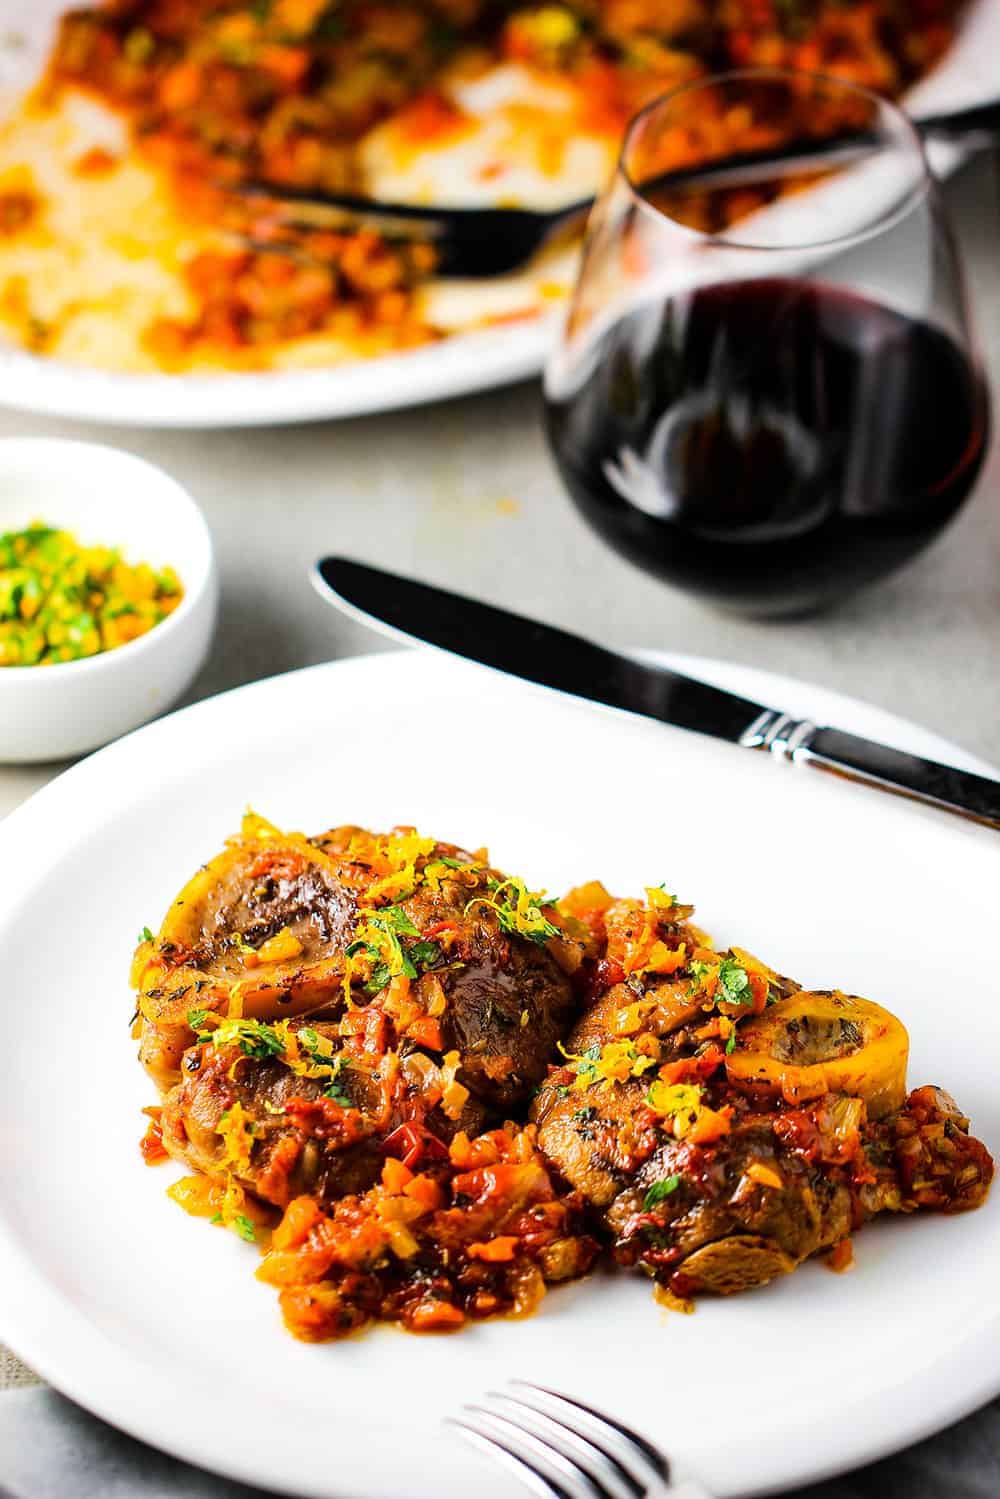
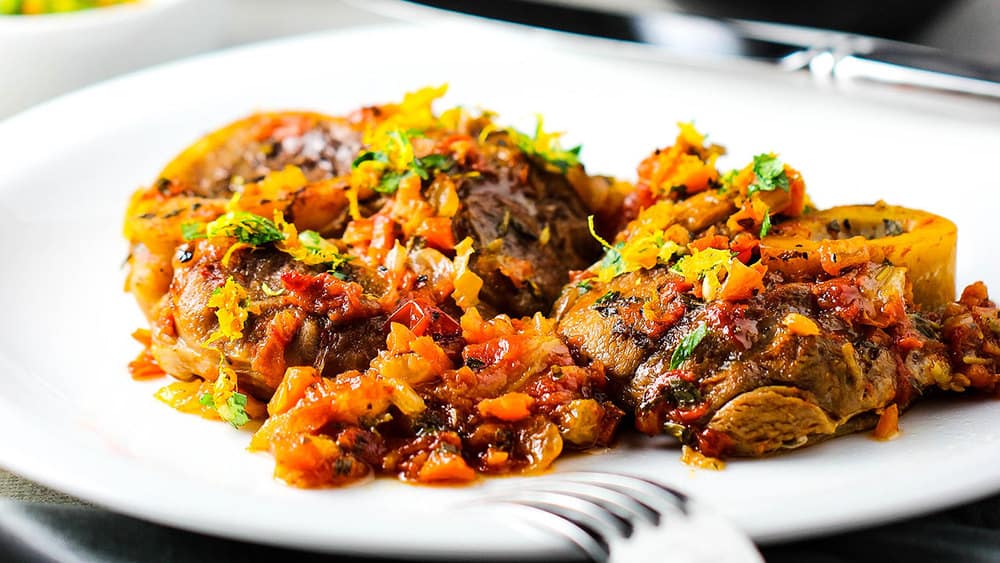
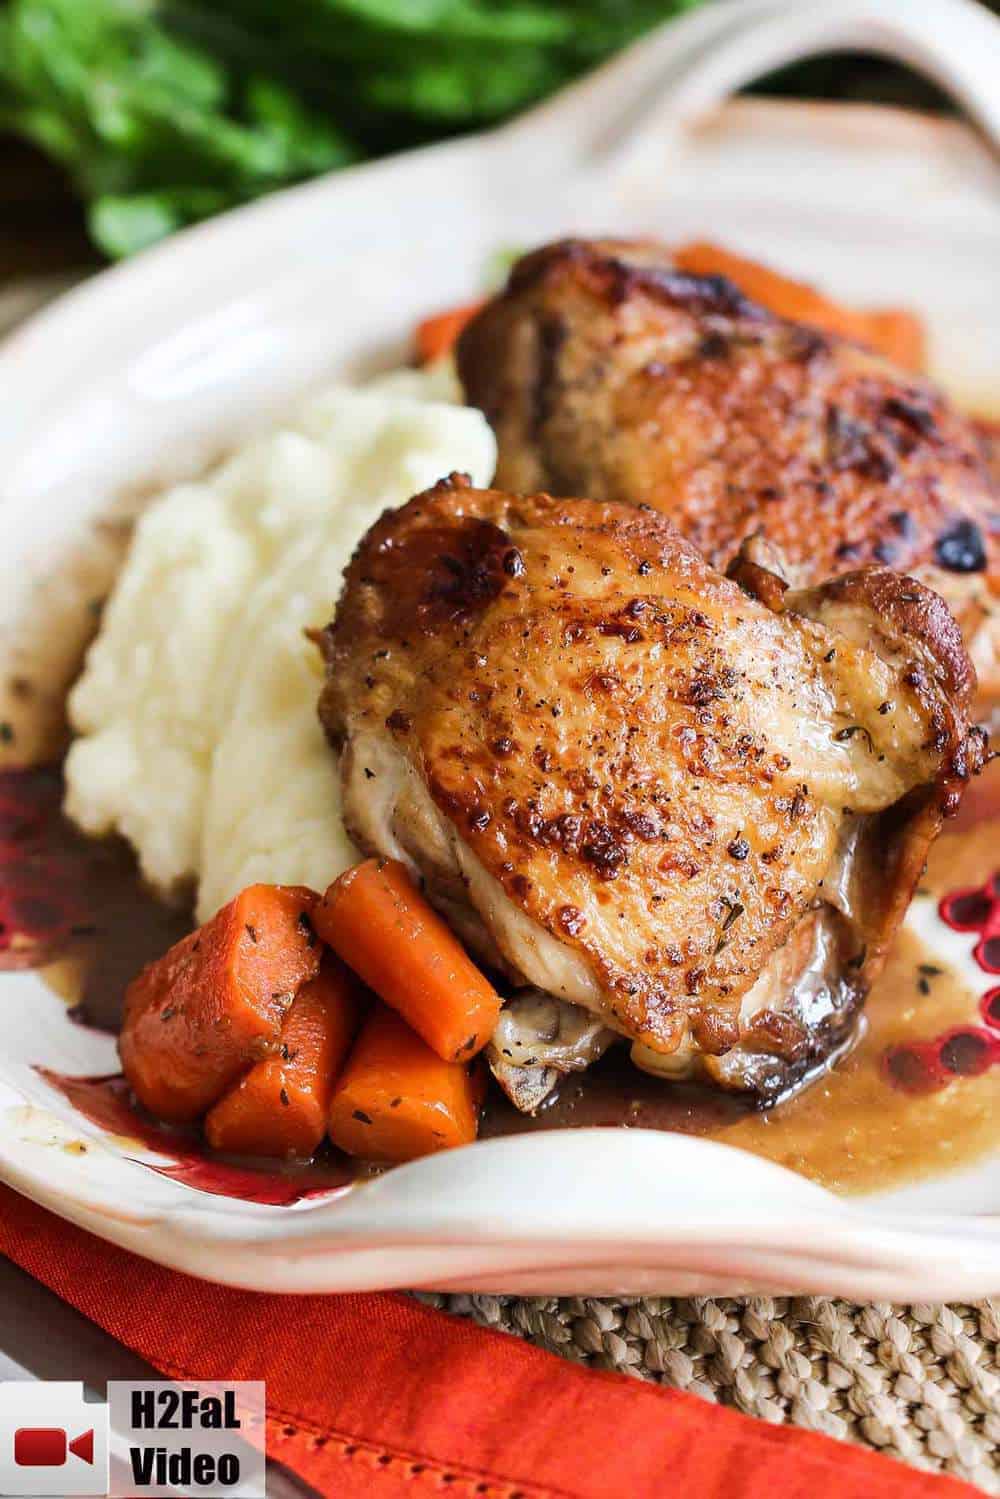
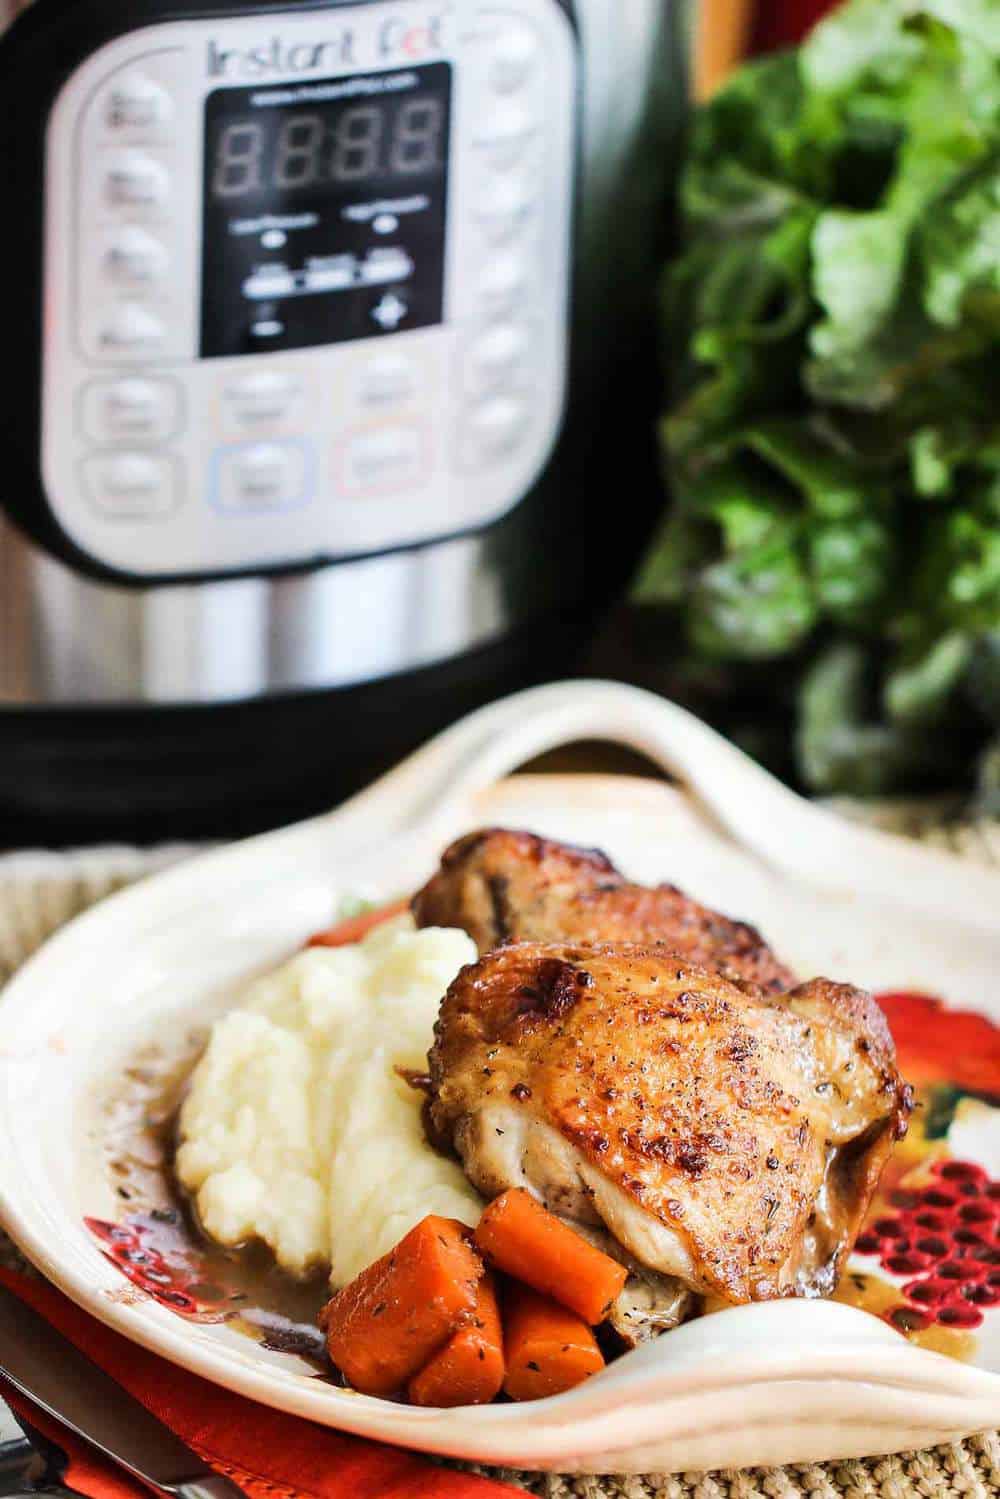
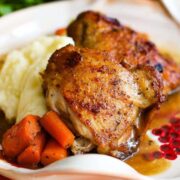
Instant Pot Honey Balsamic Chicken with Carrots is a wonderful recipe that has that “special dinner” taste and presentation all over it.
But with the Instant Pot, it’s an easy weeknight meal that comes together in about 45 minutes. Folks, you won’t believe the flavor from this recipe. The chicken is so juicy and tender and the carrots are cooked to perfection.
HONEY BALSAMIC CHICKEN IS EASY TO PREPARE
The flavor profile of this dish is so incredible. The chicken is fall-off-the-bone tender and incredibly flavorful.
Watch us show you how easy it is prepare this awesome dish!
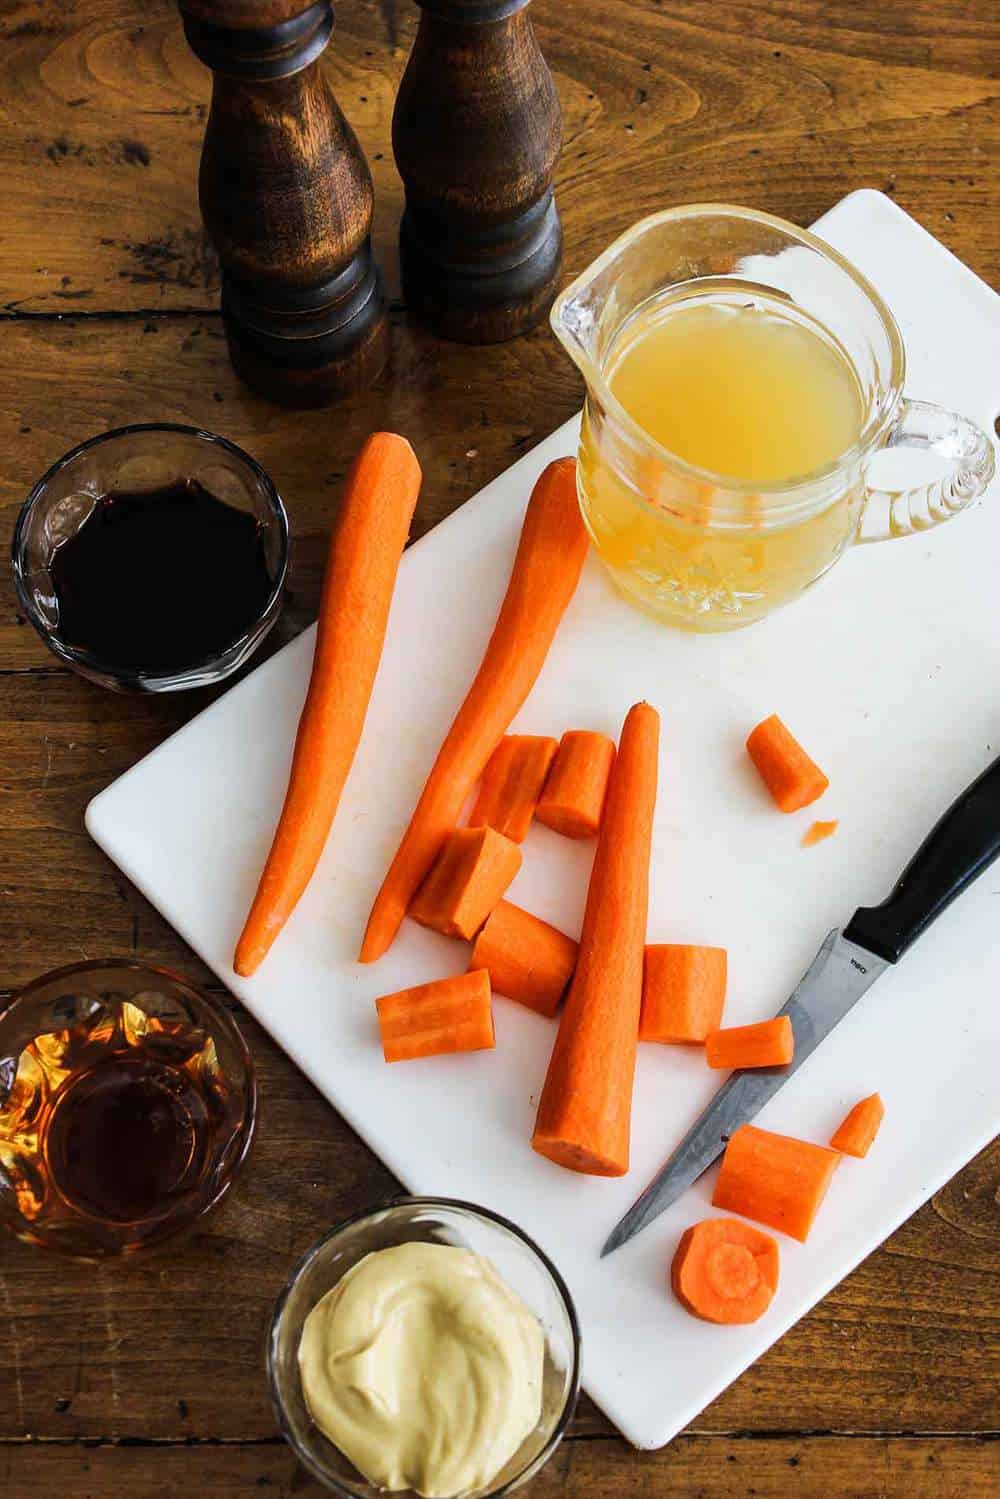
Balsamic and honey are the perfect match for the succulent dark meat chicken thighs.
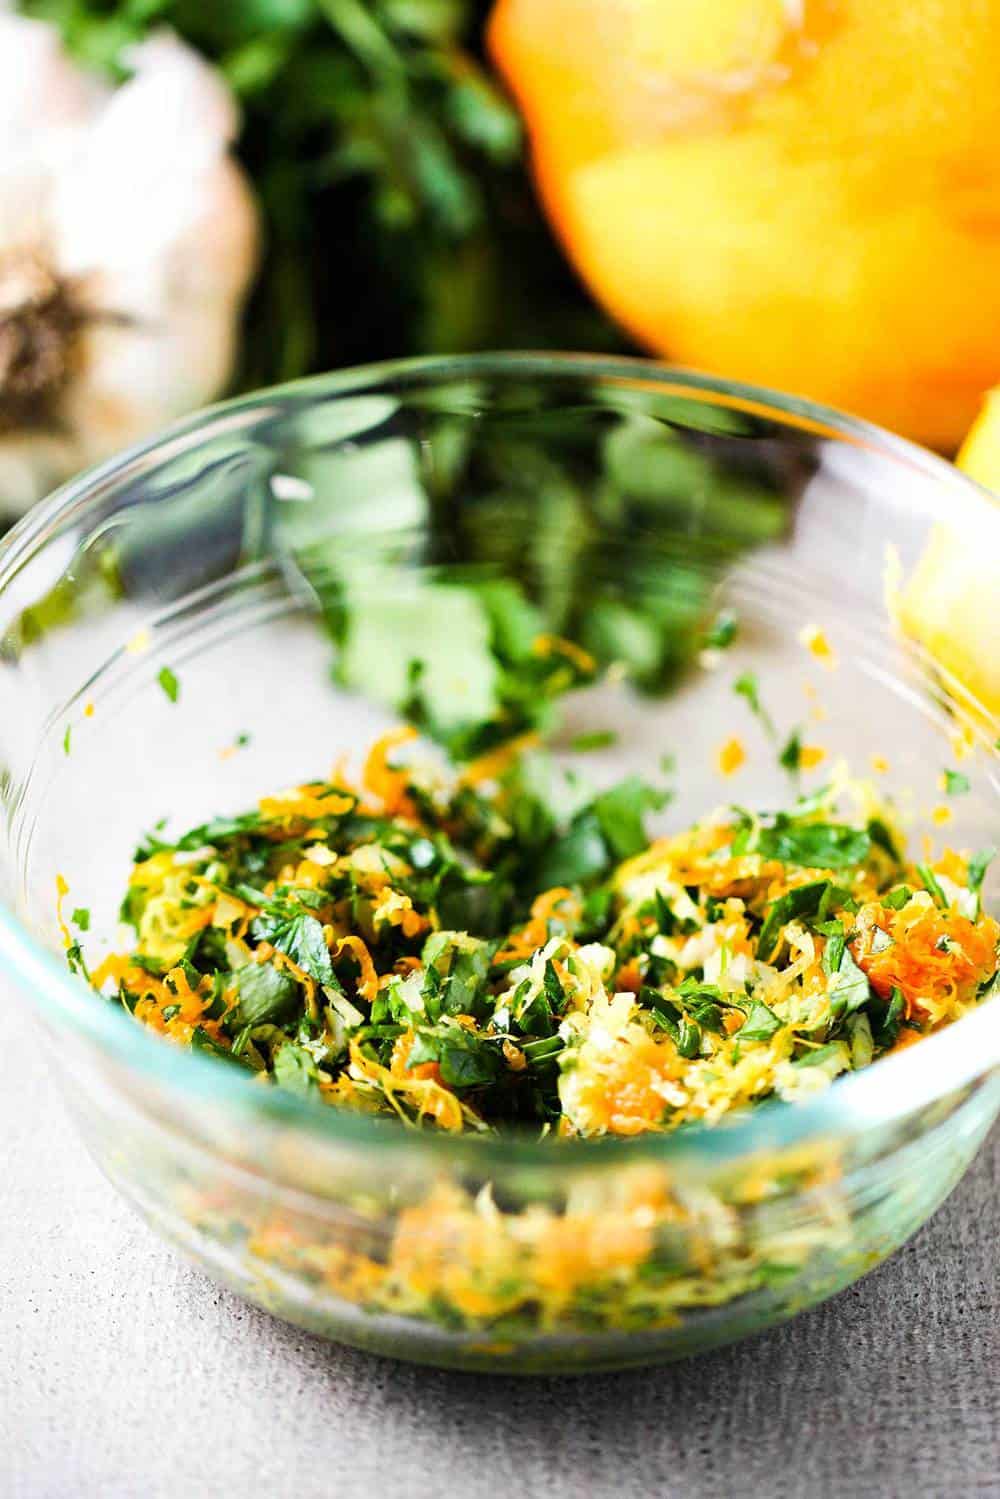
The addition of Dijon mustard and thyme is just perfect.
And of course, carrots and chicken match together perfectly.
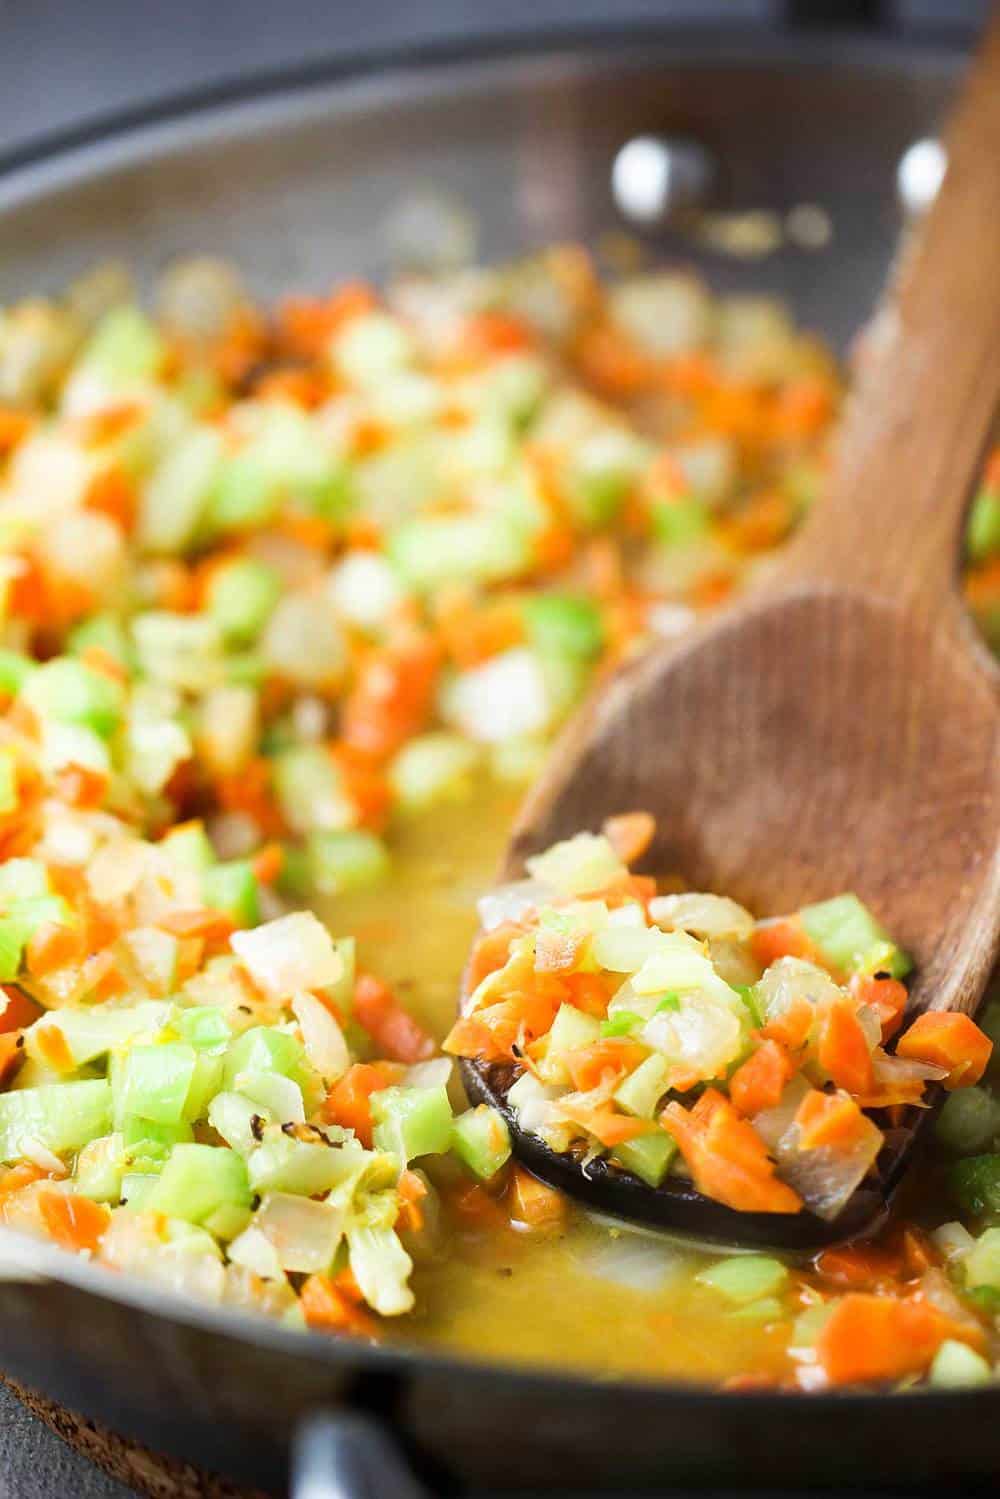
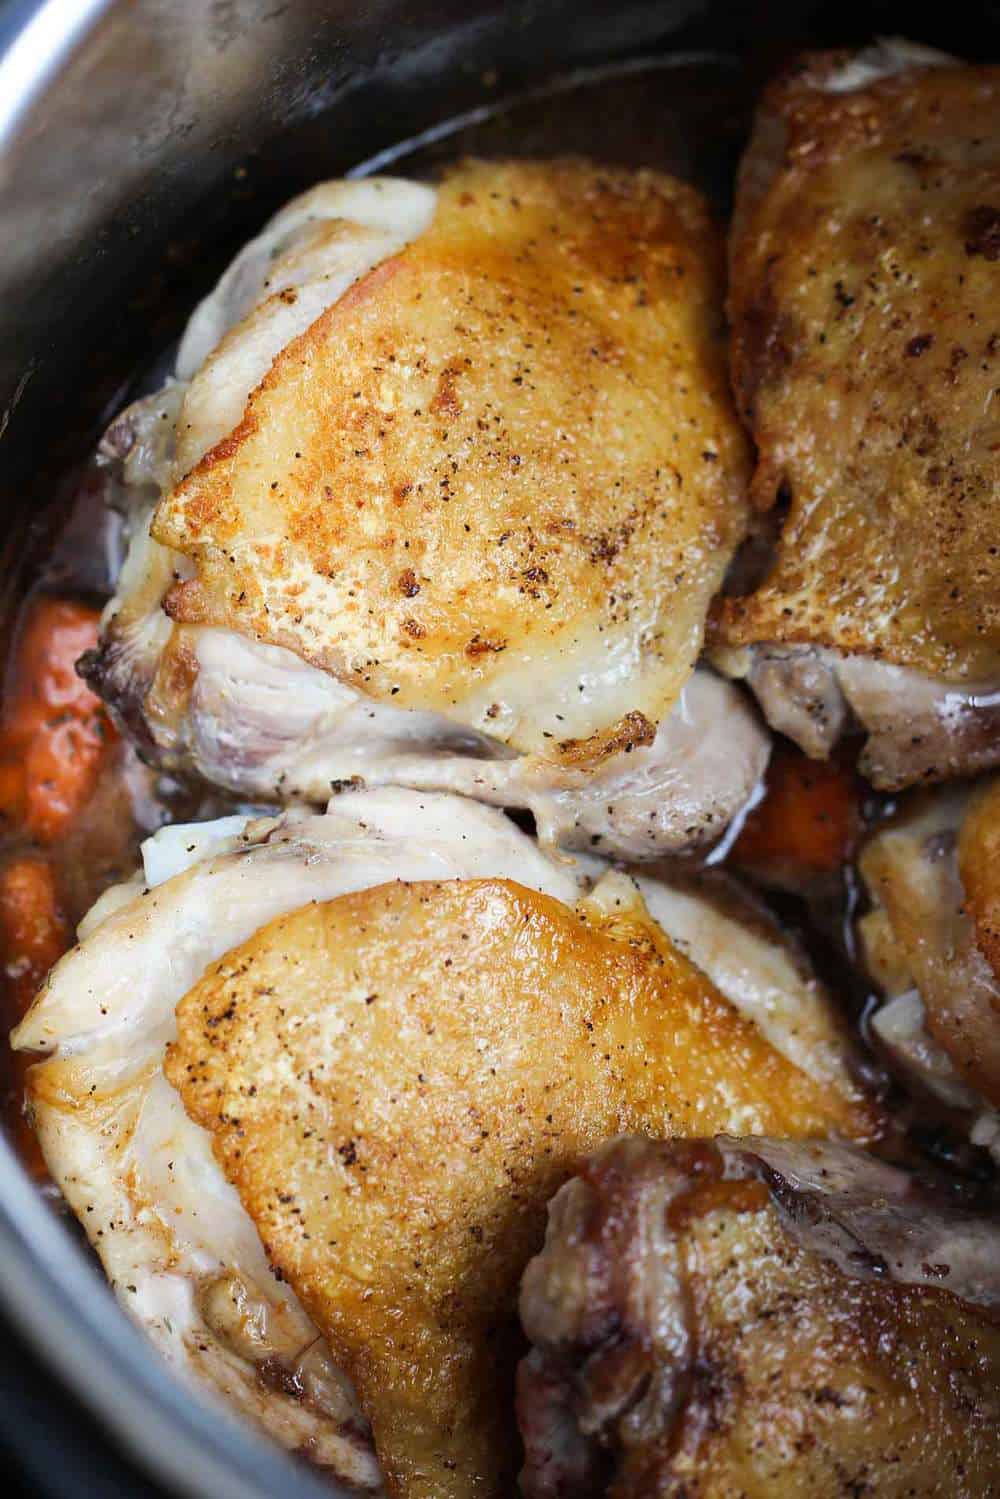
Searing the chicken thighs in the Instant Pot first locks in the flavor.
Then when all the ingredients are brought together in the Instant Pot, the flavors meld and become something truly magnificent!
And the smell is absolutely heavenly. Just so good!!
THE CHICKEN IS TENDER AND THE SAUCE IS INCREDIBLE
And of course, this “special” dinner that tastes like you spent hours on it, but it only takes about 45 minutes total with your awesome Instant Pot.
Give the chicken one more ‘crisping’ under the broiler for only about 2 minutes. But keep an eye on them! Broilers vary, so don’t let them burn!
Now that’s what we’re talking about!
OTHER AMAZING INSTANT POT RECIPES TO TRY
- Corned Beef With Cabbage
- Chicken Provencal
- Cinnamon Raisin Otameal
- Braciole
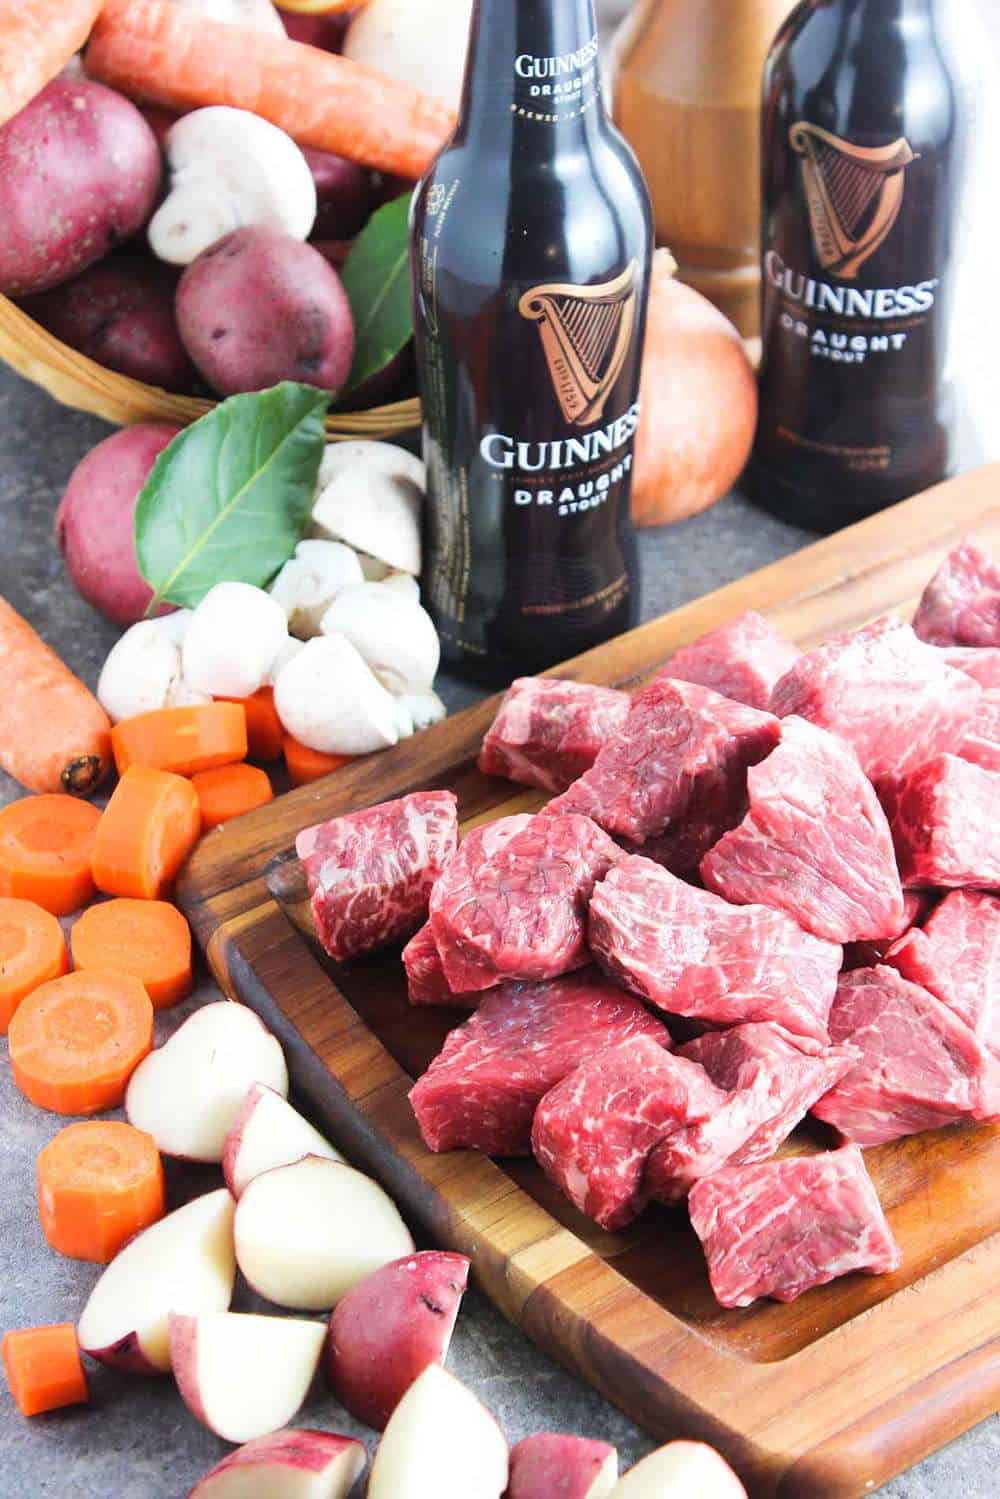
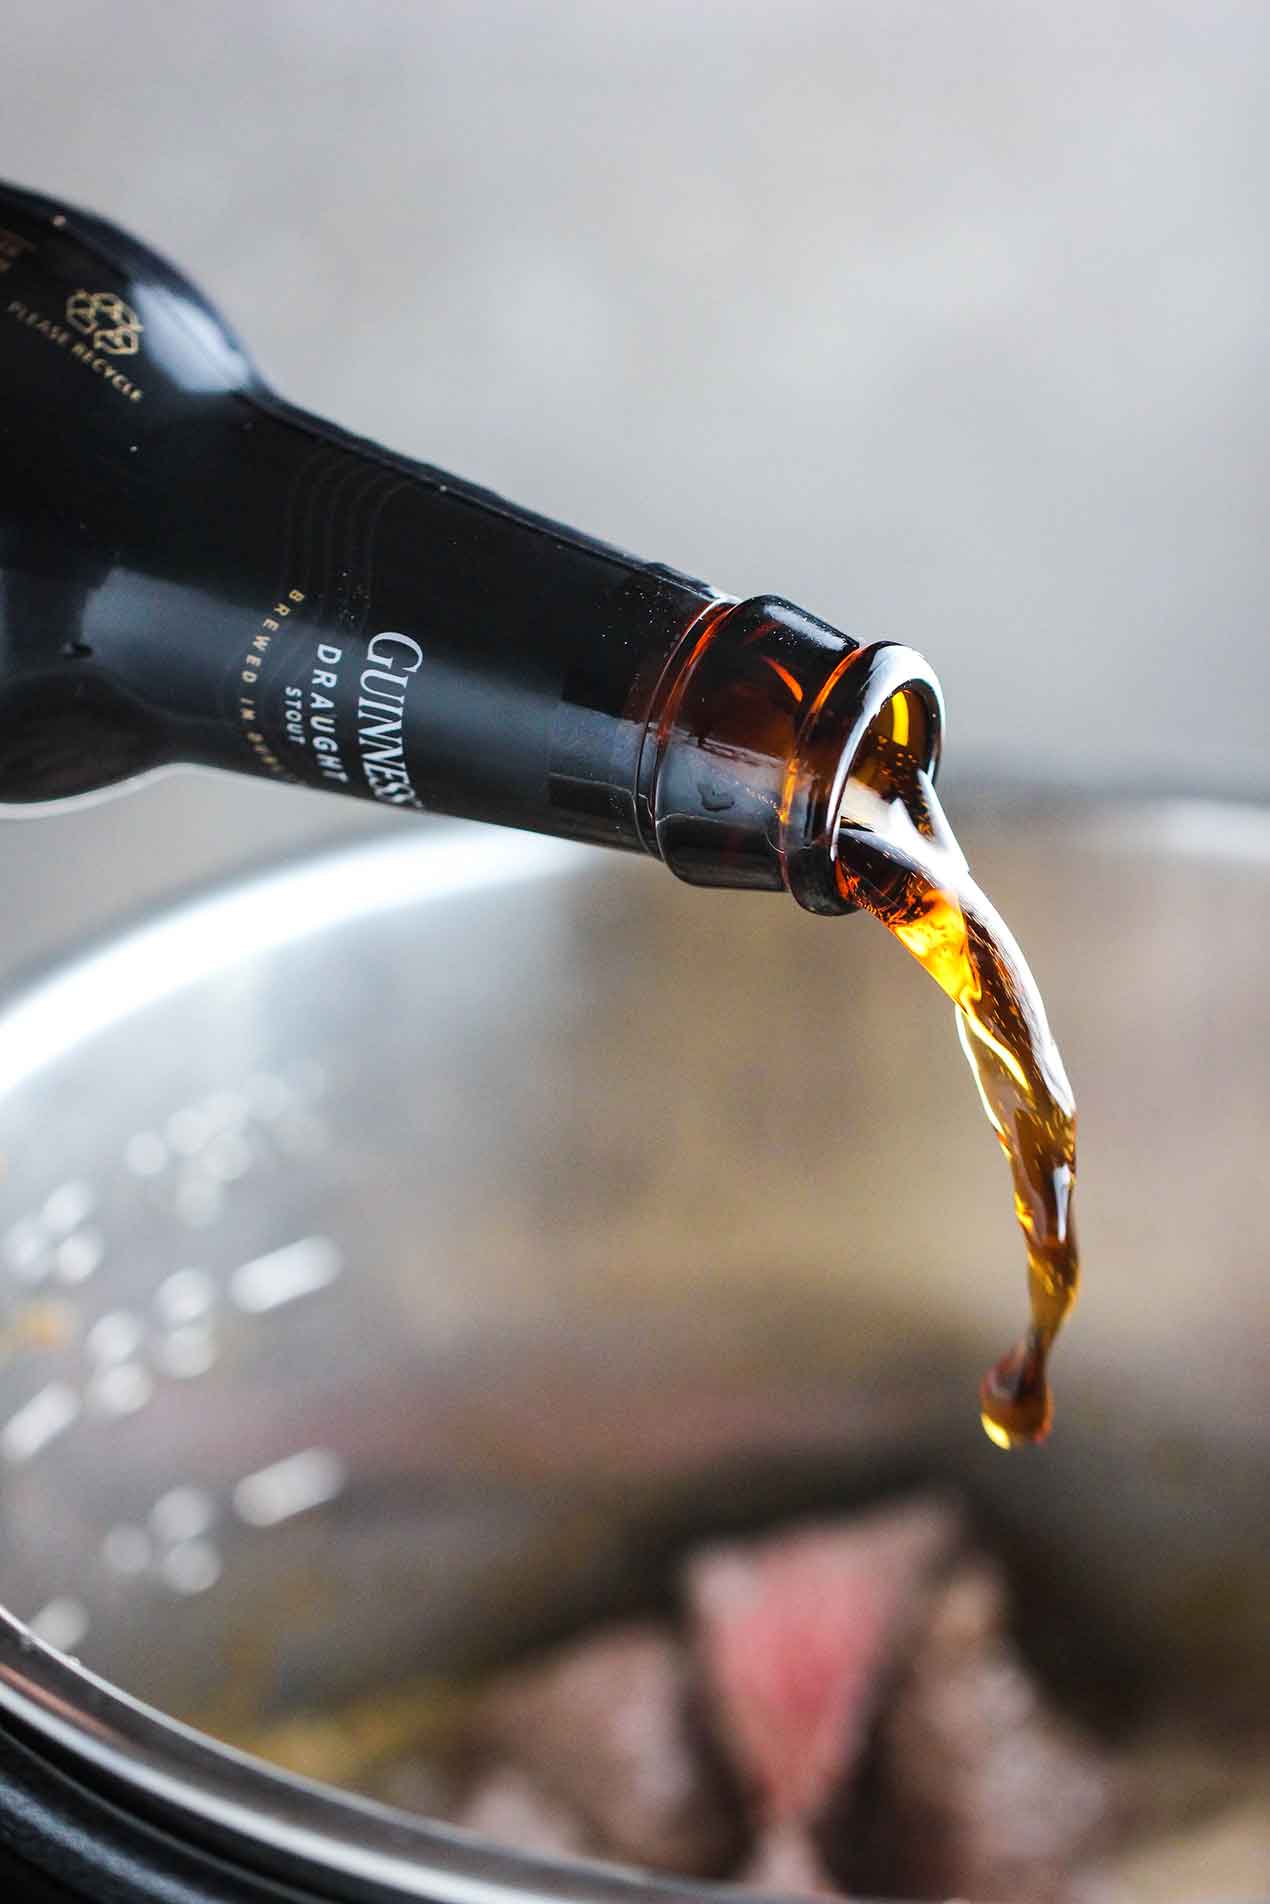
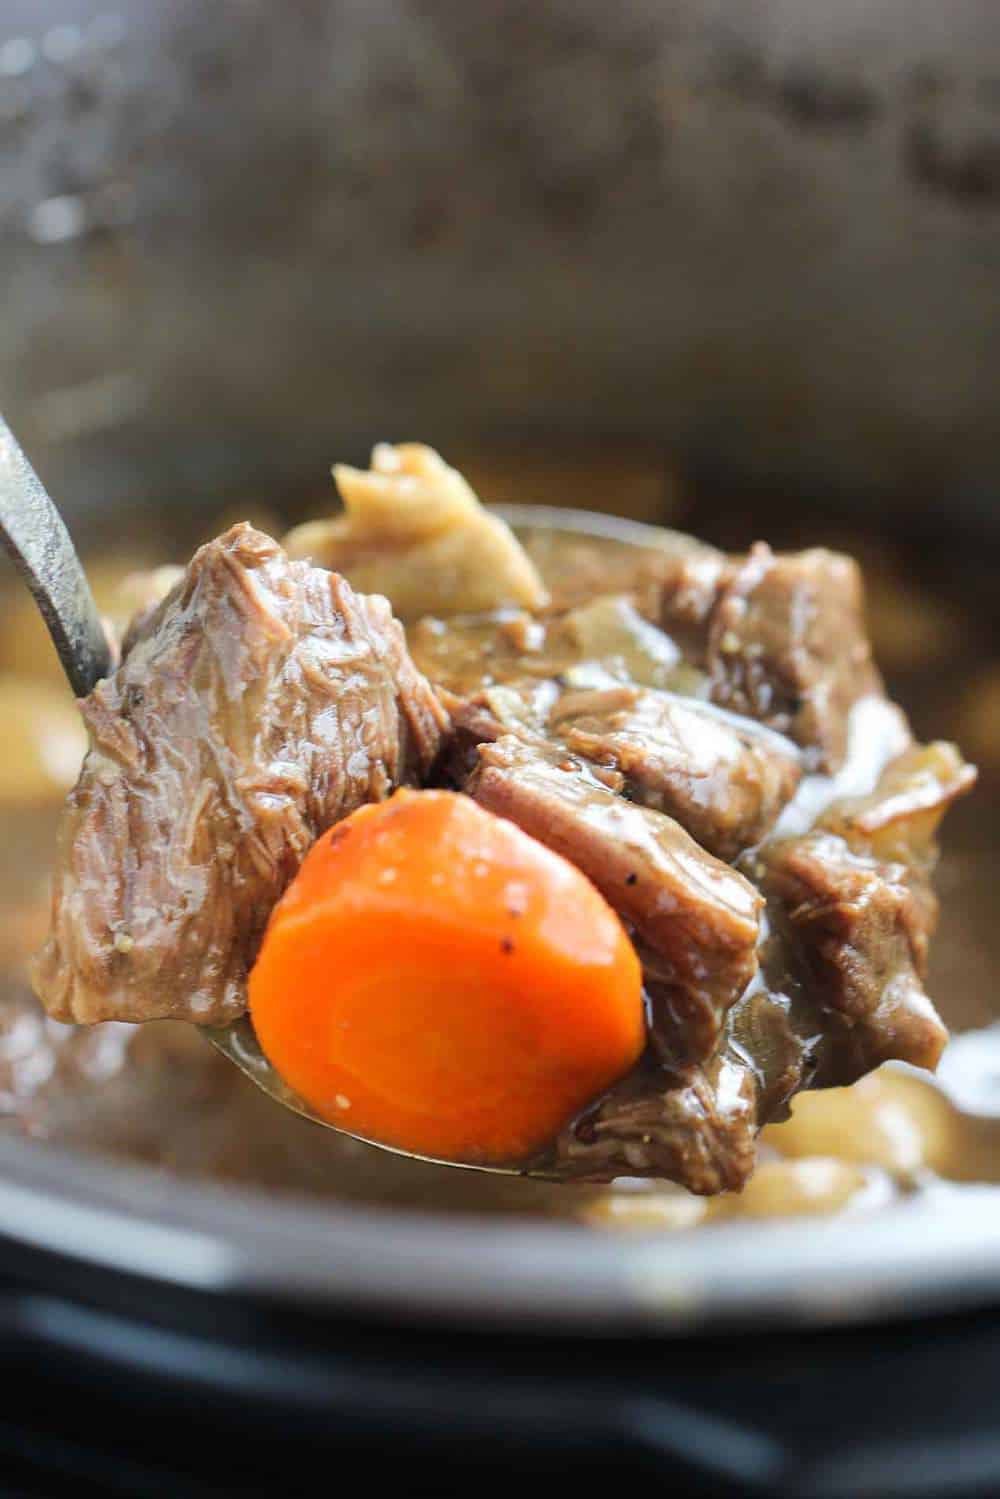
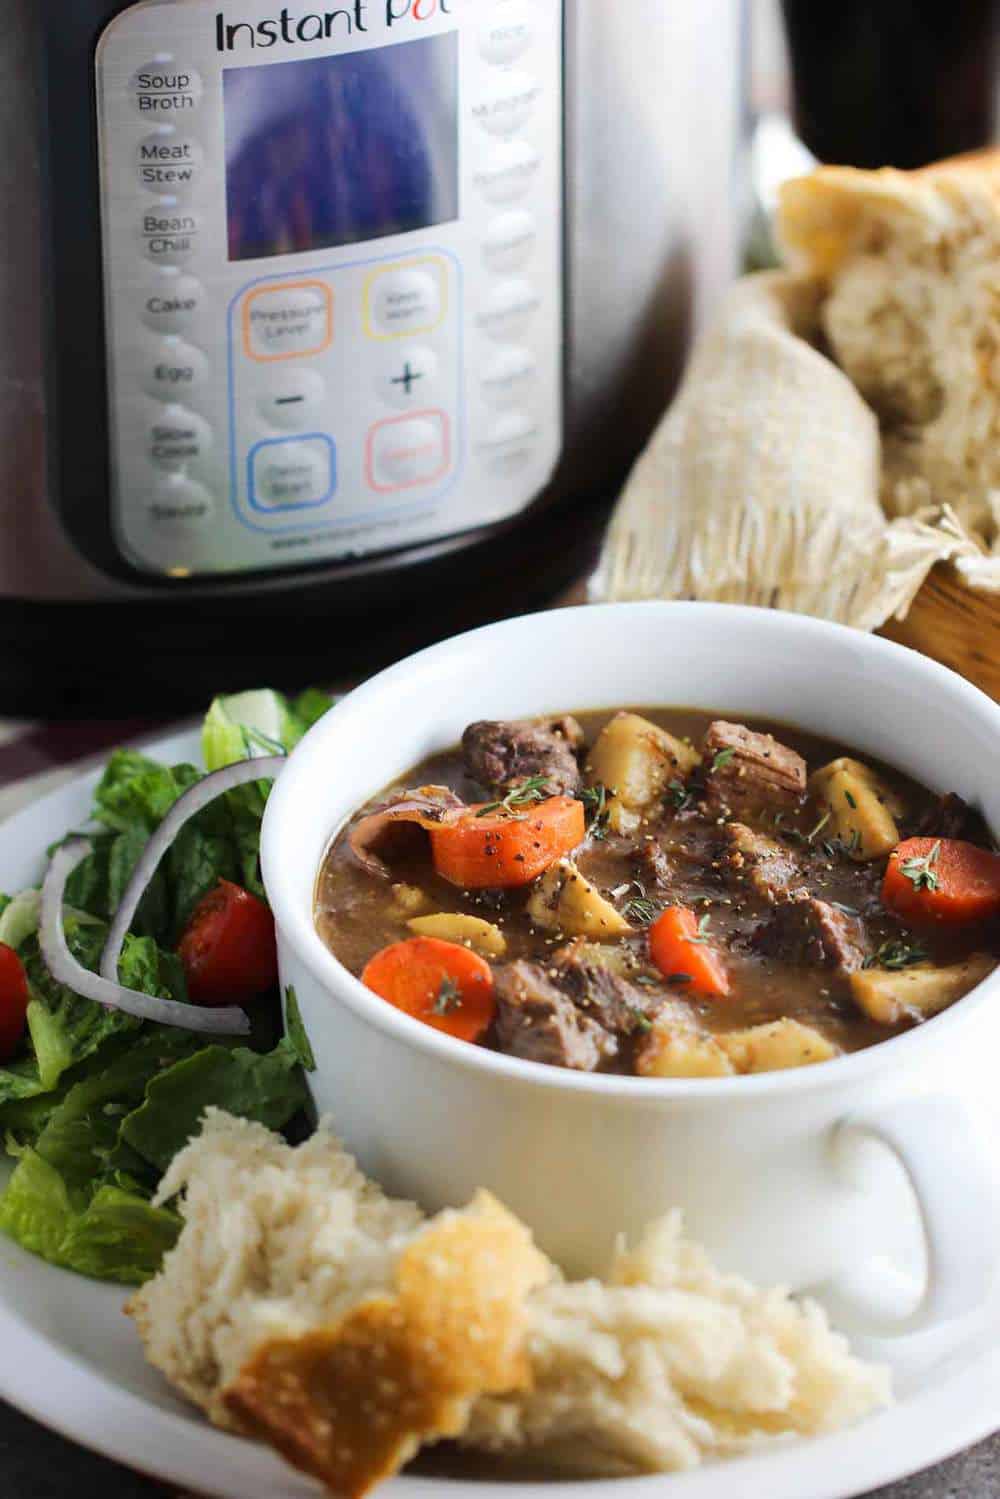
- Irish Guinness Beef Stew
- Mashed Butternut Squash with Pancetta and Sage
- Butter Chicken
- Smoked Sausage Stew
In the meantime, go and make this amazing Instant Pot Honey Balsamic Chicken with Carrots recipe!
This recipe comes from an amazing book called Instant Pot Obsession by Janet Zimmerman. We love this IP cookbook!
Instant Pot Honey Balsamic Chicken with Carrots
Ingredients
- 4 bone-in, skin-on chicken thighs
- ½ teaspoon Kosher salt
- ½ teaspoon freshly ground black pepper
- 2 tablespoon extra-virgin olive oil
- 3 large carrots peeled and cut into 1-inch lengths
- ¼ cup chicken stock
- ½ cup balsamic vinegar
- 2 tablespoon honey
- 1 tablespoon Dijon mustard
- ½ teaspoon dried thyme
Instructions
- Season the chicken with salt and pepper
- Select the SAUTE setting and adjust to More for high heat.
- Heat oil in the pot until it shimmers and then add the chicken thighs, skin-side down, and let them cook, undisturbed, until the skin is dark golden brown and most of the fat under the skin has rendered out, about 5 minutes. Don't overcrowd the chicken, you may need to work in batches.
- Turn the thighs and cook until light golden brown on the other side, about 3 minutes.
- Transfer the thighs to a plate and set aside.
- Carefully pour off almost all the fat, leaving just enough to cover the bottom of the pressure cooker with a thick coat (about 1 tablespoon).
- Add the carrots and let them cook, undisturbed, until they begin to brown, about 2 minutes.
- Add the stock and scrape the bottom of the pan to release the browned bits.
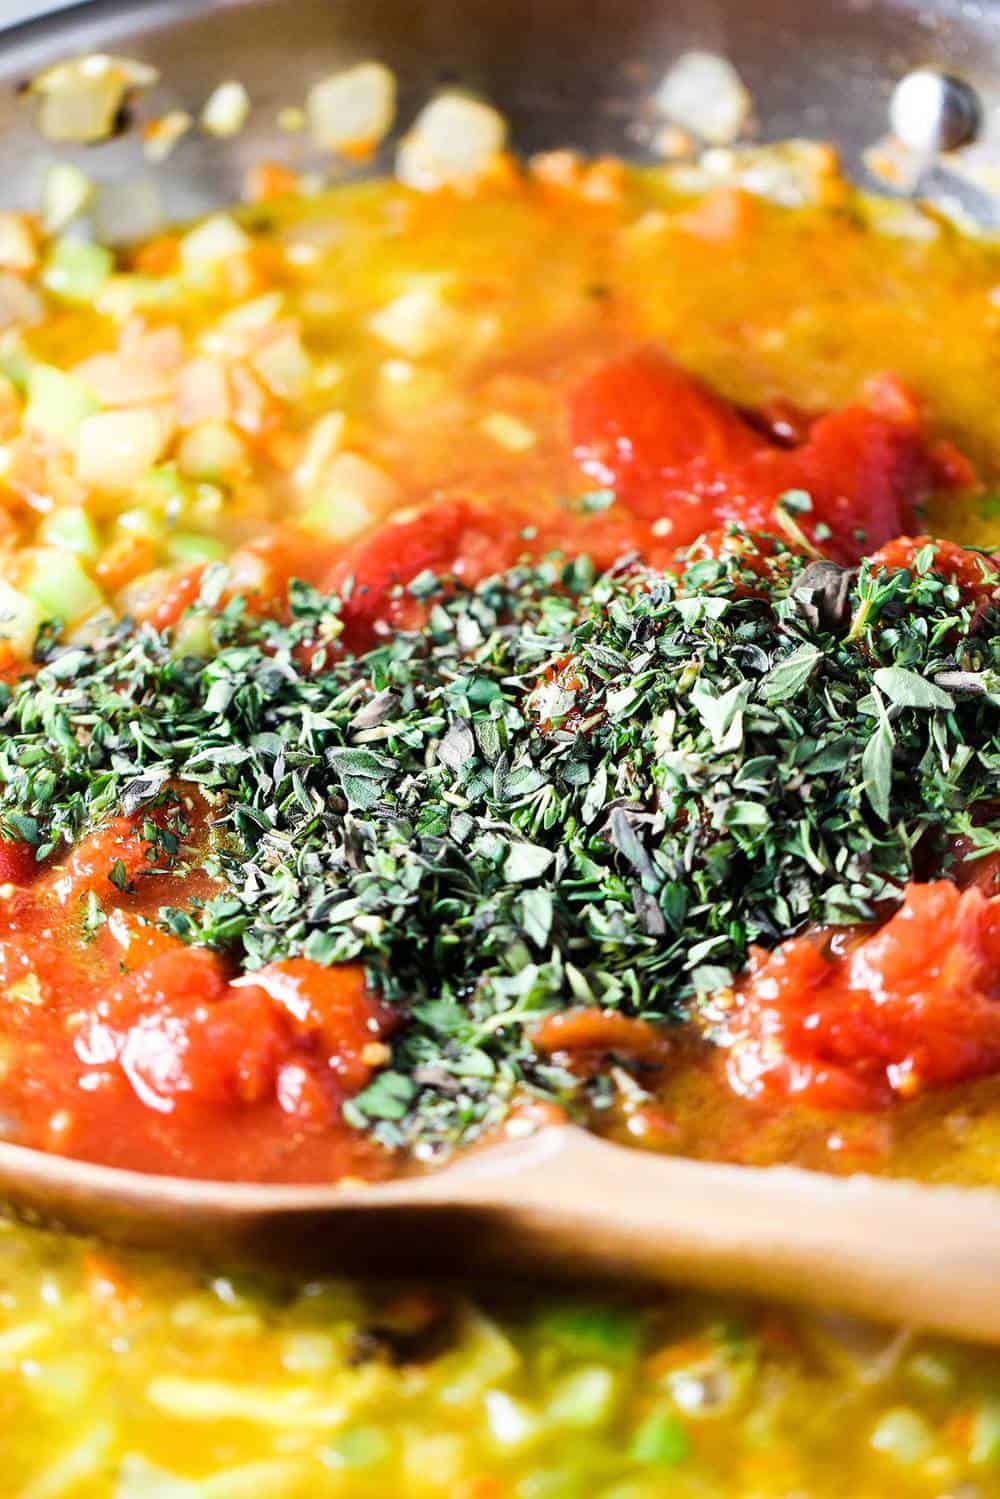
- Add the vinegar, honey, mustard, and thyme and stir to combine.
- Return the chicken thighs, skin-side up to the pot.
- Lock the lid into place and select MANUAL, or MEAT/STEW and adjust the pressure to High and the time to 10 minutes.
- After cooking, naturally release the pressure for 5 minutes, then manually release any remaining pressure
- Remove the chicken thighs from the pot and place them, skin-side up, on a rack set over a baking sheet.
- Meanwhile, preheat your oven broiler to high.
- Place the baking sheet and rack with the chicken thighs in the oven on the top or second rack (depending on the strength of your broiler).
- Broil until browned, 3 to 5 minutes (keep an eye on them, don't let them burn!).
- Meanwhile, select the SAUTE setting on high and let the sauce simmer for several minutes until it's somewhat thickened, about 3 minutes. .
- To serve, ladle a spoonful of sauce onto each plate and top with a spoonful of carrots and a chicken thigh. Serve at once.
Video
Nutrition